·63·
Notice!
● Fix the inverter on the rock or panel with the toggle bolt or screw is not
permitted.
● Supplier would provide the bolt which suitable for the installation on the
concrete wall.
● If the inverter is fixed on the wooden wall, please choose suitable bolt to
finish the installation, the bolt length should be enough and penetrate the
1/2 depth of the walls.
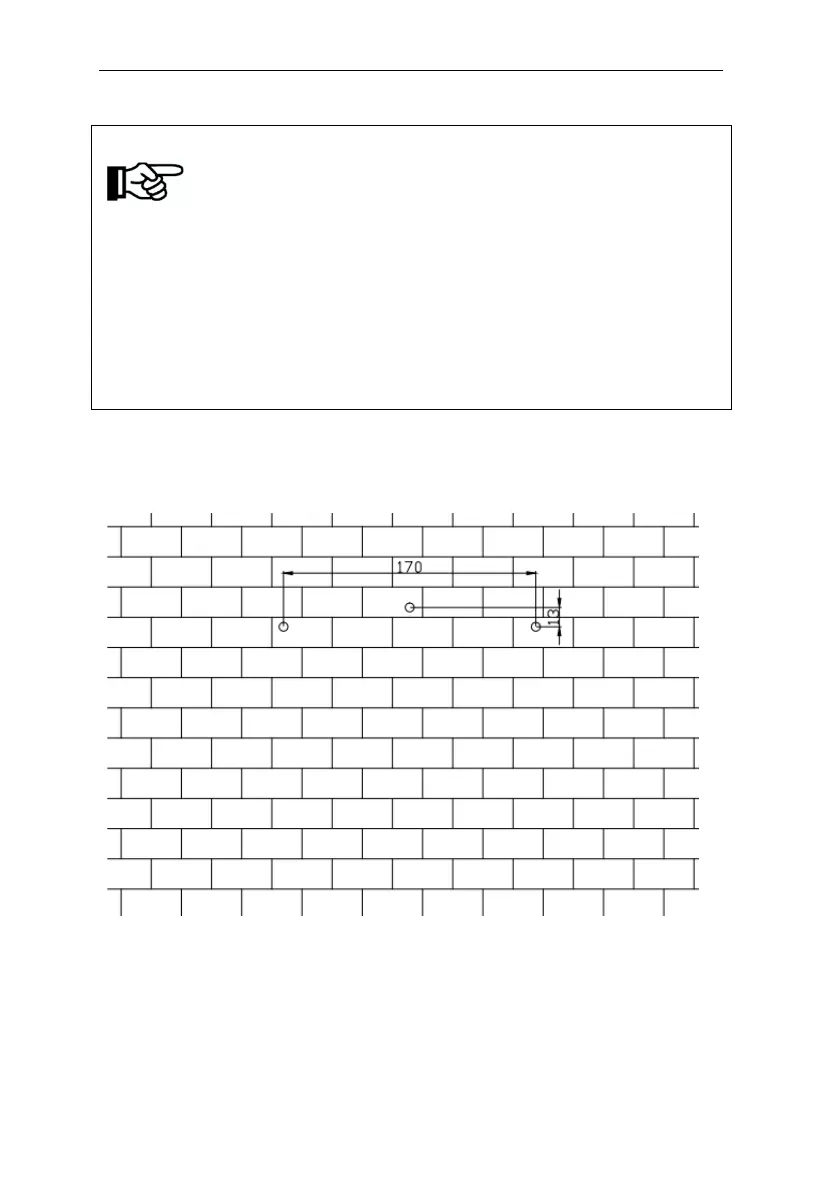
Step 1: According to the size of the inverter, select a suitable location for
drilling on the wall. It is recommended to drill 8+1/-0mm in diameter and
60+5/-0mm in depth. The hole spacing is shown in the figure below. Drive
the expansion bolt into the hole.
FIG. 5-3 Bitmap of the JNPxH mounting hole
Step 2: Use an expansion screw to secure the panel to the wall.