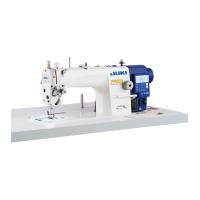
1) Press
to enable the polygonal shape
stitching.
When the polygonal shape stitching is enabled,
is displayed on display portion Q.
The number of seams (P1 - PF) can be set by
pressing
to
.
The number which exceeds 9 is indicated
as follows:
A = 10, b = 11, c = 12, d = 13, E = 14, and F
= 15.
Example) Select the number of seams P1. Set the
number of stitches (1- 99).
Similarly, set the number of stitches (1 - 99) for the
number of seams respectively in the order of P2,
P3 and P4.
Select the number of seams P5. Set the "number
of stitches to 0 (zero)".
* The "number of stitches = 0 (zero)" means termi-
nation of the polygonal shape stitching. After that,
four-thread polygonal shape stitching is carried
out.
* For the initial setting, the number of steps is set to
four, and the number of stitches for each step is
set to 12 (stitches).
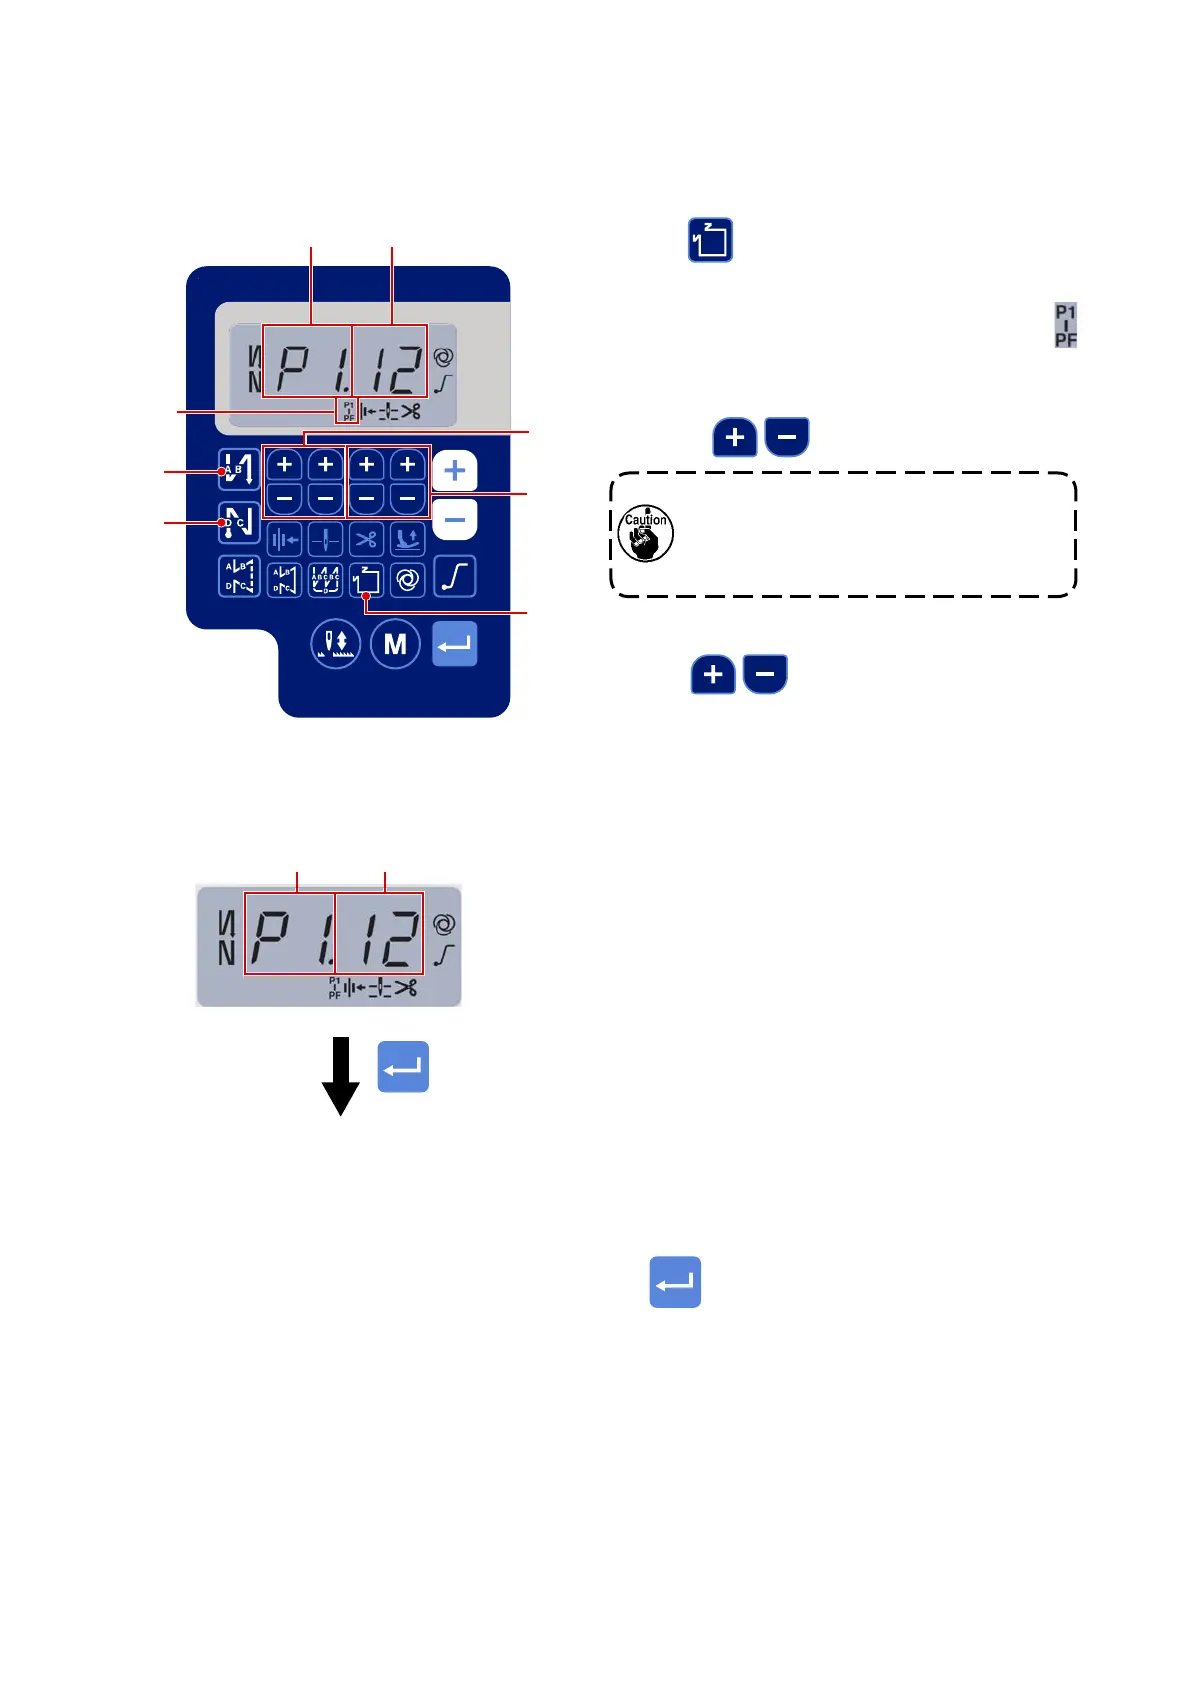
After the setting, conrm the data you have entered
with
.
[Number of seams / number of stitches]
The number of stitches (00 - 99) can be set by
pressing
to
.
The screen is shifted to the sewing information display
screen
Q
BA
A B
– 25 –
(4) Polygonal-shape stitching pattern
A polygonal-shape stitching pattern can be set.
[How to set a polygonal-shape stitching pattern]
 Loading...