2 Examine the tensioner for a sign of the tensioner arm contact‐
ing the tensioner cap. If there is a sign of the two areas mak‐
ing contact, the pivot tube bushing has failed and the ten‐
sioner must be replaced.
3 Examine the drive belt for damage, see Chapter
1.7 Cooling
system
, paragraph
Examine the cooling fan drive belt
.
Install
1 If removed, install the belt tensioner mounting bracket and
mounting bracket capscrews (tightening torque 24 Nm).
NOTE
Some belt tensioner mounting brackets use internal fasteners for
clearance.
2 Install the belt tensioner and capscrew (tightening torque 43
Nm).
3 Install the drive belt, see Chapter
1.7 Cooling system
, para‐
graph
Replace the cooling fan drive belt
.
4 Connect the battery cables. Refer to the OEM service manual.
5 Operate the engine and check for leaks.
Examine the cooling fan drive belt
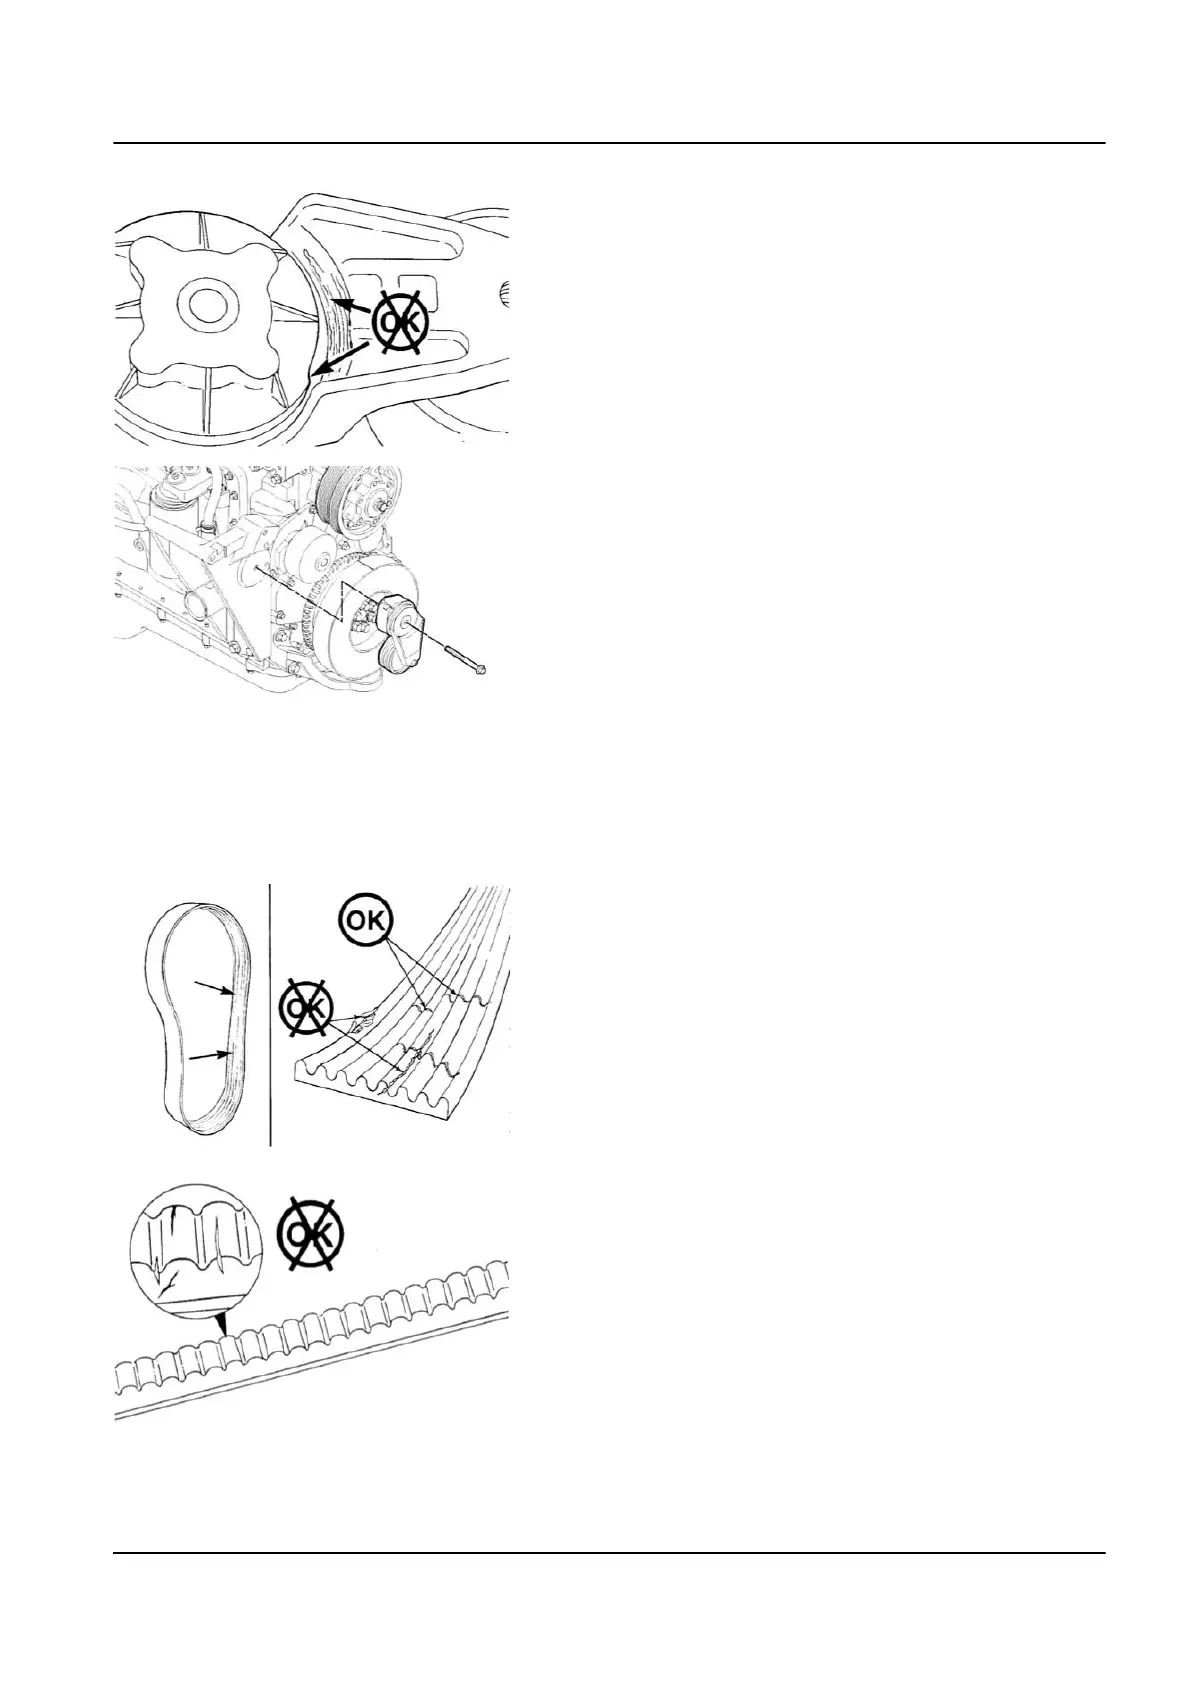
1 Inspect the drive belt for damage.
Transverse (across the belt) cracks are acceptable.
Longitudinal (direction of belt ribs) cracks that intersect with
transverse cracks are not acceptable.
2 If the belt is frayed, punctured, or material is missing, the belt
is unacceptable for reuse and must be replaced.
Belt damage can be caused by:
•
Incorrect tension
•
Incorrect size or length
•
Pulley misalignment
•
Incorrect installation
•
Severe operating environment
•
Oil or grease on the side of the belts.
1 Engine – 1.7 Cooling system 33
TL2 Maintenance Manual
591 003 Default