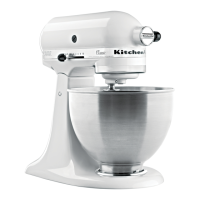
C.
To adjust
the
speeds, move the switch lever ( 45) to first
speed. This may
or
may
not
start the motor.
If
motor
did
not
start, turn
out
the two adjusting screws
(1)
evenly and stop
when planetary turns about 60
revolutions per minute. To
test the speed, hold a finger
of
the right hand at the
planetary. Let beater shaft (35, Fig. 1) hit finger. Count the
number
of
times the finger
is
touched in 5
or
10
seconds.
Adjust
the
two screws until the shaft touches the finger once
every second or
60
revolutions per minute.
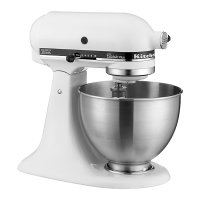
D.
When proper speed has been set, lock
th
e two lock
nut
s
( 4, Fig. 2) and check
the
speed again.
If
a small correction
must be made, make it without loo
se
ning the
lock nut. Test
speeds
as
before and when correct, it will
not
be necessary to
disturb
the
lock nuts ( 4
).
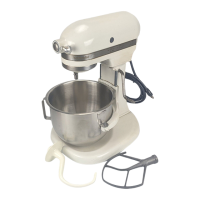
E.
Move the switch lever
to
speed number
6.
At this setting,
the planetary must
turn
180
revolutions per minute. Check
the speed
as
was done for 1st speed. The planetary should
touch
your finger
15
times in 5 seconds.
If
it
touches
the
finger less than
that
,
turn
in the adjusting screw at
bottom
of
the
control plate. Check
the
revolutions again and keep
adjusting
the
screw at
the
bottom
until the right speed
is
reached. There
is
no need for locking this screw.
F. Try all speeds from
'*'
1
to
'*'
10.
If
'*'
1 and
'*'6
speeds are
properly adjusted,
the
other
speeds should automatically be
correct.
If
there is a definite change in speed between
'*'8
and
'*'
10
the
control
unit
is correctly adjusted.
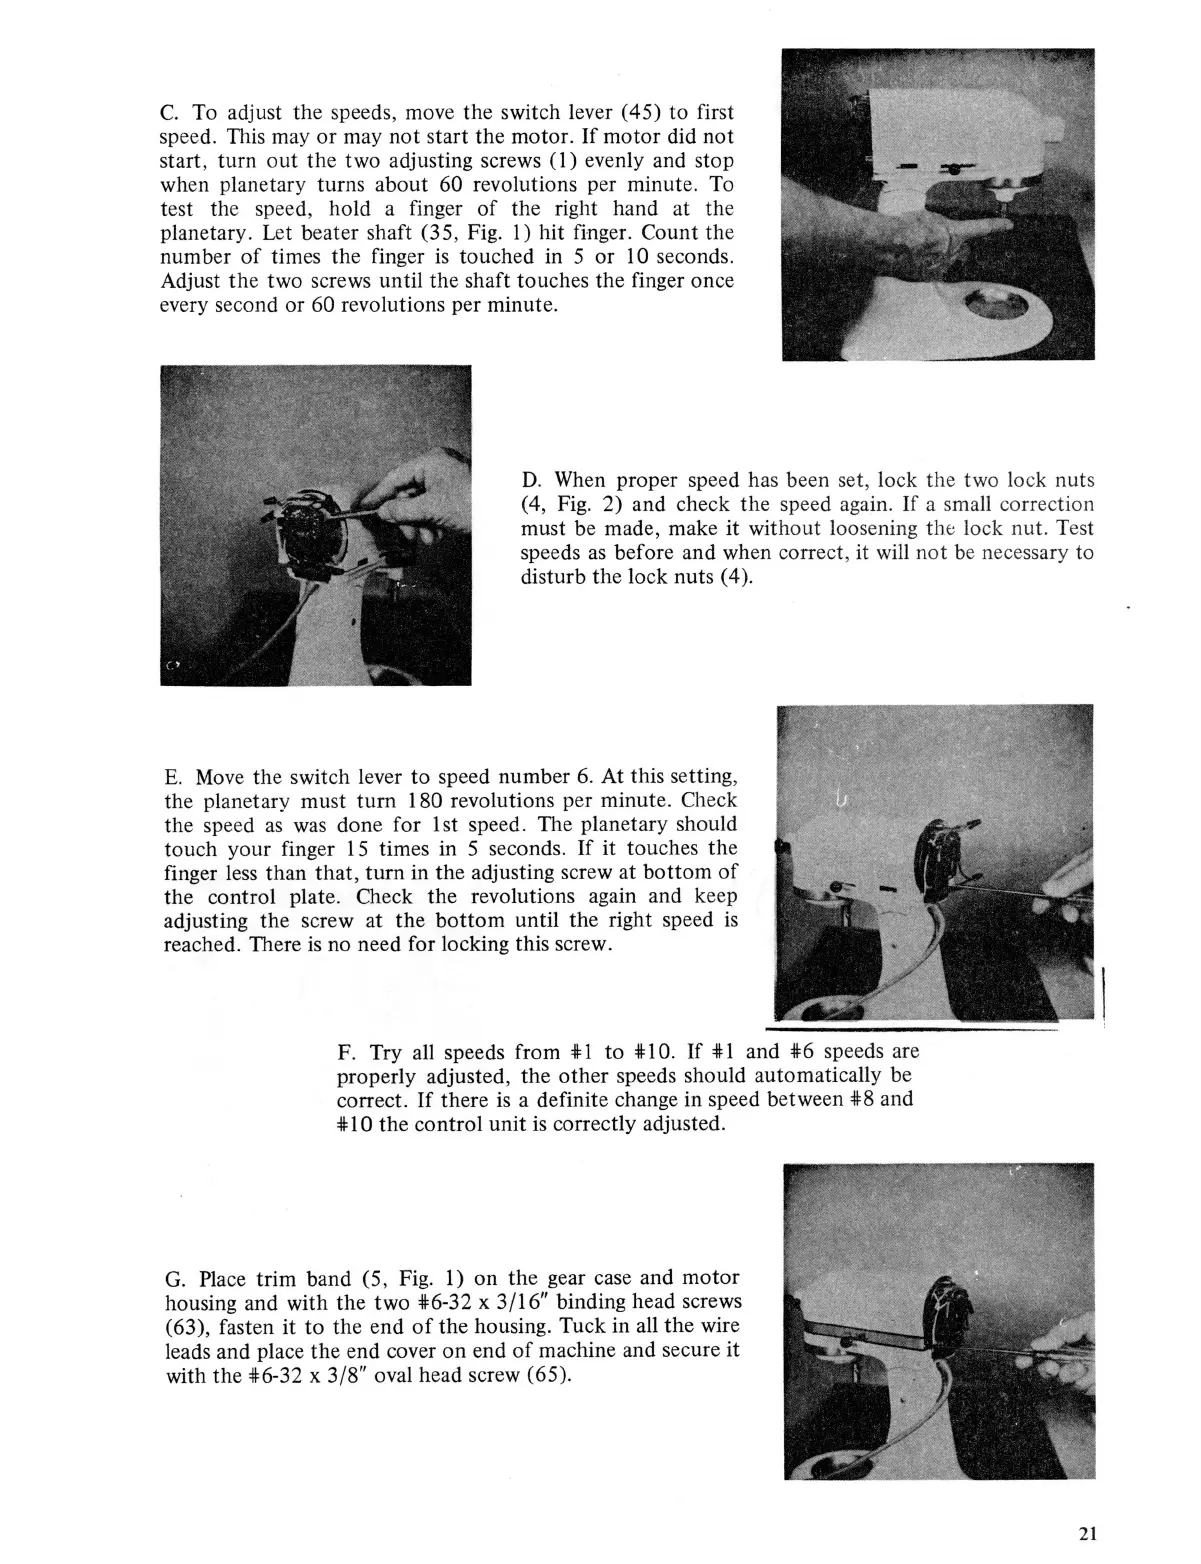
G.
Place trim band
(5
, Fig. 1)
on
the
gear case and
motor
housing and with the
two
'*'6-32
x 3/16"
binding head screws
(63), fasten
it
to
the end
of
the
housing. Tuck in all
the
wire
leads and place
the
end cover
on
end
of
machine and secure
it
with the
'*'6-32
x
3/8"
oval head screw (65).
21