M.
The bowl spring latch (22) must be installed
to
complete
the repairs
to
the bowl support (14). The function
of
this
latch
is
to hold down
the
rear
of
the bowl. Hold latch with
bent
spring and insert the two
41:10-24
x 1/4" round head
screws into the column and turn the screws in tight.
N.
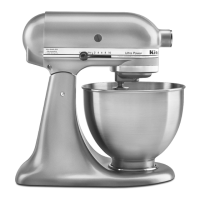
Place the gear case and
motor
housing on the column (13)
and screw in the four 5/16"-18 x 3/4" round head screws
(12). These screws must be tight. Mixer
is
now ready for
operation.
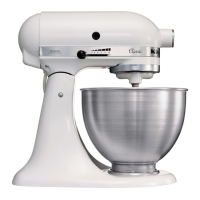
0.
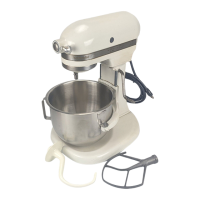
To
mount
the
bowl (59)
on
the support (14), hold the
bowl with bowl latch
button
to
the rear. Push
button
under
the bowl latch spring, then set ears
of
bowl down on the
locating pins (30). Do
not
mount
bowl
on
pins first and
t~en
snap
button
down on the latch. This will break the spnng
latch.
SECTION 8
SERVICE PROBLEMS
Troubleshooting
the
KS-A Bowl Lift Assembly
A.
If
the beater rubs
the
bottom
of
the
bowl, it can be
corrected
by
shimming up the
motor
housing. There should
be 1
I 16" clearance between
bottom
of
bowl and end
of
the
beater. This can be done by using washers 1 /16" thick
or
by
making a shim
to
fit all around the top
of
the column.
Be
sure the four screws (12) are tight when housing
is
placed
back
on
the column.
B.
Too much clearance between bowl and beater. In this case
remove any shims
or
gaskets
that
may be found under the
motor
and gear housing. This will allow the beater to move
closer
to
the
bottom.
If
too
much shim
was
removed, add
enough to
give
1 /16" clearance between bowl and beater.
25