51
Assembling Connecting Cables
1
●
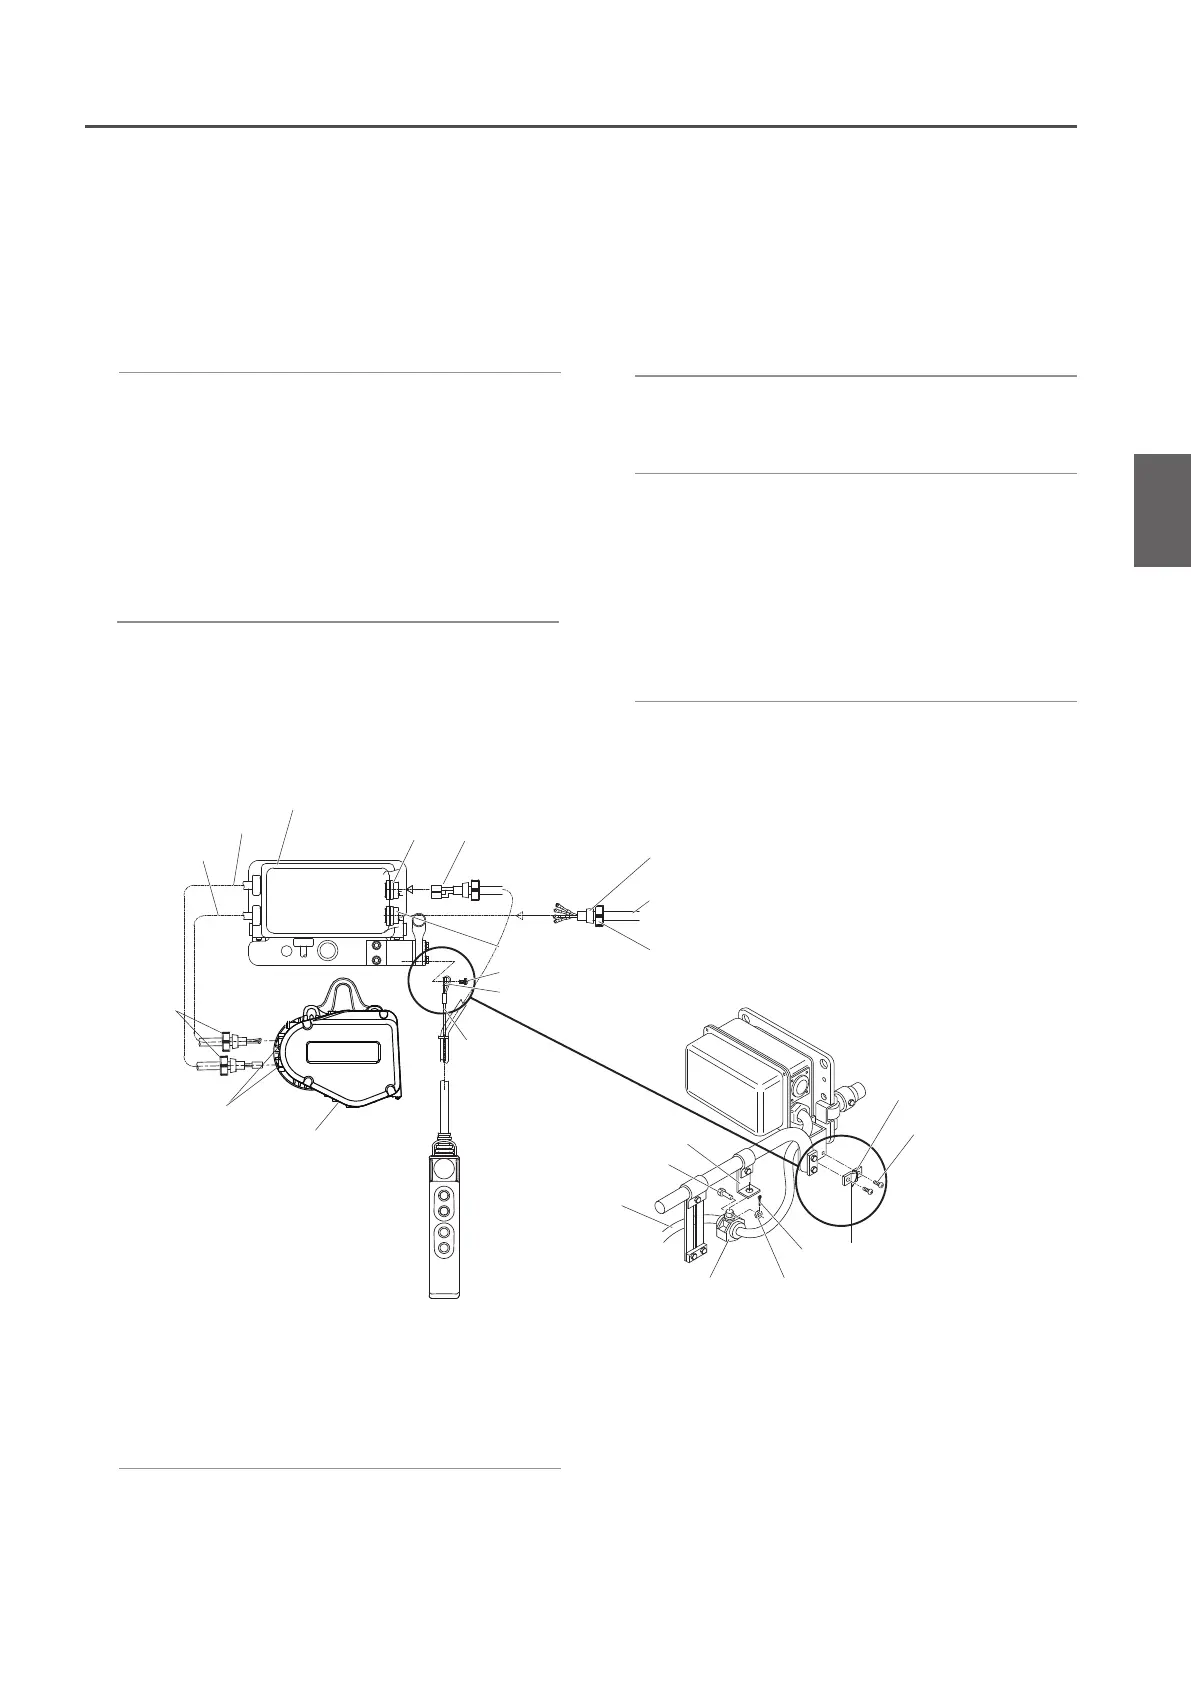
Connecting the Trolley Push Button Cord
●
Connecting the relay cable for operation
1) Insert the Holder A of the Relay cable
for power to the Holder B and tighten it
securely.
2) Refer to the connection diagram and
connect wires correctly.
■
Motorized Trolley Type
■
125kg to 1t
2) Connect the Power Cable to the VFD
terminals.
•
Refer to the connection diagram on the
Controller cover and connect wires correctly
1) Insert the Power Cable Holder A to the
Holder B and tighten it securely.
●
Connecting the Relay Cable for Power
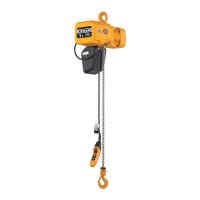
Electric chain hoist
Chain retainer
Pan head screw
Protection wire
Connection Box
Pan head screw
Relay cable for power
Relay cable for operation
Cable packing
Holder A
Holder A
Holder A
Holder B
Holder B
Connector socket (8P)
Power Cable
(to Power or Crain Control Box)
Chain retainer
Split pin
Slotted nut
Cable holder
Power Cable
Chain hanging pin B
Cable holder arm
<Trolley Power Cable Connection>
1) Insert the Push Button Cord Holder A to
the Holder B and tighten it securely
2) Insert the Push Button Connector
(white) to the connector (white) on the
right of HBB board inside the VFD.
•
Refer to the connection diagram on the
Controller cover and connect wires correctly
2) Pass the Power Cable through the
Holder A supported by the cable holder
and the cable packing.
1) Remove the Holder A mounted to the
Connection Box.
●
Connecting the Trolley Power Cable
3) Insert the Power Cable to the Holder B
of the Connection Box and tighten the
Holder A securely.
●
Trolley Type
•
Mount the cable holder, which the Power
Cable is passed, to the cable holder arm
using a chain hanging pin B, a slotted nut
and a split pin.
4) Connect the Power Cable to the terminal
panel of the Connection Box.
•
Connect wires correctly according to the wiring
diagram affixed on the Connection Box.

 Loading...