STEPS
1. Position the screen at the end
of the worksurface.
2. Insert (1) set screw (B) into the bottom of a
non-upholstered end screen rail clamp (A), then
hook the hook the rail clamp behind the back
edge of the worksurface so that the clamp’s
two “fins” are above the worksurface and the
set screw is below the worksurface. Slide one
end of the screen’s bottom extrusion onto the
“fins” to temporarily support the bracket.
3. Insert another set screw (B) into, the second
non-upholstered end screen rail clamp (A), then
hook it on to the front edge of the worksurface
in a similar fashion, sliding the “fins” into the
other end of the screen’s bottom extrusion.
4. Hold the clamp’s “fins” firmly against the
side of the screen’s bottom extrusion
and tighten the set screws (B) against
the bottom of the worksurface.
NOTE: The set screws (B) will create the tight
connection between the screen’s bottom
extrusion and the worksurface. The rail clamp
(A) must be seated firmly within the side of the
bottom extrusion, but should not be pressed
tight against the bottom of the worksurface.
A space will remain between the rail clamp
and the bottom of the worksurface.
Hard Surface Desktop End Screens
Parts List:
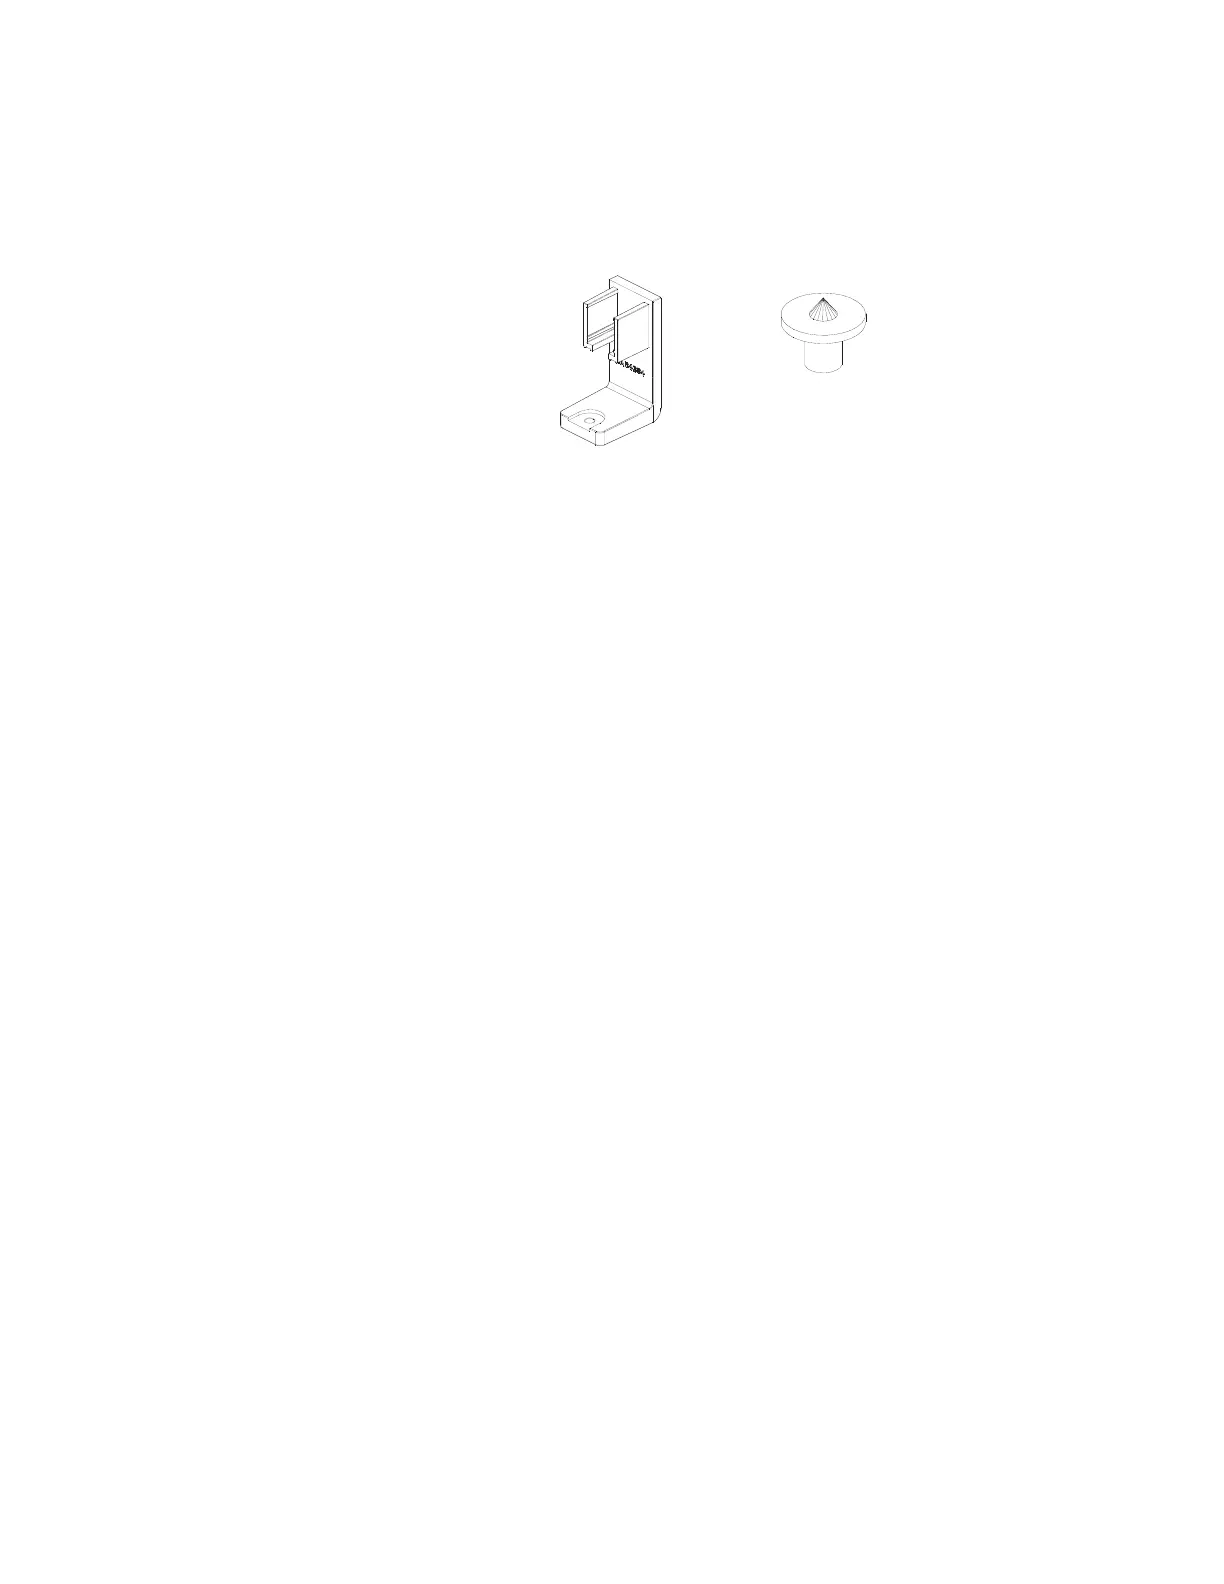
Non-Upholstered End Screen Rail Clamp (A)
Set Screw (B)
Screen
Tools Needed:
Drill
1
/
8
" Hex Bit
(A) 3AB4384* (B) 3AB4382