STEPS
1. Attach (2) mounting brackets (B) to the S
Screen (A), using (4) ¼-20 x ½" flat head
black machine screws (E) per bracket.
2. Peel the protective paper from one side
of a two-side tape (D) to expose one of
the adhesive sides, and affix to a spacer
plate (C) between the spacer’s holes.
3. Remove the paper backing from the other
side of the two-side tape (D), and affix the
spacer plate (C) to a mounting bracket (B),
aligning the holes through the spacer plate
and the bracket (B). Repeat steps 2 & 3
for the second mounting bracket (B).
4. With a second person to hold the screen,
center the S screen assembly on the
back of the desk or table and position
so that the screen surface is 1 ¼" from
the bottom edge of the table top.
5. Mark the hole positions on the
underside of the worksurface with a
pencil, then set the S screen aside.
6. Using a 1/8" drill bit, drill four pilot holes in the
underside of the worksurface at the marked
locations, taking care not to damage the top of
the worksurface. Use a drill stop, if necessary.
7. Reposition the S screen at the back of
the desk and attach the screen mounting
bracket assemblies to the underside of
the top using (4) #14 x 1 ¼" flat head
black wood screws (F) per bracket.
S Screens
Pattern Numbers Represented:
S Screen, YPSS__
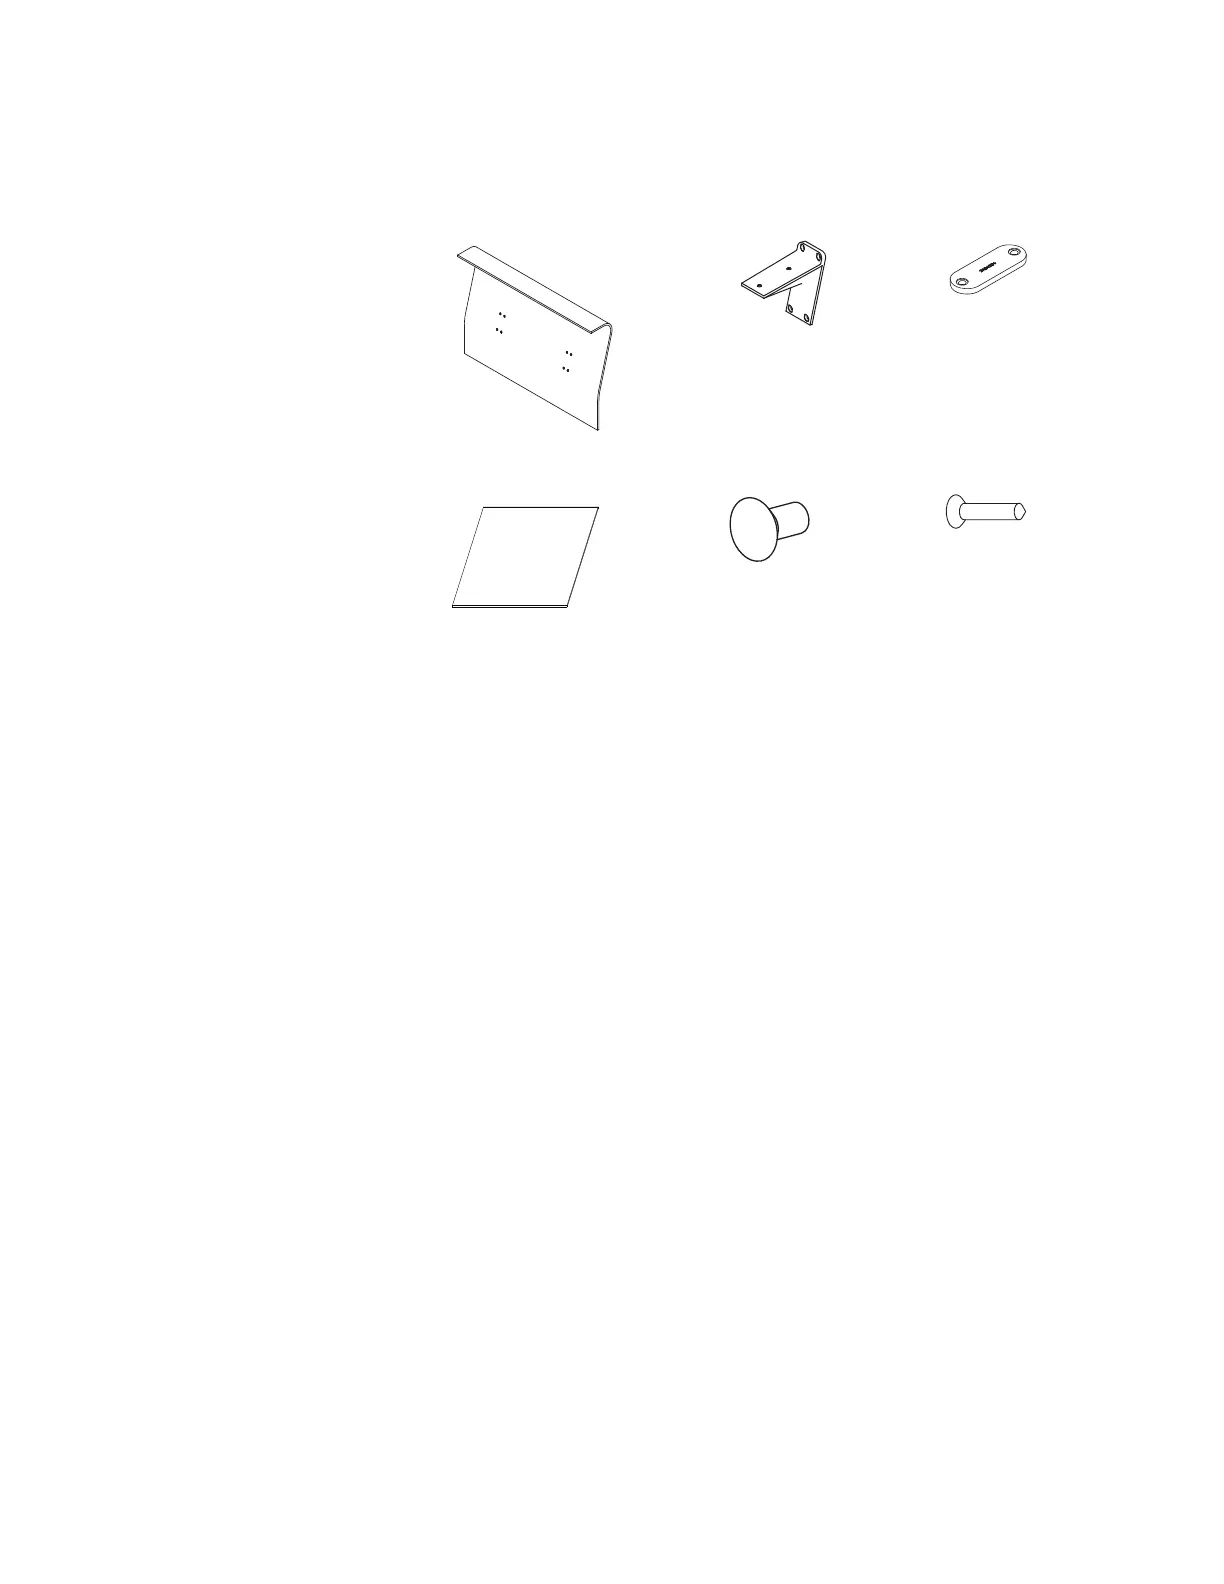
Parts List:
S Screen (A)
Mounting Bracket (B)
Spacer Plate (C)
Two-Side Tape (D)
¼-20 x ½" Flat Head Black Machine Screw (E)
#14 x 1 ¼" Flat Head Black Wood Screw (F)
Desk or Table
Tools Needed:
Drill
Phillips #2 and #3 Bits
1/8" Drill Bit
Drill Stop
Pencil
(A) 3AB1175(_) (B) 3AB4175*
(C) 3AB4024*
(D) 3AB409818 (E) 3AB419040 (F) 7436140