Modesty Panels for Desks
Screens
Pattern Numbers Represented:
Modesty Panels for Desks or Returns, YMP___
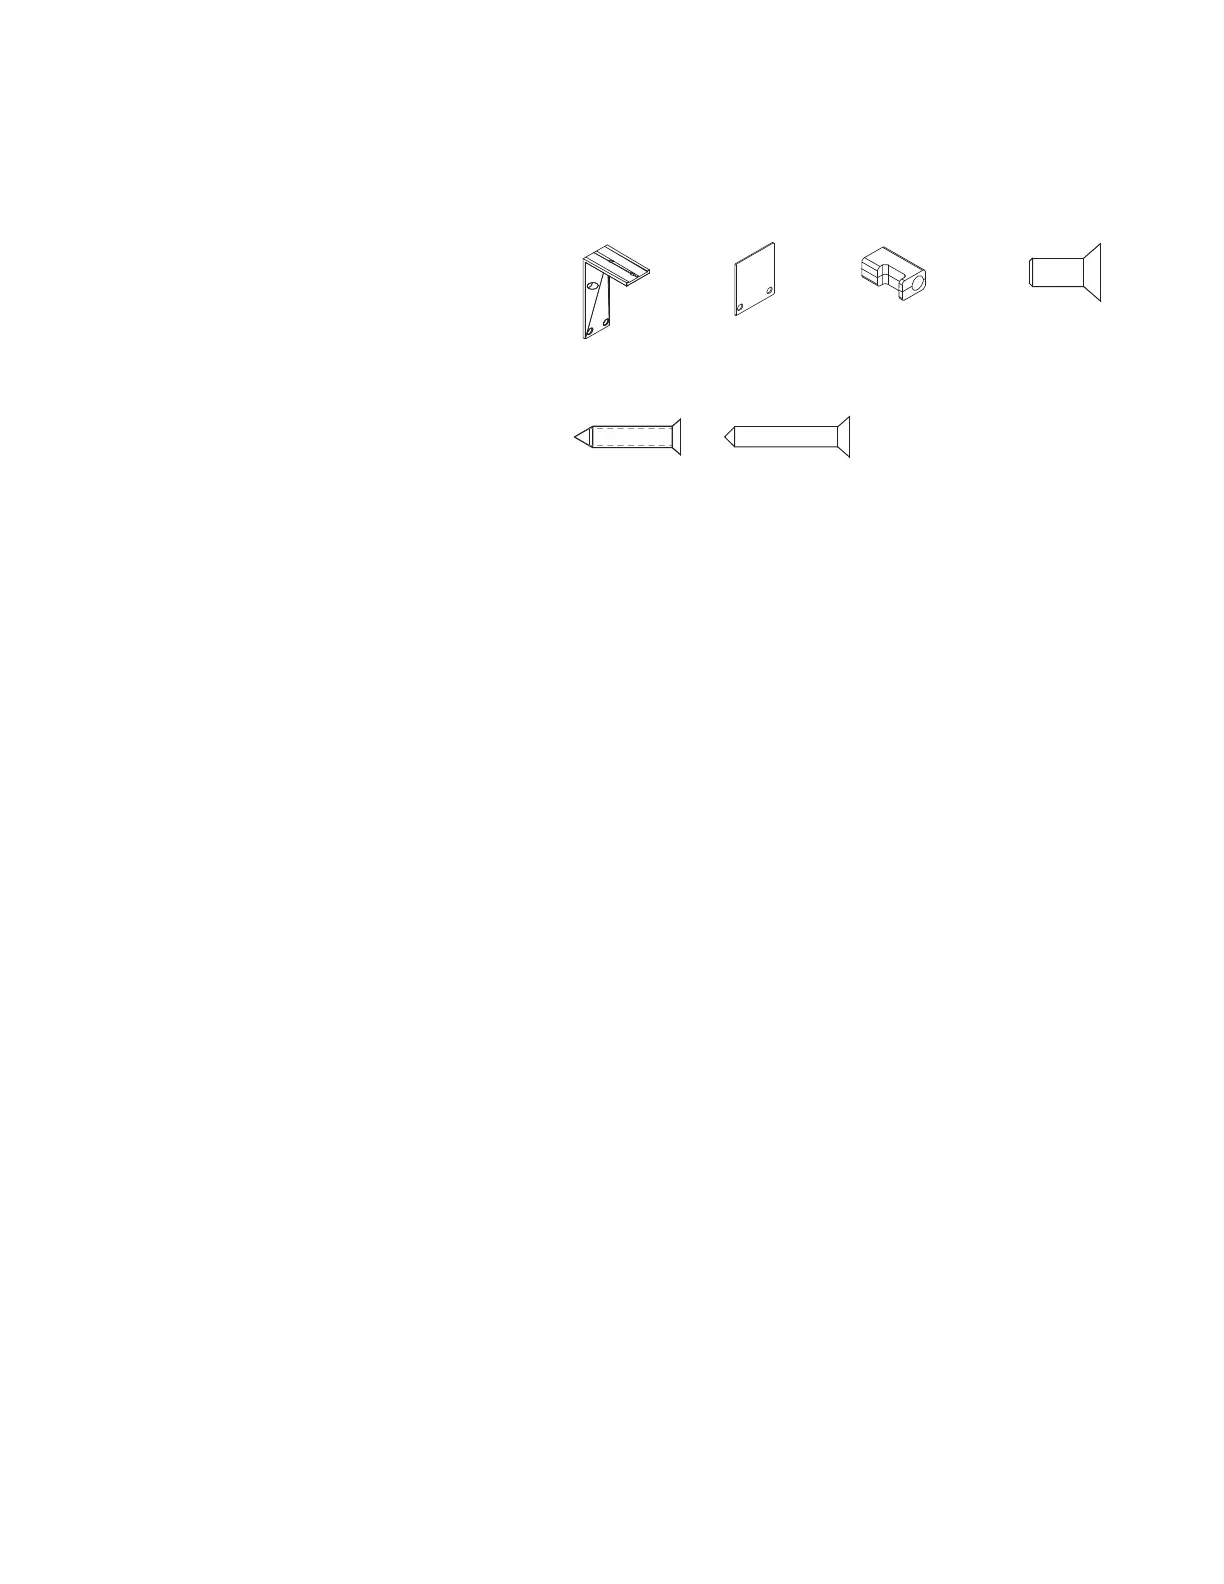
Part List:
Modesty Panel Mounting Bracket (A)
Mounting Bracket Cover (B)
Spacer Bracket (C)
¼-20 x
5
/
8
BLK Machine Screw (D)
#14 x 1" FH Wood Screw (E)
#14 x 1 ½" BLK Wood Screw (F)
Modesty Panel
Tools Needed:
Drill
Phillips #2 and #3 bits
A.) 3AB4178*
C.) 3AB4181*B.) 3AB4179*
D.) 7189140
STEPS:
NOTE: The following steps apply for partial
height, full height, and flush or recessed
modesty panels; with or without a cord
passage.
1. Pair each modesty panel mounting bracket
(A) to be installed with a mounting bracket
cover (B).
NOTE: Two to three modesty panel mounting
brackets will need to be installed depending
on the overall length of the modesty panel.
The quantity required will be evident by the
sets of pre-drilled holes in the top of the
modesty panel. The appropriate number of
brackets will ship with the modesty panel.
2. For each modesty panel mounting bracket,
position the mounting bracket cover so that
the two holes in the bottom of the bracket
cover (B) align with the two holes in the top
of the modesty panel mounting bracket (A).
NOTE: The cover should hide the top of the
bracket, not the bottom of the bracket.
3. Use (4) ¼-20 x
5
/
8
BLK machine screws (D)
to fasten each bracket pairing (2-3 pairs)
to the hole sets in the modesty panel.
4. Attach modesty panel mounting brackets
(A) to underside of top using (2) #14 x
1" FH wood screws (E) per bracket.
5. Position a spacer bracket (C) on the inside
of each back leg, 12" from the top of the
leg, so that the wide portion of the spacer
fits between the inside of the modesty
panel and the back edge of the end leg.
6. Attach the spacer brackets to the
modesty panel using (1) #14 x 1 ½"
BLK wood screw (F) per spacer.
E.) 7434100
F.) 743710 0