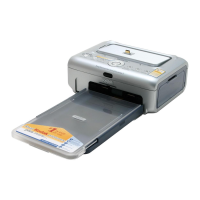
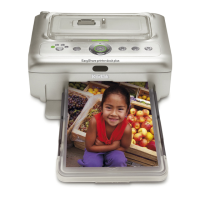
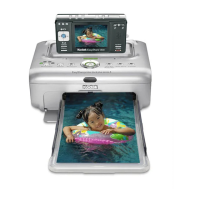
Maintaining the Printer
November 2014 3-3
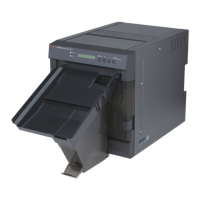
Removing the Front Door
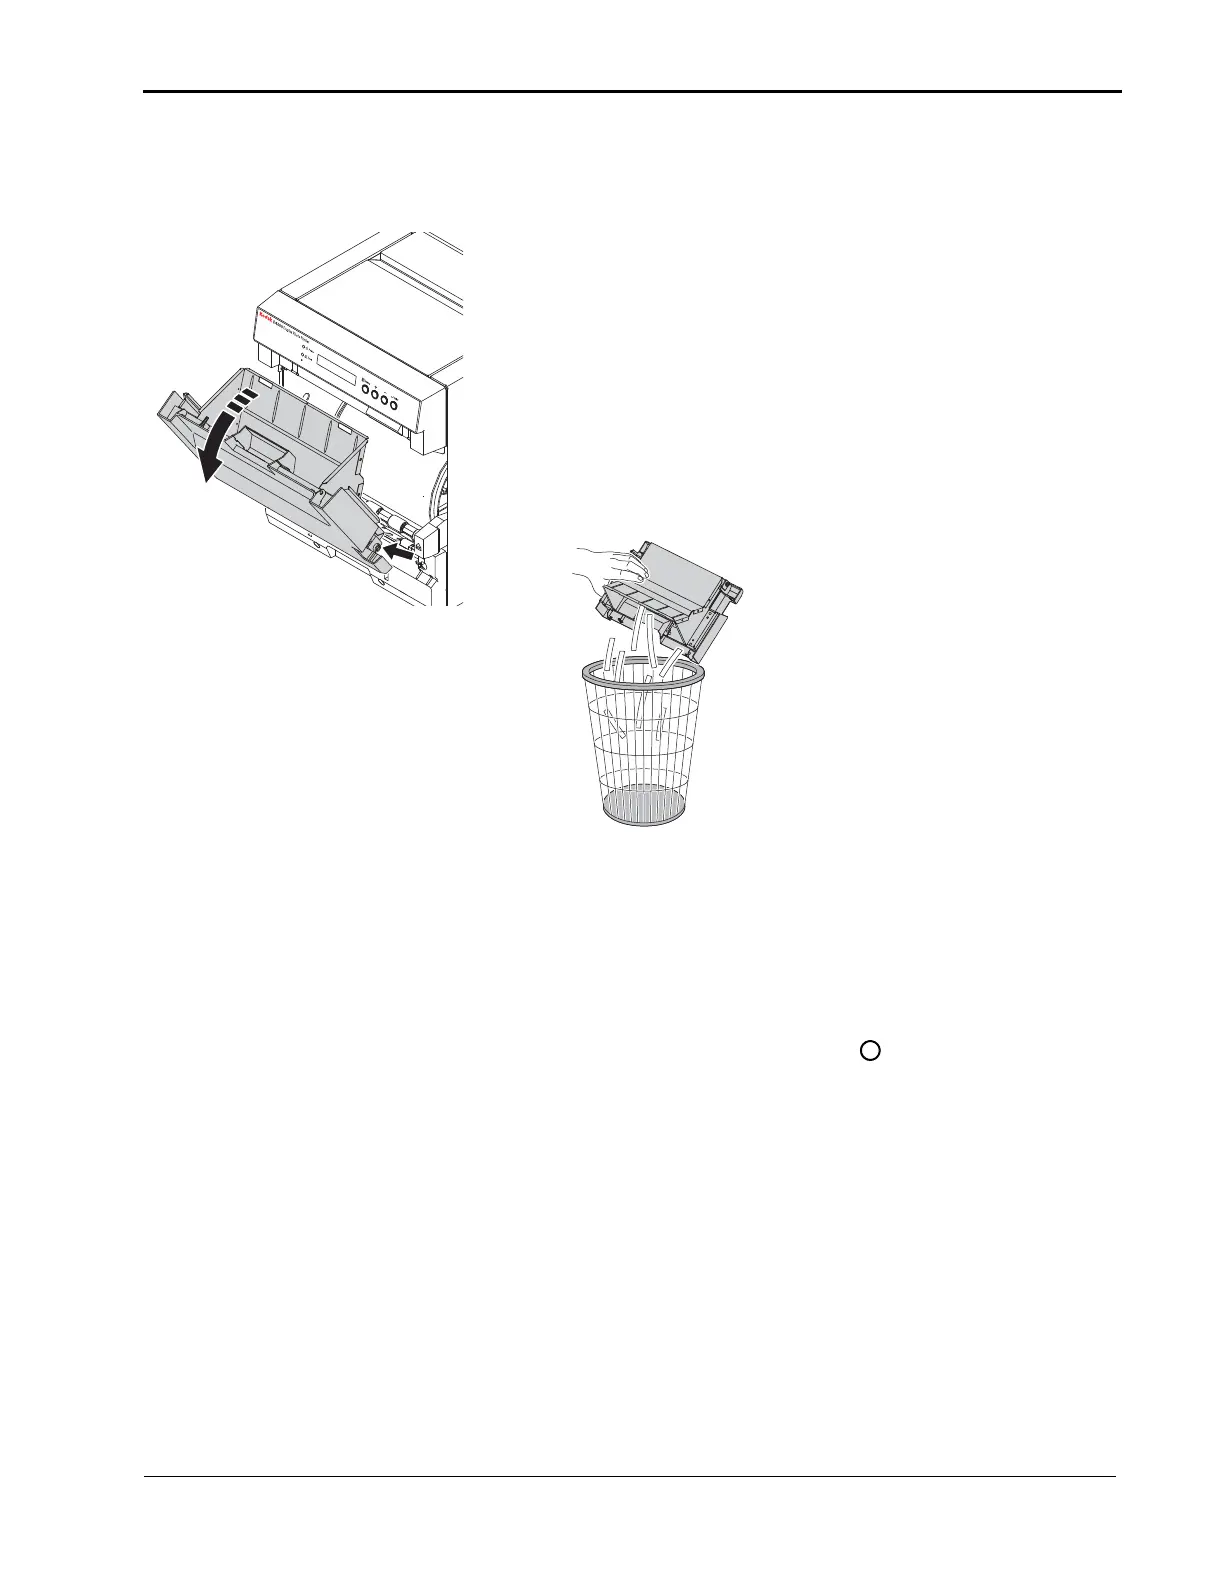
Waste Bin
1. Remove the exit tray and exit tray waste bin (see “Removing
the Exit Tray and the Exit Tray Waste Bin” on page 3-2).
2. Remove the front door waste bin:
a. Press and hold the Enter button.
b. Grasp the waste bin by the handle.
c. Pull the waste bin towards you. Lift it up and out of the
printer.
3. Empty the waste bin.
NOTE: To keep your prints dust-free and to prevent paper jams,
empty the waste bin each time you replace the paper.
Cleaning the Exterior
1. Remove the exit tray and exit tray waste bin (see “Removing
the Exit Tray and the Exit Tray Waste Bin” on page 3-2).
2. Remove the front door waste bin (see “Removing the Front
Door Waste Bin” on page 3-3).
3. Move the power switch to the Off ( ) position.
4. Wipe the exterior of the printer, exit tray, and waste bins with
a damp, lint-free cloth.
5. Insert the front door waste bin, exit tray, and exit tray waste
bin (see “Installing the Front Door Waste Bin, Exit Tray, and
Exit Tray Waste Bin” on page 2-2).
6. Move the power switch to the On ( | ) position.