11
2
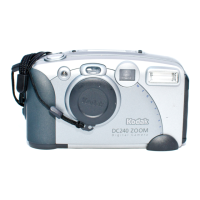
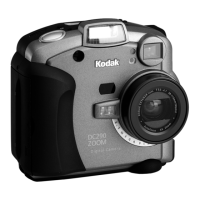
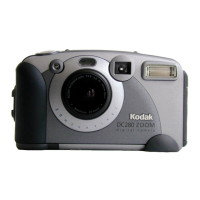
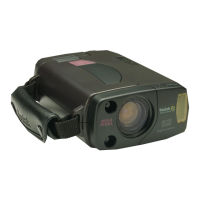
Pressing the Shutter Button
Taking pictures is a snap with your camera. The SHUTTER button on
your camera locks in the auto focus and takes the picture.
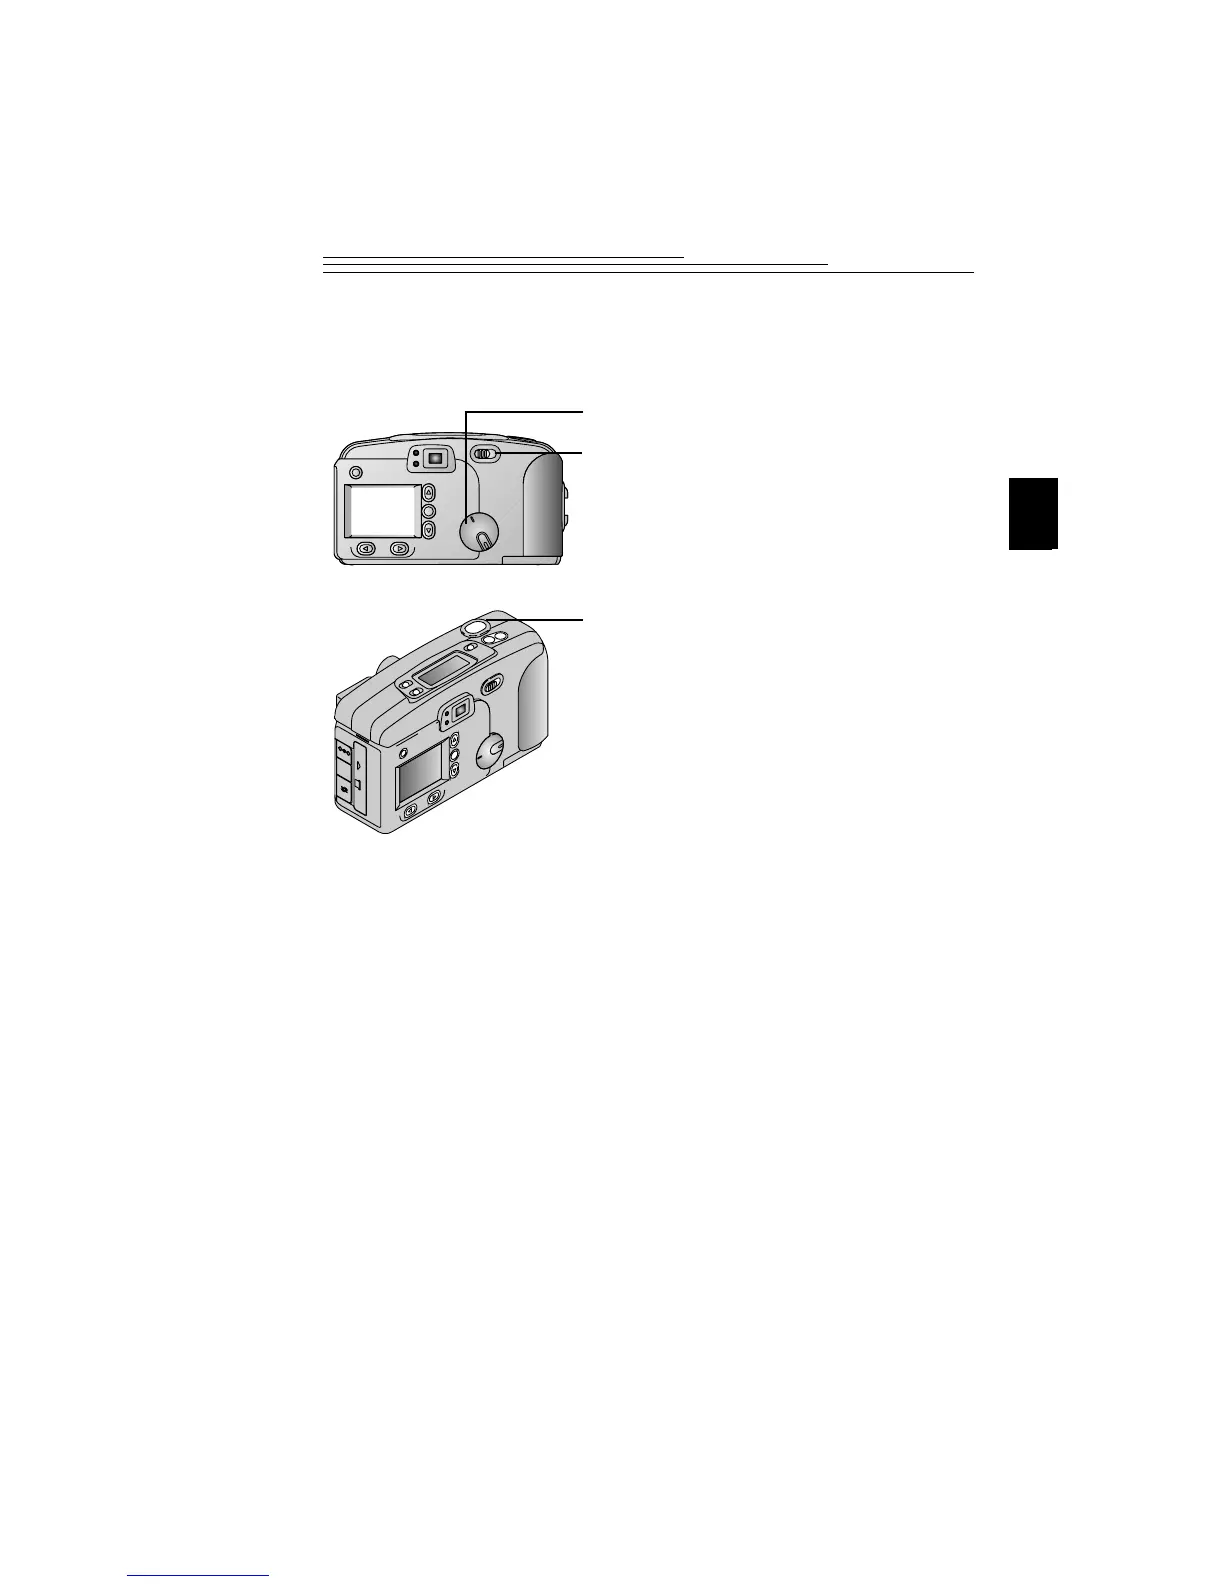
1 Set the Mode dial to Capture.
2 Slide the POWER switch to the right to
turn on the camera.
3 Center the subject using the guide
marks in the viewfinder, or turn on
Preview (page 10) and use the LCD to
frame your subject.
4 Press the SHUTTER button half-way
down to lock in the camera auto focus.
The camera beeps twice and the green ready
light comes on when the camera is set to
take a picture.
If the green ready light next to the
viewfinder blinks, then the auto focus
is not focused on the subject. Release
the SHUTTER button and recompose
your picture. Press the SHUTTER
button half-way down again to relock
the auto focus on the subject.
If the red flash indicator light next to
the viewfinder blinks, then the flash is
not fully charged. Wait for the flash to
charge before taking the picture.
5 Press the SHUTTER button completely
down to take the picture.
The camera beeps again to confirm that a
picture was taken. The Pictures Remaining
icon on the Status Display changes and the
camera memory card light blinks as the
picture is stored on the card.
W
T
DC IN
-
+
VIDEO
OUT
CARD
OPEN