18
Putting Yourself in the Picture
There might be times when you want everyone, including yourself, to be
in the picture. For these occasions, use the Self-Timer feature to create a
10-second delay between the time you press the SHUTTER button and
the time the picture is taken.
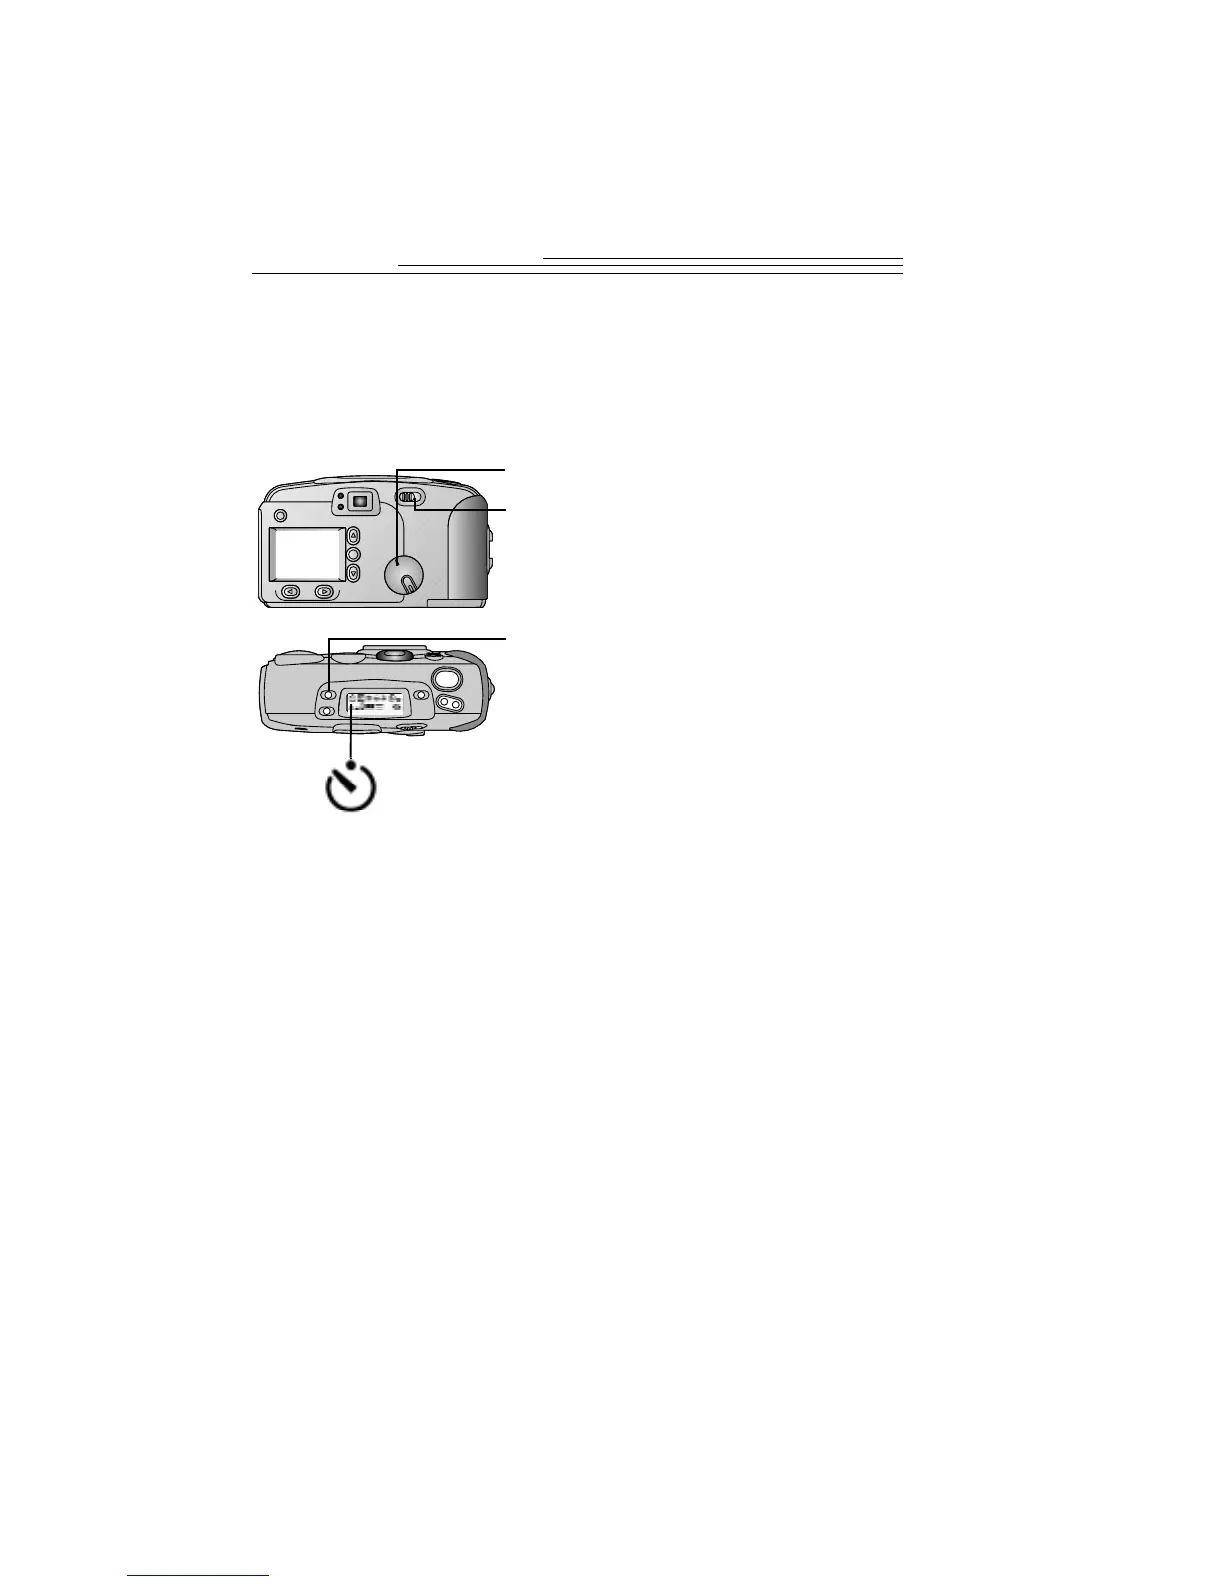
1 Set the Mode dial to Capture.
2 Slide the POWER switch to the right to
turn on the camera.
3 Press the SELF-TIMER button.
The Self-timer icon appears in the
Status Display.
If you want to the cancel self-timer
before the picture is taken, press the
SELF-TIMER button again or turn off
the camera.
4 Place the camera on a flat, steady surface
or tripod.
5 Frame your subject in the viewfinder and
press the SHUTTER button.
The red Self-Timer light, located on the front
of the camera, turns on and stays lit for 8
seconds, then flashes for 2 additional seconds
just before the picture is taken.
The Self-Timer turns off when the picture
is taken.
T
W