26
Adjusting the Picture Resolution
If you want to send pictures through e-mail or use them online, use the
Standard resolution setting. With this setting, only the information
needed for viewing on a computer or printing small prints is captured.
For pictures that are going to be printed, use the High resolution setting.
With this setting, more information is captured, but fewer pictures fit on
the camera memory card.
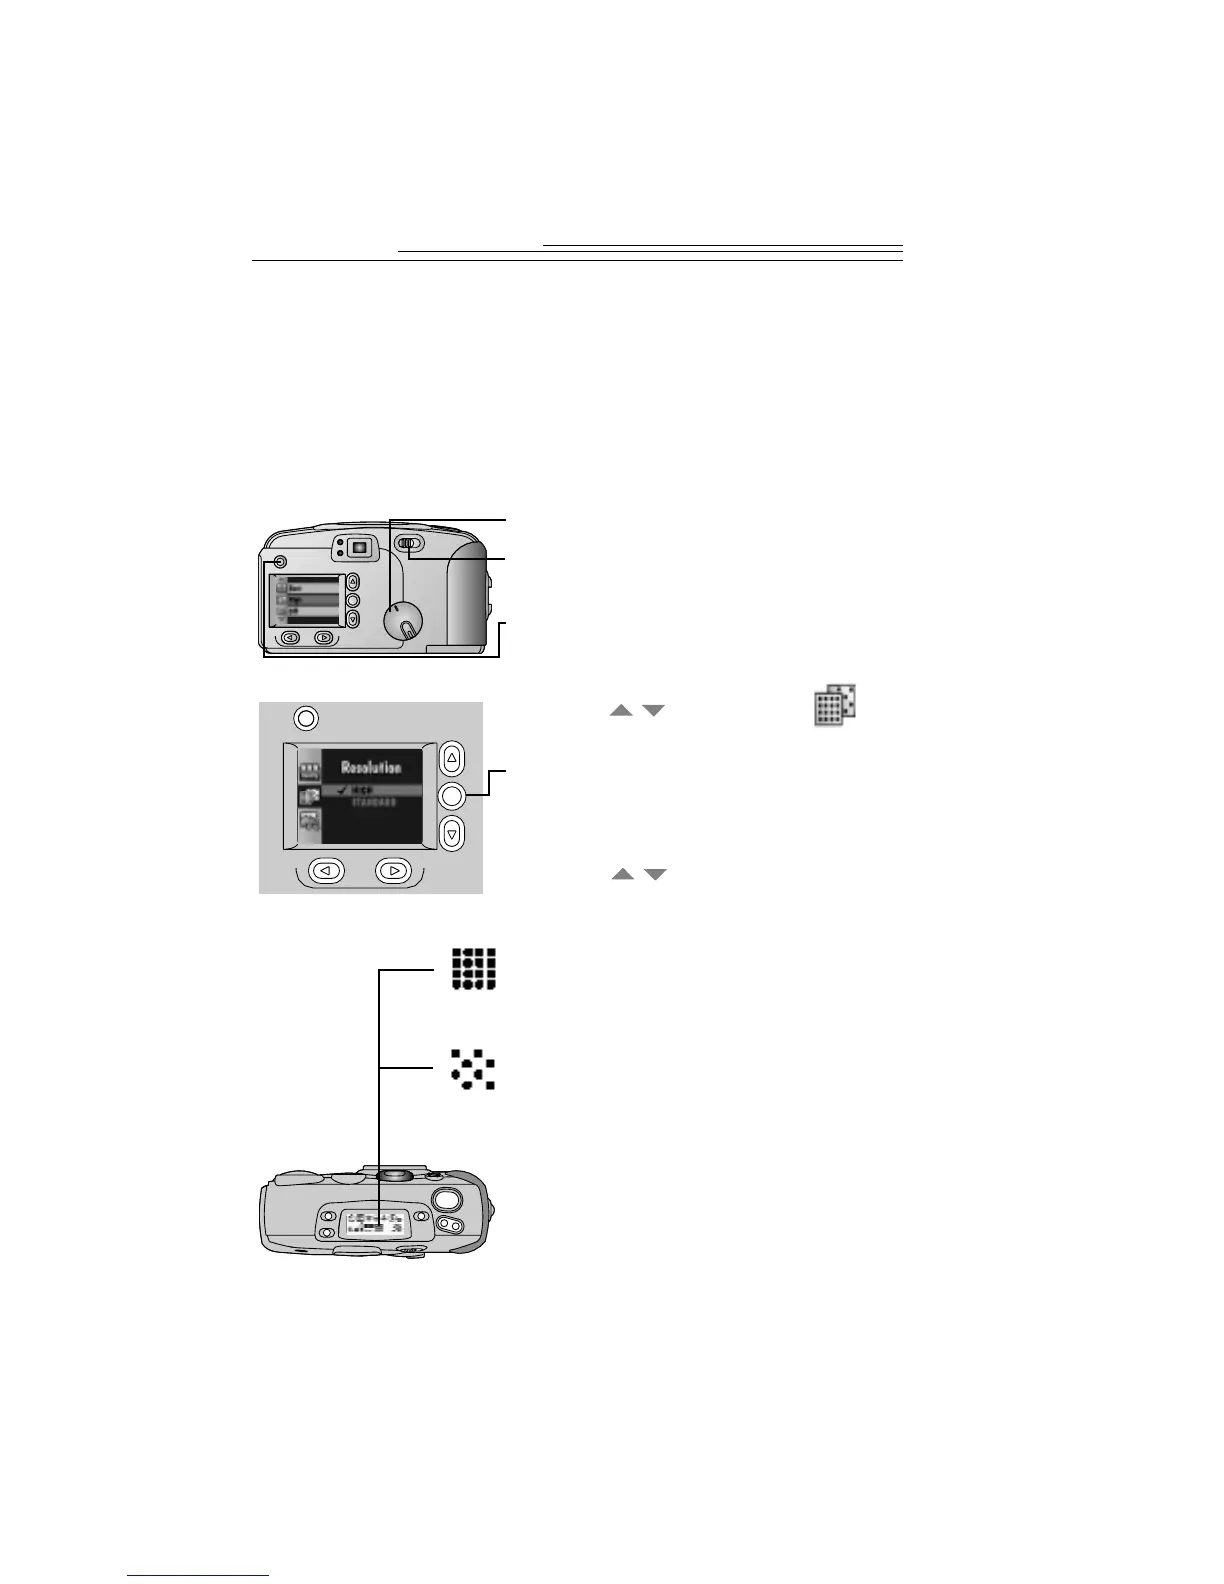
1 Set the Mode dial to Capture.
2 Slide the POWER switch to the right to
turn on the camera.
3 Press the MENU button.
The LCD displays the main Menu screen.
4 Press a button until the icon
is highlighted.
5 Press the DO-IT button.
The LCD displays the Resolution screen. The
current setting is checked (
ä
).
6 Press a button until the
Resolution option you want
is highlighted.
q
High—use this setting when you are
going to print your pictures. Picture
size is 1280 x 960 (DC240) or
1760 x 1168 (DC280) pixels.
q
Standard—use this setting when you
are going to e-mail or use the pictures
online. Picture size is 640 x 480
(DC240) or 896 x 592 (DC280) pixels.
7 Press the DO-IT button.
The main Menu screen reappears as the
Resolution icon appears in the
Status Display.
You can switch freely between these two
settings when taking pictures.
/
/
T
W