31
3
Locking in an Exposure Setting
If you are taking a series of pictures that require a consistent look or a
constant exposure setting, use the Exposure Lock feature. This feature is
great for taking a series of pictures, like a mountain range, and creating a
mural with the prints.
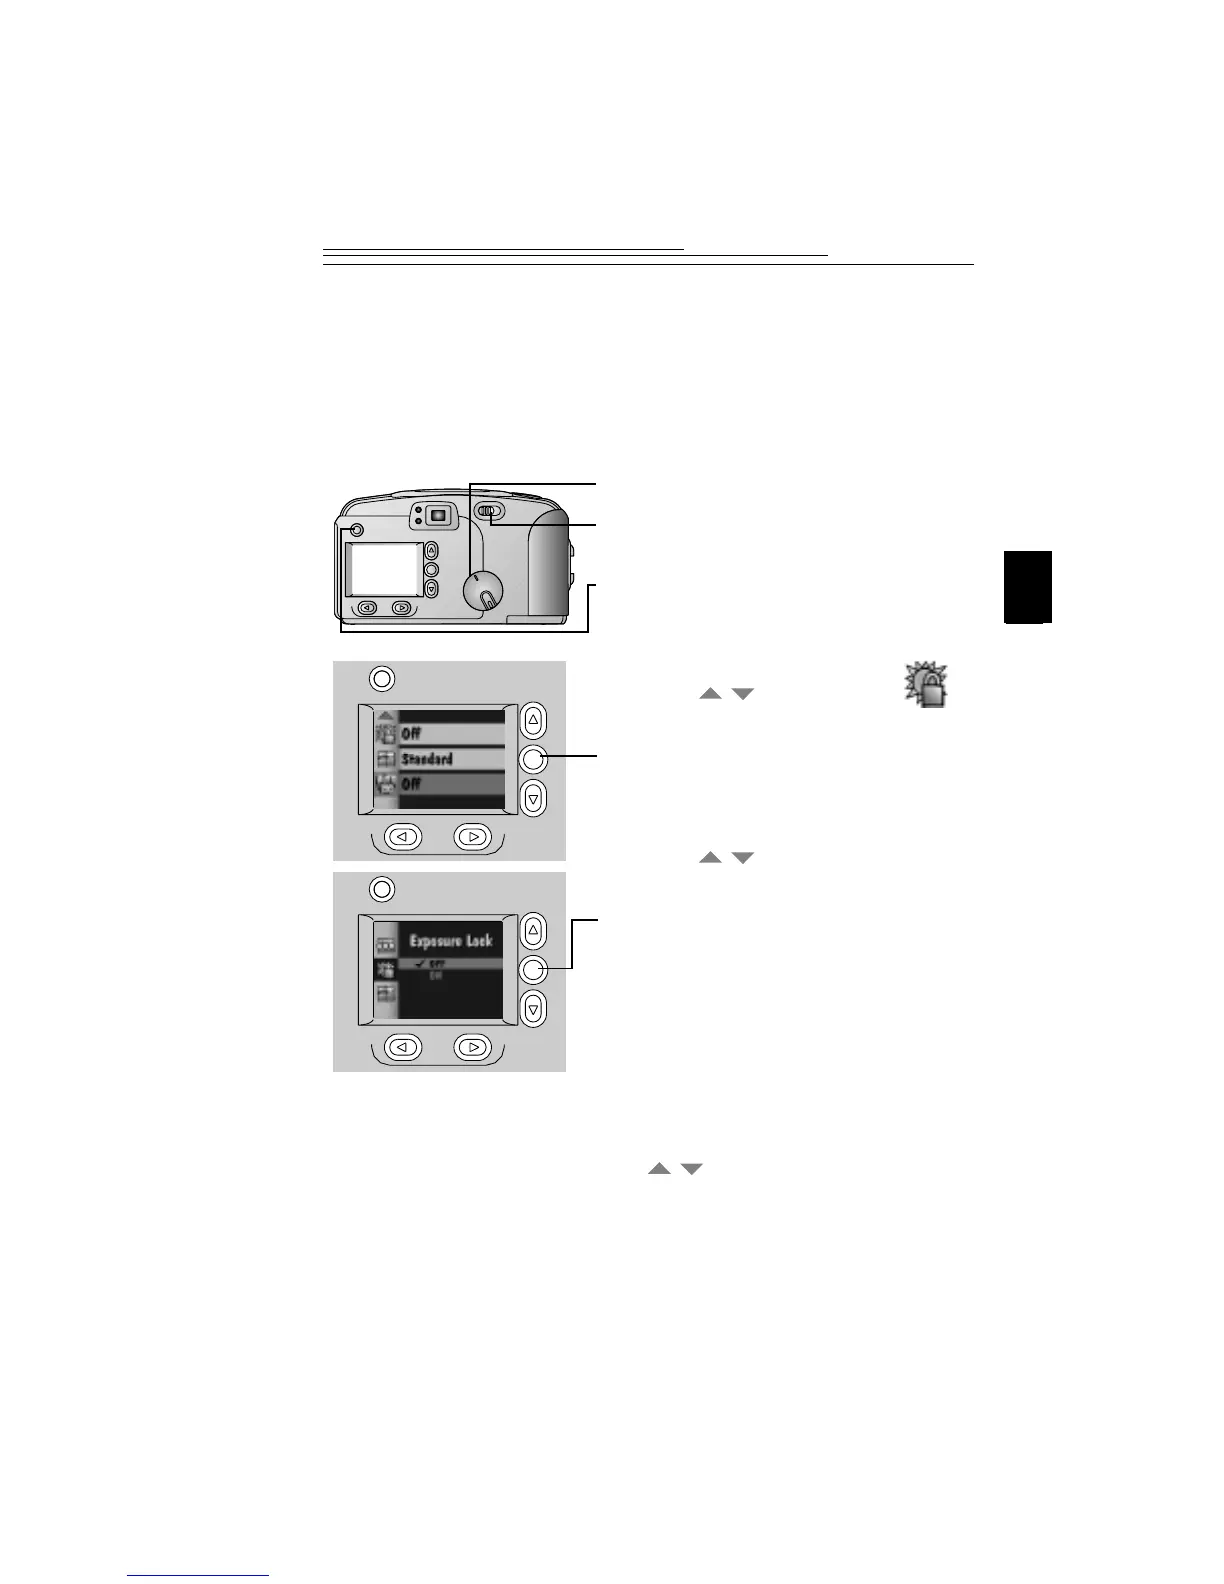
1 Set the Mode dial to Capture.
2 Slide the POWER switch to the right
to turn on the camera.
3 Press the MENU button.
The LCD displays the main Menu screen.
4 Press a button until the
icon is highlighted.
5 Press the DO-IT button.
The LCD displays the Exposure Lock
screen. The current setting is (
ä
).
6 Press a button until ON
is highlighted.
7 Press the DO-IT button.
The “Please take a picture to lock capture
settings” screen appears.
8 Center the area you want to lock the
exposure on in the viewfinder.
9 Press the SHUTTER button to lock in
the exposure setting.
10 To cancel Exposure Lock, press
a button until OFF is
highlighted, then press the DO-IT
button, or turn off the camera.
/
/
/