Arpeggiator function
164
Arpeggiator settings in COMBINATION and SEQUENCER modes
In COMBINATION and SEQUENCER modes, you can use
use two arpeggio patterns simultaneously, thanks to the
NAUTILUS’s dual arpeggiator functionality. The settings in
each of these modes are adjusted in a similar way.
The following example shows how to adjust settings in
COMBINATION mode.
The dual arpeggiator functionality lets you do the following
things.
• Select an arpeggio pattern and set parameters
independently for A and B.
• Make Scan Zone page settings so that you can use
keyboard range or playing velocity to switch between
normal playing and arpeggiated playing, or to switch
between arpeggiators A and B.
• You can make the A and B arpeggiators use different
tones by changing the MIDI channel settings.
Arpeggiator settings in COMBINATION
mode
1. Select COMBINATION > Home page.
Select programs for the timbres that you wish to use. For
this example, select any desired program for timbres 1–4.
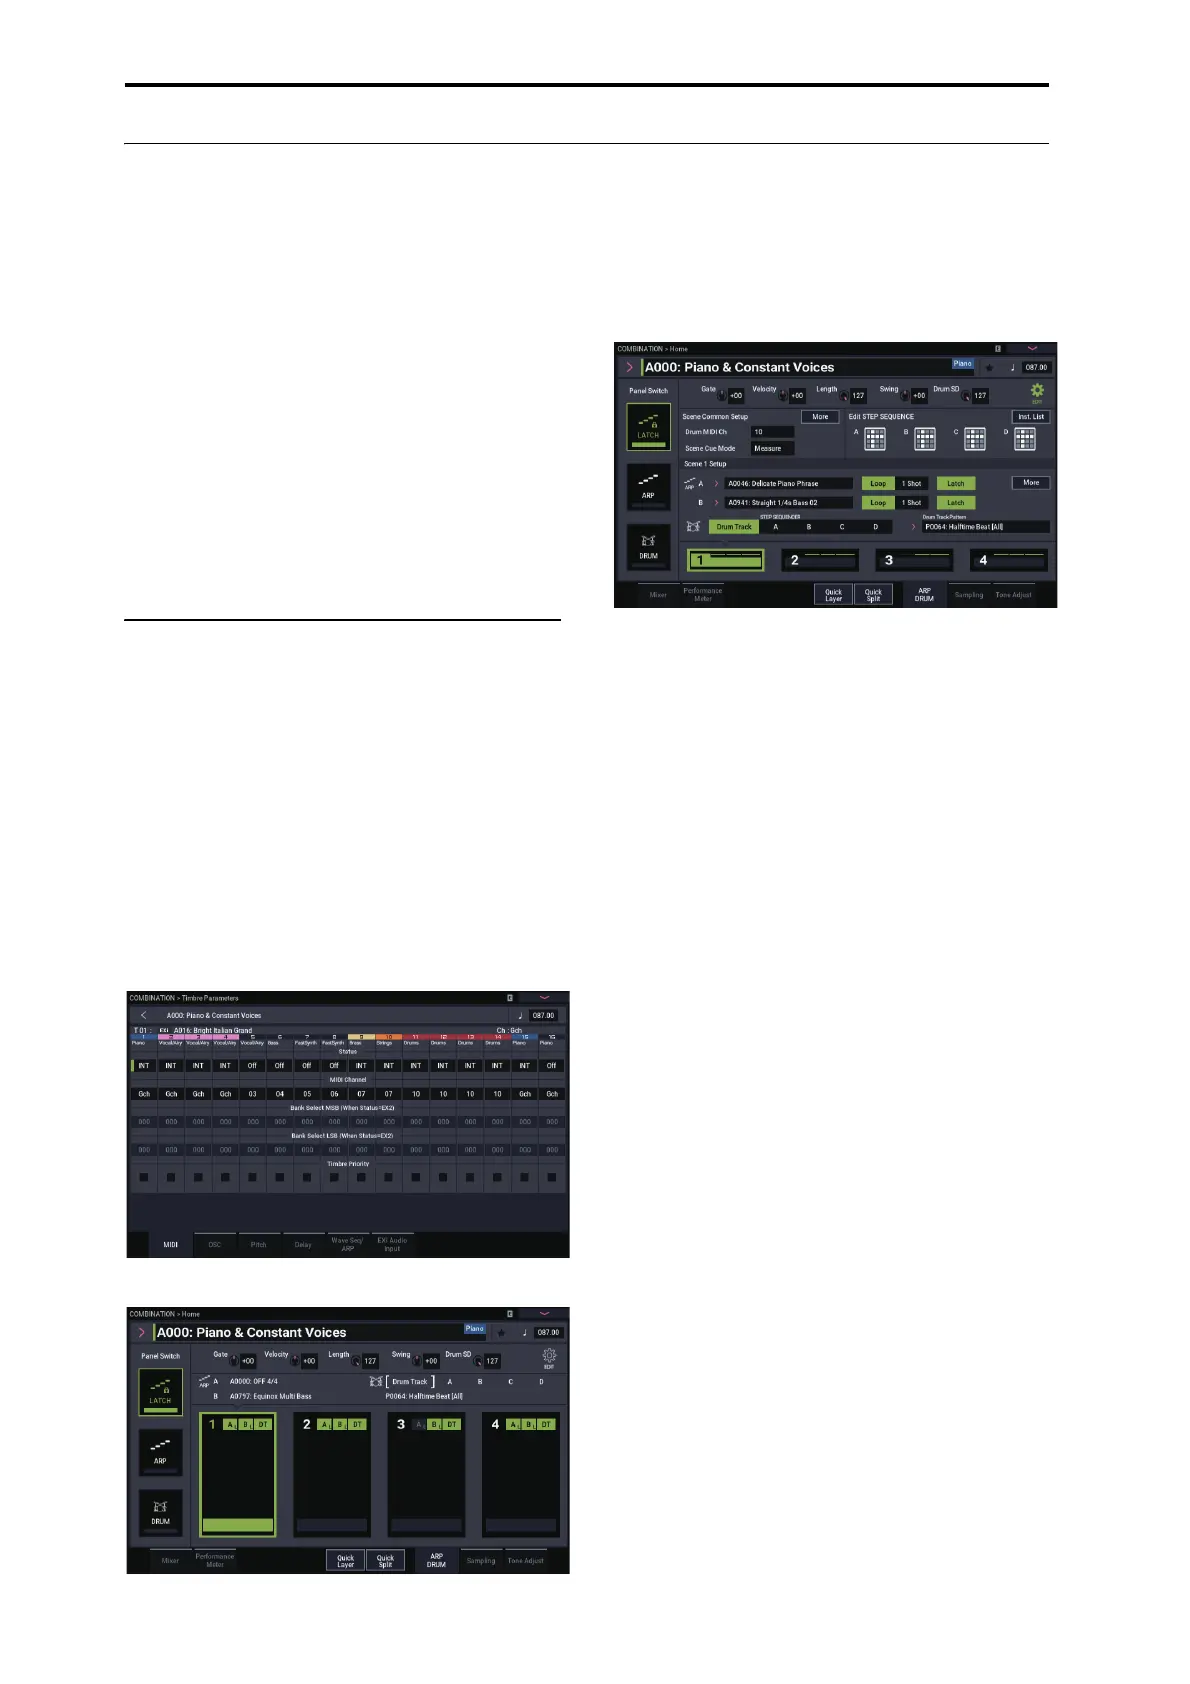
2. Select COMBINATION > Timbre Parameters– MIDI
page.
For the timbres that you will be using, set Status to INT,
and set MIDI Channel to Gch or to the global MIDI
channel (set in GLOBAL > MIDI page MIDI Setup-
Basic MIDI Channel).
For this example, set timbres 1–4 to a Status of INT, and
timbres 5–8 to a Status of Off. Set the MIDI Channel of
timbres 1–4 to Gch.
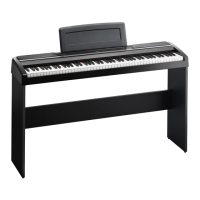
3. Select COMBINATION > Play– ARP DRUM page.
4. Set “ (Tempo)” to specify the tempo.
This is the same as for a program. However, the tempo is
shared by both arpeggiators A and B.
5. Select the scene to set, and press the EDIT button.
The settings page for the selected scene will be shown.
6. Set the parameters for arpeggiators A and B.
The parameters for A and B are the same as for a program
(see page 160).
7. Set the arpeggio patterns of A or B to OFF if you do
not want to hear them.
8. Press the More button in Scene Setup. Configure the
MIDI channel of the timbre that will be used to play
the “Output Channel” of each arpeggiator.
9. Press the More button in Common Setup to show the
Scene Common Setup box, and set the range in which
arpeggiator A and B operate.
The parameters for A and B are the same as for a
program.
You can use keyboard ranges or velocity ranges to use
one or both of the arpeggiators, or to switch between
arpeggiators A and B. By using the COMBINATION >
MIDI Filter/Zone– Keyboard Zone page, and Velocity
Zone page to set keyboard and velocity ranges in
conjunction with each other, you can create even more
variations.
The “Status” setting of the timbre whose MIDI channel
matches the “Output Ch” determines whether the pattern
data is transmitted via MIDI to an external device.
Triggering the arpeggiator using signals
inputted via MIDI
When triggering the arpeggiator by playing notes on the
keyboard of the NAUTILUS, note that the arpeggiator can
also be triggered by MIDI signals received by the global
MIDI channel.

 Loading...