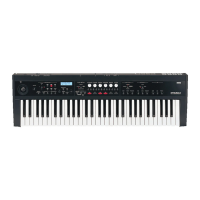
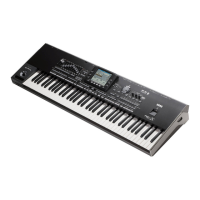
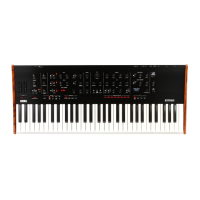
Introduction to the PS60
2
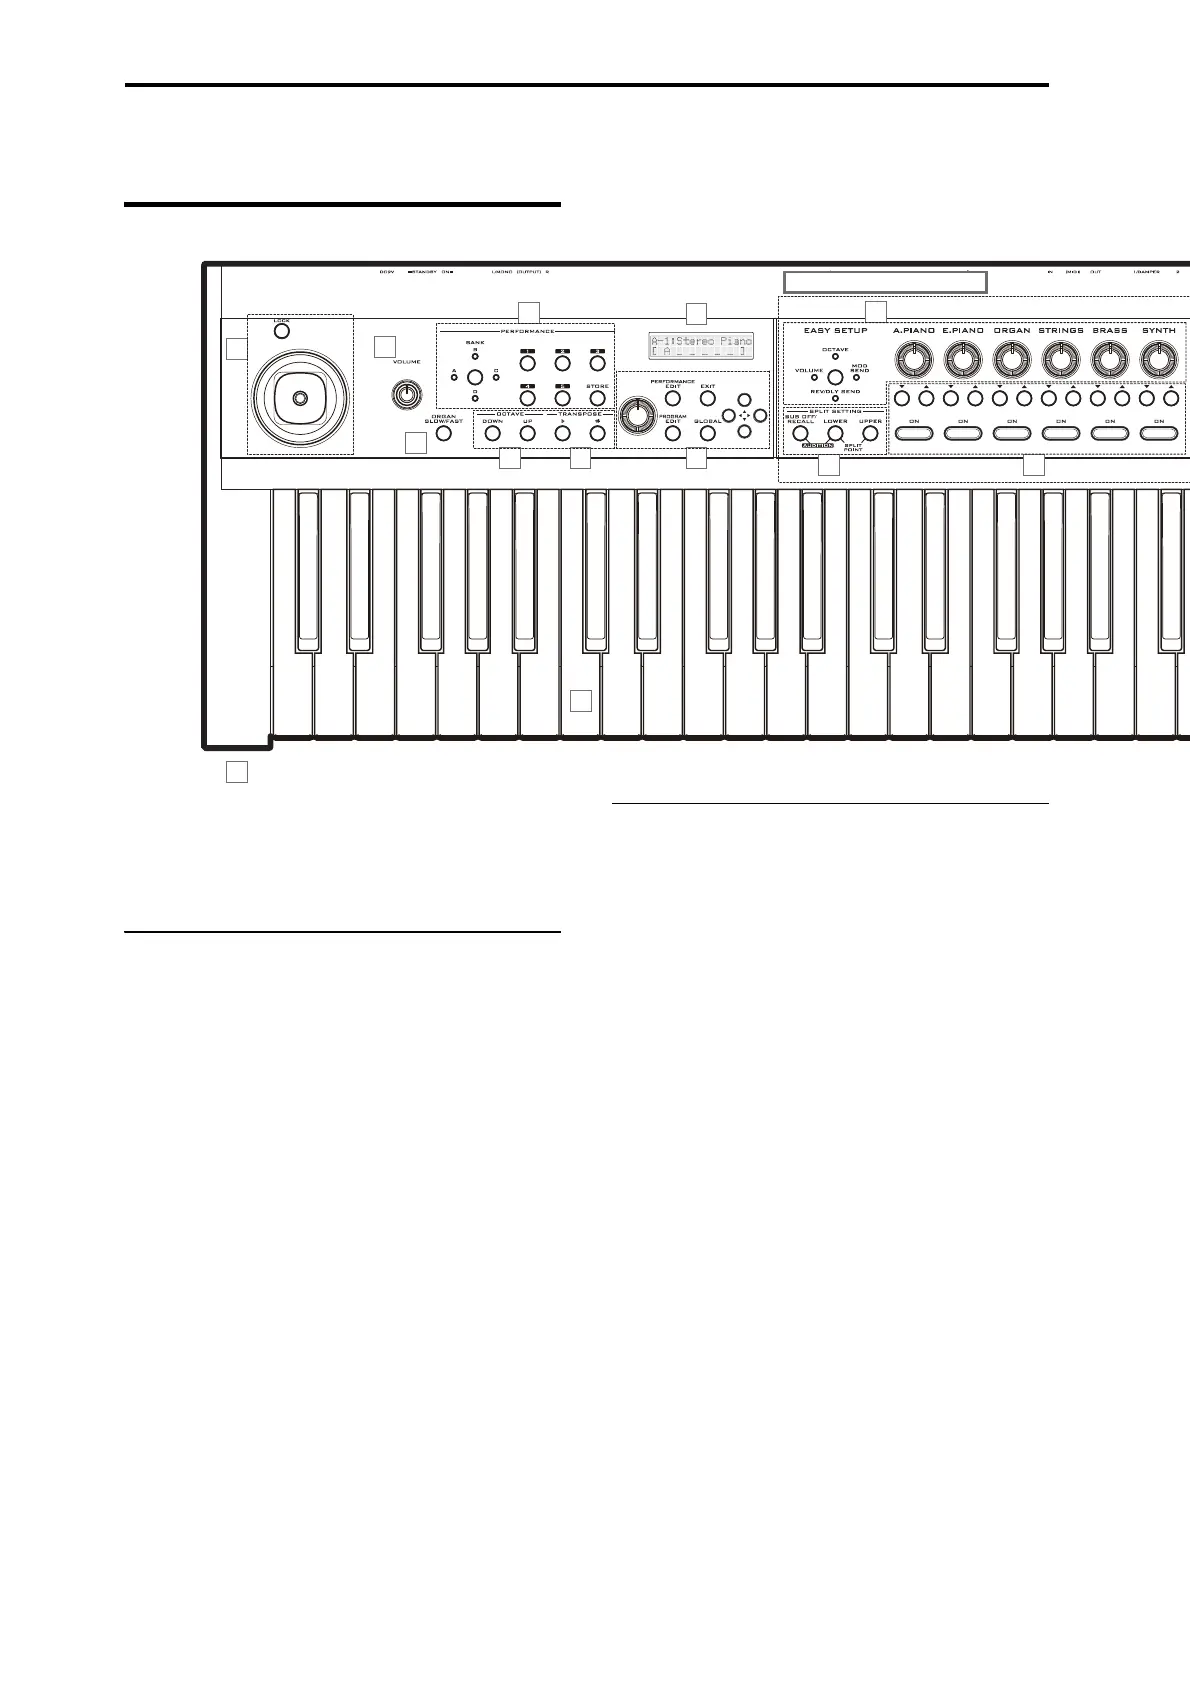
Front and rear panels
Front panel
1. VOLUME knob
This knob adjusts the volume of the OUTPUT L/
MONO, R outputs, as well as the volume of the
headphone jack (p. 9).
Performance
2. PERFORMANCE
Here you can save the sound, effect and split settings
you’ve made using the performance controls. There
are four banks, each containing five performances,
allowing you to save a total of twenty performances
(p. 22).
BANK button
Use this button to select the desired performance bank.
After you’ve selected a performance bank, use the 1–5
buttons to select the desired performance number
from that bank.
1, 2, 3, 4, 5 buttons
Use these buttons to select a performance number.
STORE button
This button stores the performance. The performance
control settings and performance edit settings will be
saved.
After pressing the STORE button, use the BANK and
buttons 1–5 to specify the save-destination bank and
number. Press this STORE button once again to save
the performance.
Performance controls
3. EASY SETUP
Here you can adjust settings such as the volume and
effect send for each timbre.
EASY SETUP button
This button selects the function that the knobs to the
right will control. Each press of the button will cycle
through the following functions.
VOLUME: Adjust the volume
OCTAVE: Switch the octave in a range of –5 to +5
octaves
MOD SEND: Adjust the level of signal sent to the
modulation effect
REV/DLY: Adjust the level of signal sent to the reverb/
delay effect
Off: (all indicators unlit)
A.PIANO, E.PIANO, ORGAN, STRINGS, BRASS, SYNTH
knobs
For each timbre, these knobs adjust the function
selected by the EASY SETUP button (p. 19).
4. Timbre selector
Timbre On buttons
Use these buttons to select the timbre(s) that you want
to play. By holding down a button and pressing other
buttons you can create layered sounds in which
multiple timbres are heard simultaneously. You can
also create split sounds in which different timbres are
heard when you play higher or lower regions of the
keyboard ( “SPLIT SETTING,” p. 3).