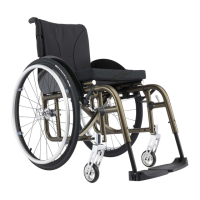
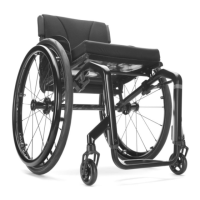
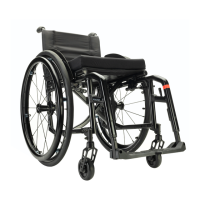
SIDEPARTS
Clothes guard/mudguard
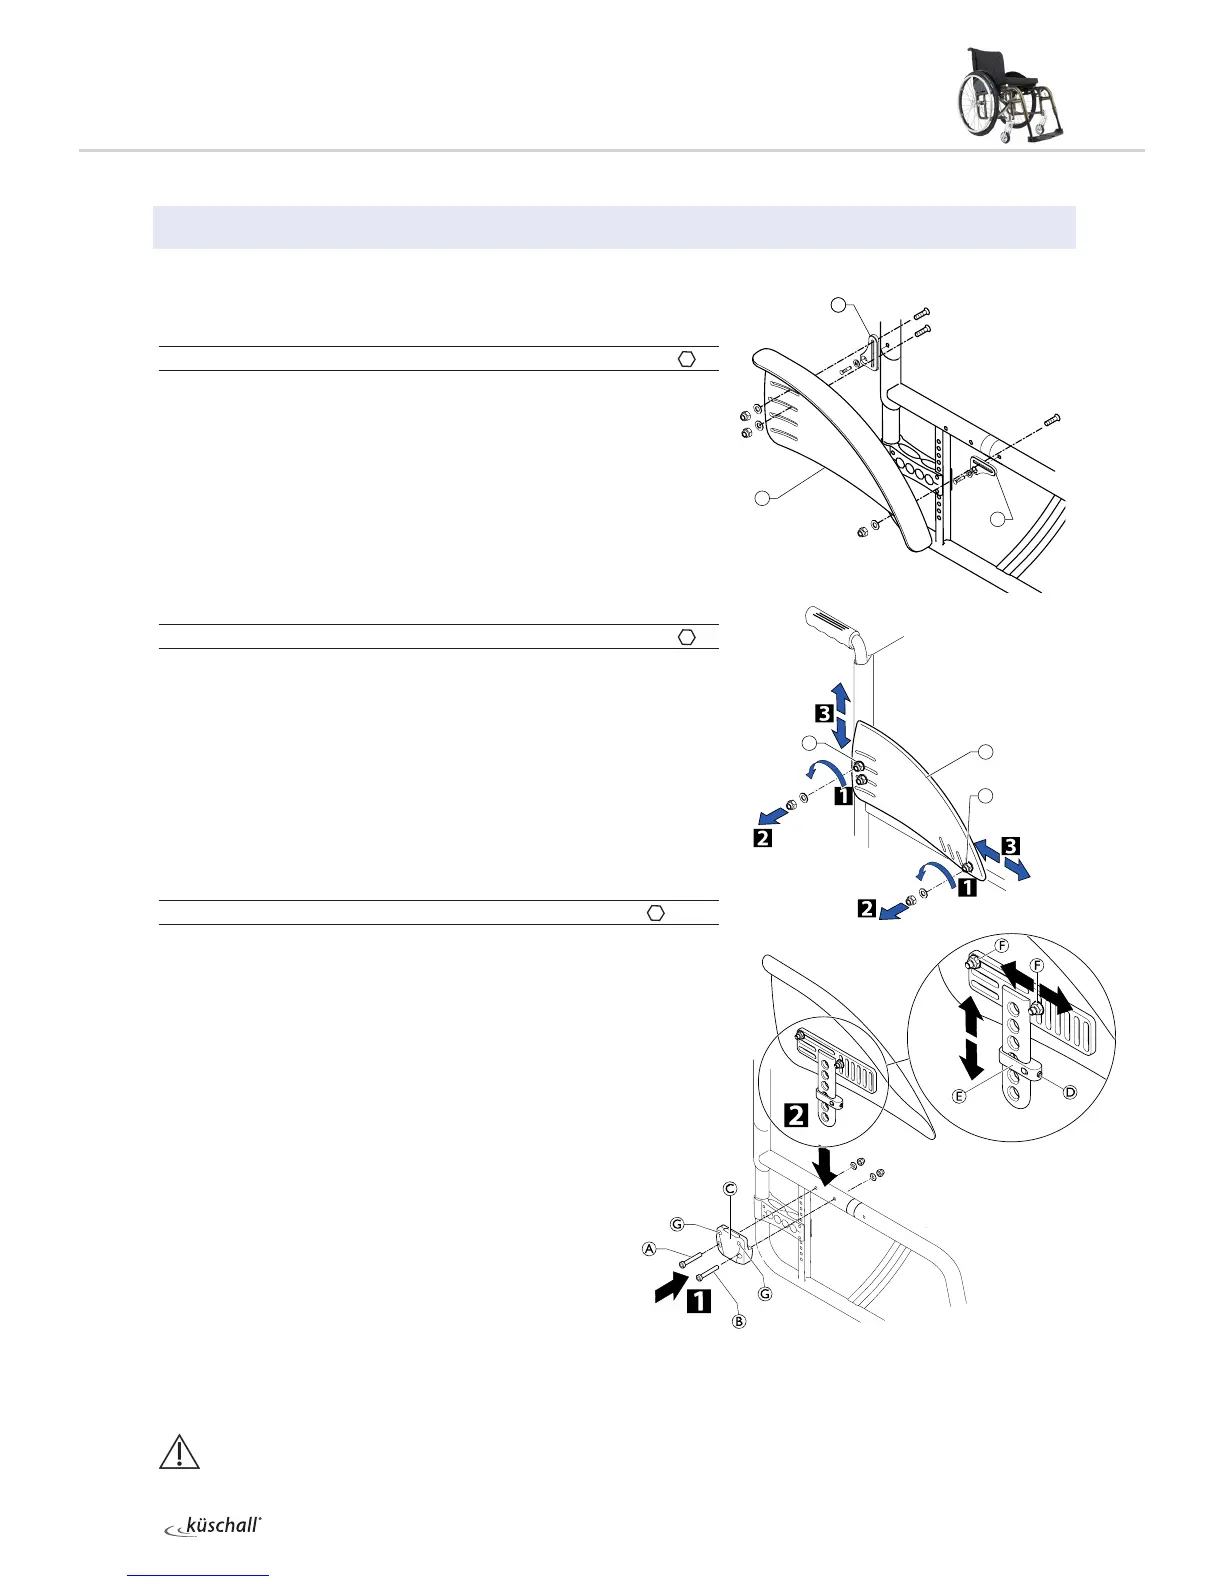
Fitting the clothes guard/mudguard
Diculty:
Tools:
à 3 8
1
Fit side fastenings onto the frame.
2
Fit clothes guard/mudguard with bolts and nuts onto the side
fastenings (4 Nm).
j
CAUTION!
Fit the mudguard such that it is positioned either < 8 mm or > 25
mm above the tyres, to avoid the risk of trapping one’s fingers.
Adjusting the clothes guard/mudguard
Diculty:
Tools:
à 3 8
1
Loosen bolts . Move the clothes guard/mudguard .
Retighten bolts .
or
2
Loosen and remove bolts .
3
Re-fit clothes guard/mudguard in another position.
Installing the mudguard
Diculty:
Tools:
Ã3, 4 10 Ò2
Remove the clothes-guard and the mounting elements on
the backrest and the seat.
1
Install the holder C to the frame using the screw
connections A and B and then refit the rear wheel.
2
Slightly loosen the crub screw D on the adjustment
plate E and slide it along the mudguard carrier until the
mudguard is at the desired height.
The position of the mudguard can also be adjusted:
Here, loosen the screw connections F, position
the mudguard as required and tighten the screw
connections F again.
Tighten the crub screw D again.
Carry out the same setting on both sides.
By tightening or loosening the screws G you can adjust
how easily the mudguard can be pulled out or pushed
in.
i
The existing axle may not be suciently long for the
new configuration with mudguard. In this case, a longer axle must
be fitted. Changing the wheel camber / fitting and adjusting an
axle
The distance between the mudguard and the wheel must be
either < 8 mm or > 25 mm to prevent fingers from becoming
caught between the wheel and the mudguard.
11
1
2
1
1
2
A à 4 Nm
B à 7 Nm
D à 4 Nm
F à 7 Nm
à 4 Nm
à 4 Nm