17
Leica RM2255
4.3 Unpacking and installation (cont.)
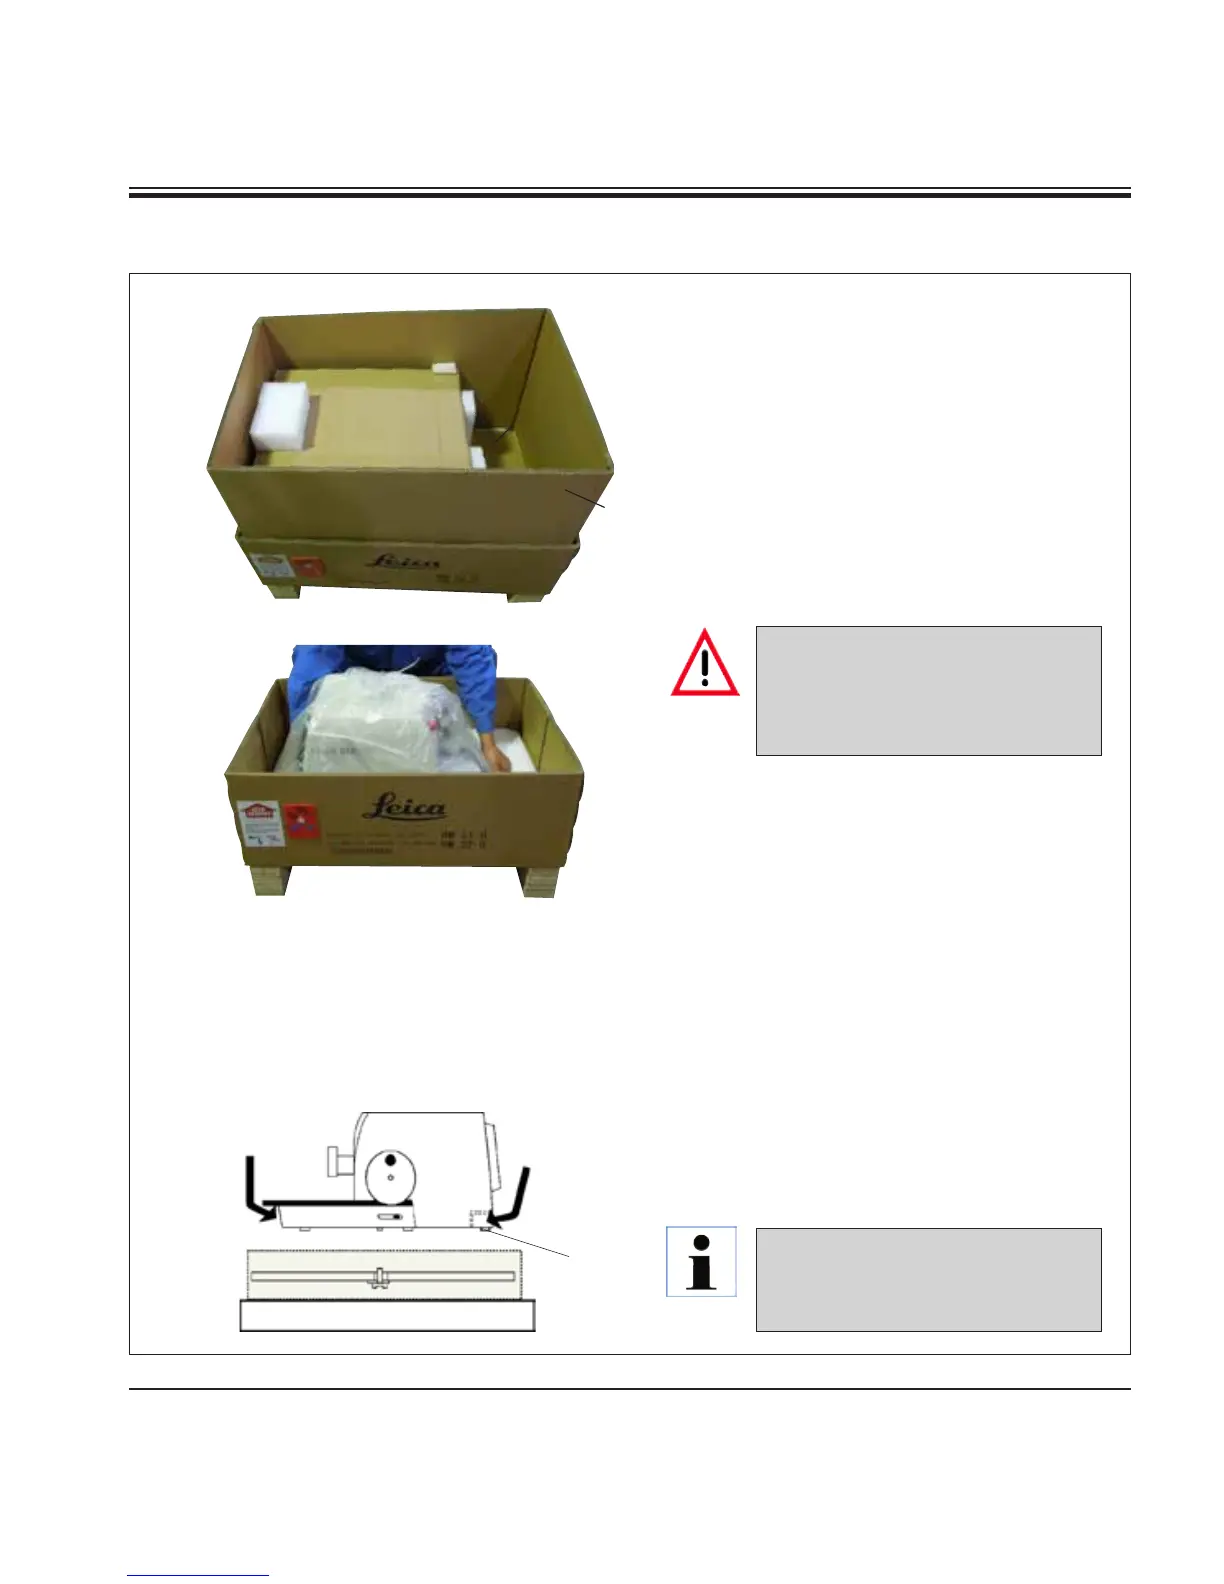
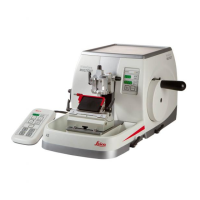
Fig. 10a
10
• Place the instrument on a stable laboratory
table.
The two sliding elements (10) located on
the rear of the base plate make it easier to
move the instrument on the table.
• To move the instrument, hold it by the front
of the base plate, lift it up gently and slide
it on its slides.
4. Instrument Setup
Never hold the instrument for
transport by the handwheel or the
rotary knob for section thickness
adjustment.
Observe the correct resting angle
to the table to avoid pinching your
fingers.
6
5
8
9
7
• Take out the fixing module (5). To do so, hold
it by the top edge of the module and in the
recessed grip (6) and pull it out by pulling
upwards.
• Remove the outer carton wall (7).
• Lift the instrument* (8) by holding it by the
base plate at the front and under the instru-
ment on the back and lift it out of the formed
cushion (9).
• (*= the instrument illustration is provided as
an example only.)