Removing and installing hardware
This section provides instructions on how to remove and install hardware for your computer. You can expand
the capabilities of your computer and maintain your computer by removing or installing hardware.
Attention: Do not open your computer or attempt any repair before reading and understanding the Chapter
1 “Read this first: Important safety information” on page 1.
External options
You can connect external options to your computer, such as external speakers, a printer, or a scanner. For
some external options, you must install additional software in addition to making the physical connection.
When installing an external option, see “Hardware locations” on page 29 to identify the required connector.
Then, use the instructions that come with the option to help you make the connection and install any
software or device drivers that are required for the option.
Slim optical drive
Attention: Do not open your computer or attempt any repair before reading and understanding the Chapter
1 “Read this first: Important safety information” on page 1.
To remove or install a slim optical drive, do the following:
1. Prepare your computer. See “Preparing your computer” on page 98.
2. Locate the slim optical drive. See “Computer components” on page 33.
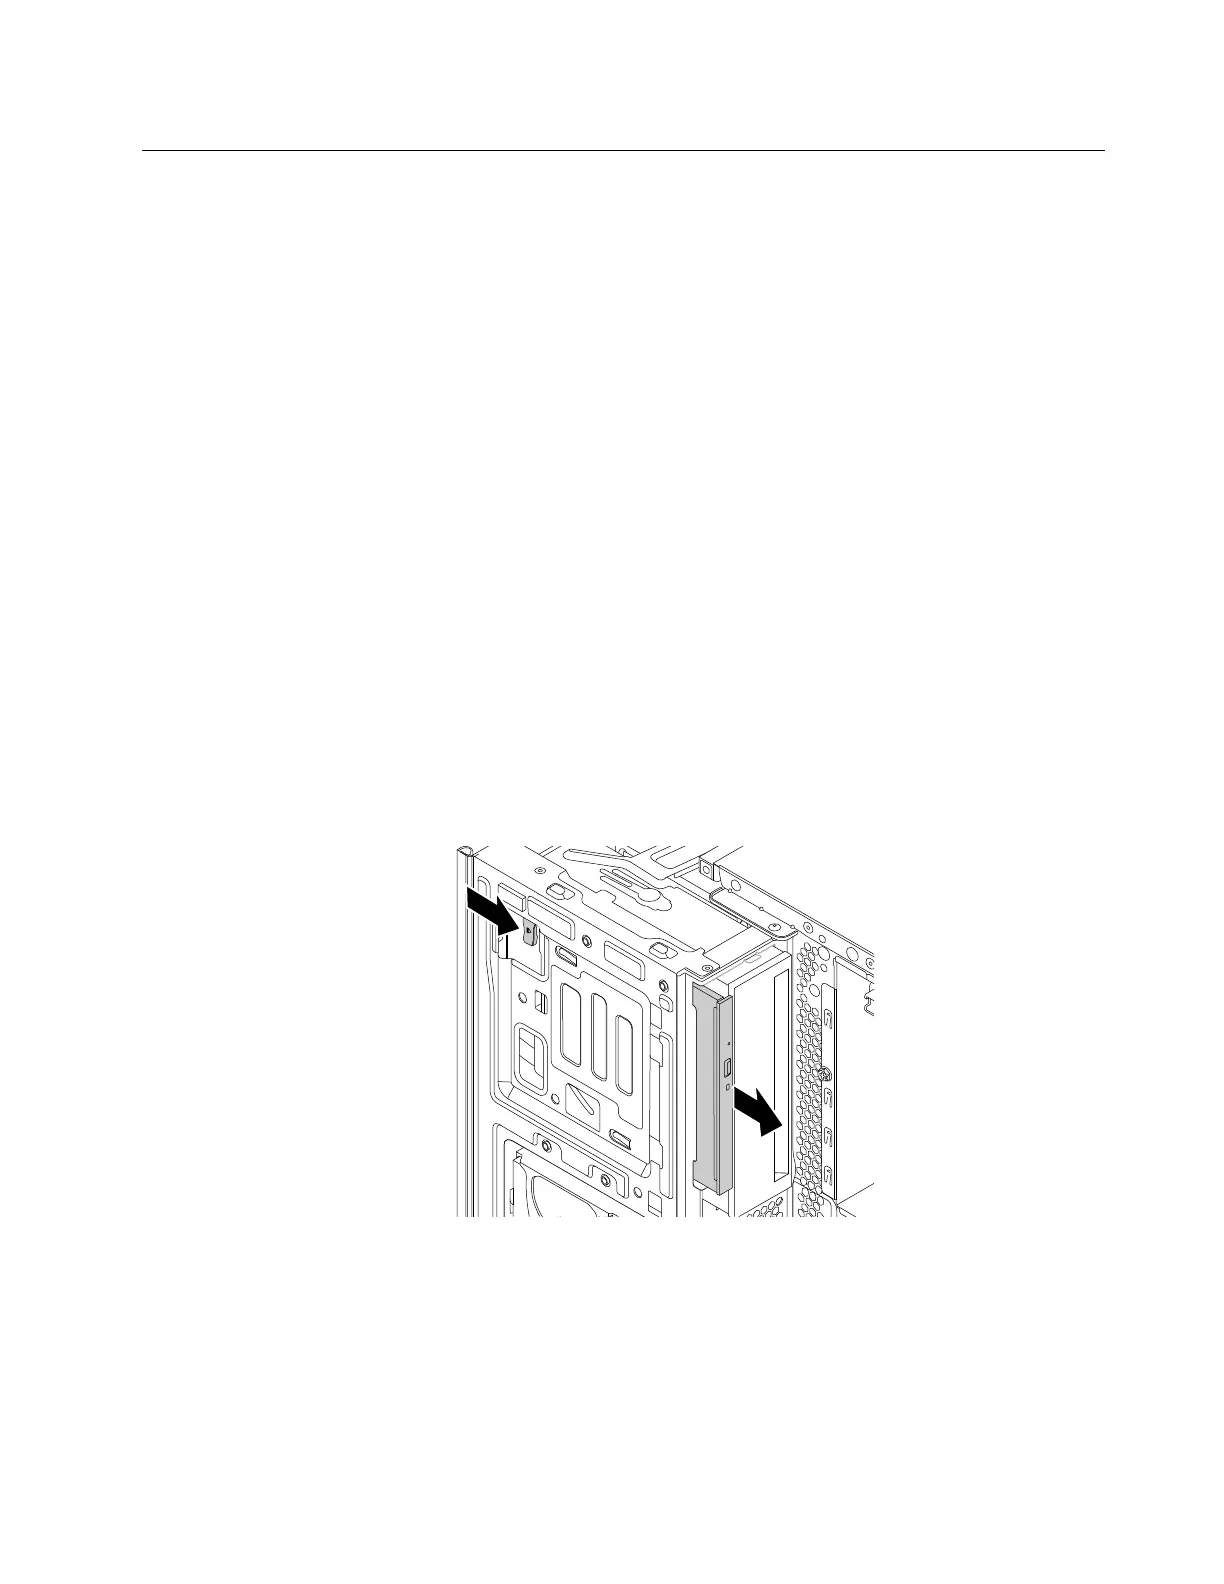
3. To remove the slim optical drive from the drive bay assembly, do the following:
a. Disconnect cables from the rear of the slim optical drive.
b. Press the release button, and then slide the slim optical drive out of the drive bay assembly.
Figure 17. Removing the slim optical drive
Chapter 9. Hardware removal and installation 101