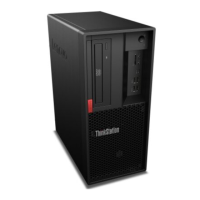
b. Slide the new storage drive into the type-1 storage-drive cage until it snaps into position.
Figure 99. Installing the storage drive
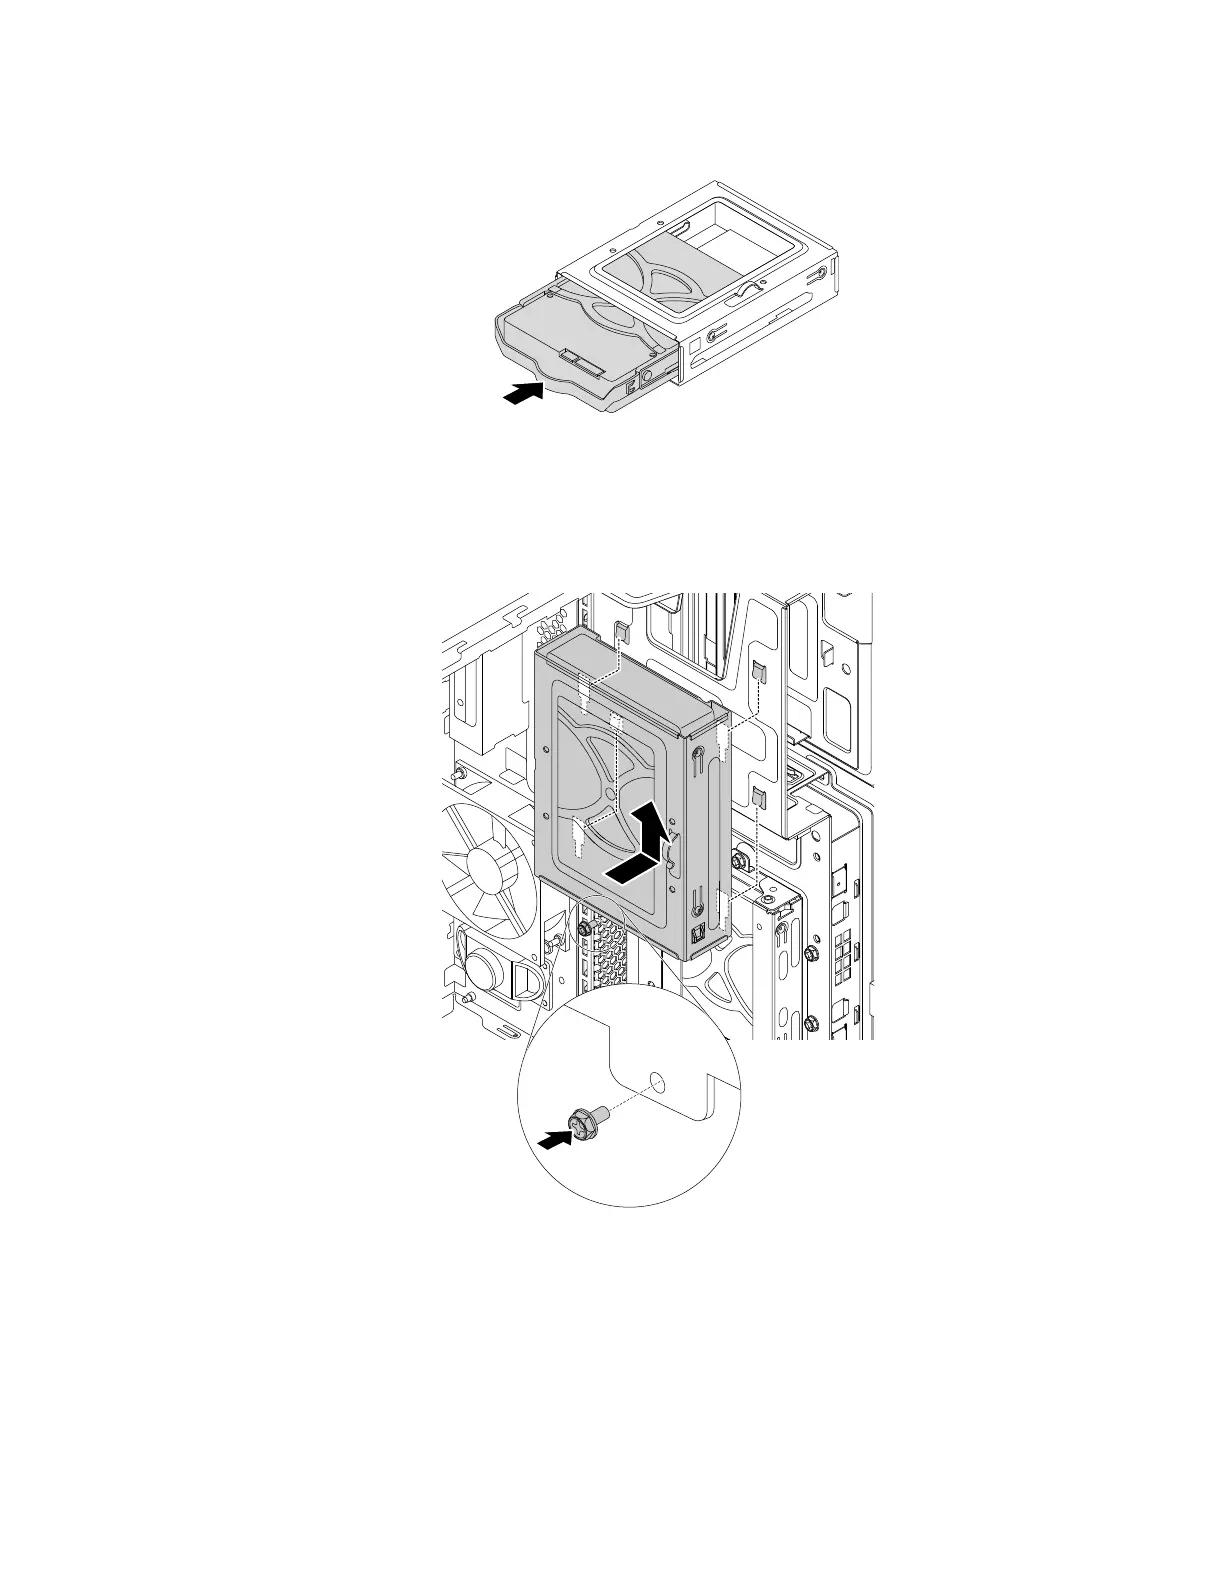
c. Align the four holes in the rear of the type-1 storage-drive cage with the corresponding hooks in the
drive bay assembly. Then slide the type-1 storage-drive cage upward until it snaps into position.
Reinstall the screw to secure the type-1 storage-drive cage.
Figure 100. Installing the type-1 storage-drive cage
d. Connect the signal cable and the power cable to the new storage drive.
What to do next:
• To work with another piece of hardware, go to the appropriate section.
• To complete the installation or replacement, go to “Completing the parts replacement” on page 187.
Chapter 9. Hardware removal and installation 143