Installing an option card Your printer has one expansion card slot
that supports a number of option cards.
The following table describes their
function.
Card Function
MarkNet™ internal print server Adds an Ethernet, Token-Ring, or Fiber port to connect your printer to a
network.
Install a MarkNet N2501e or N2401e internal print server if you received
either of these cards as part of a multifunction printer upgrade.
Serial/Parallel 1284-C Interface Card Adds an RS-232C serial and 1284-C parallel interface port.
Coax/Twinax Adapter Card for SCS Adds a coaxial/twinaxial network port.
802.11b Wireless Print Adapter Connects to a MarkNet internal print server to add US or international
802.11b wireless printing capability.
Note: The network models ship with an Ethernet print
server already installed.
Warning: Option cards are easily damaged by static
electricity. Touch something metal, such as the printer
frame, before you touch an option card.
You need a small Phillips screwdriver to
install these options.
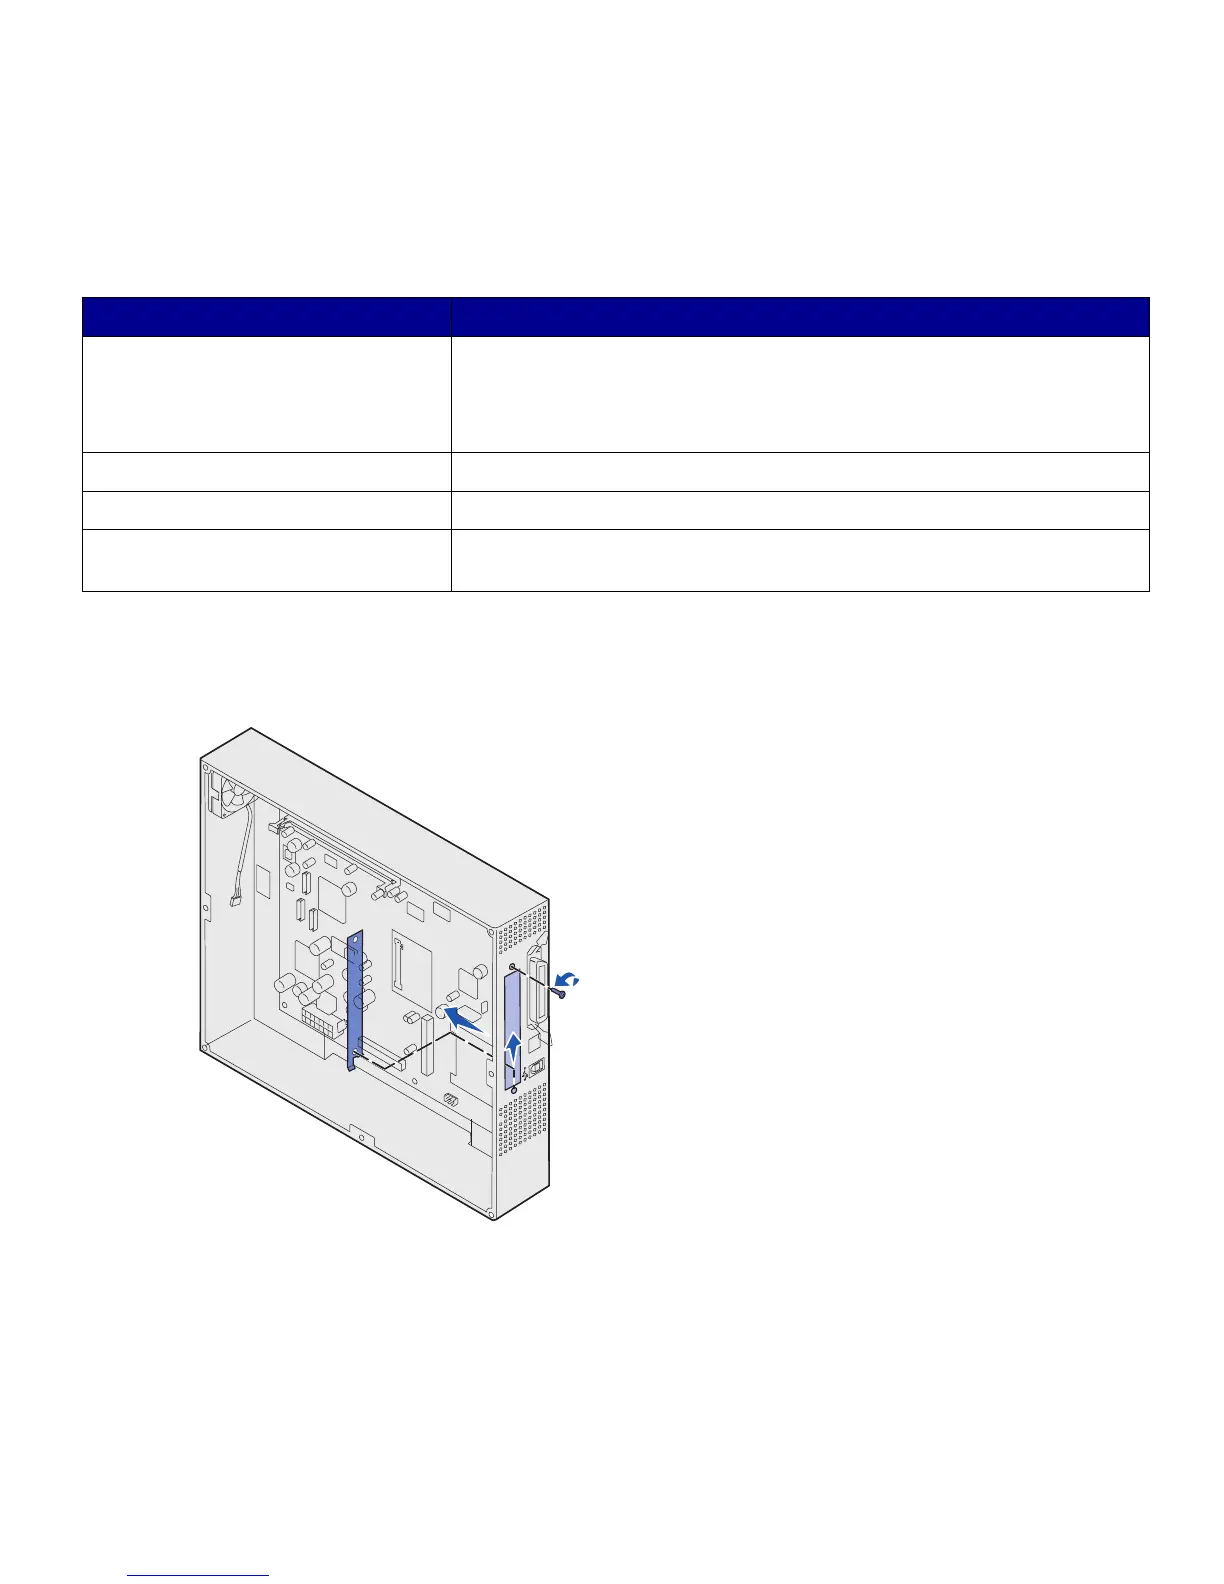
1 Remove the system board access
cover (see page 29).
2 Remove the screw from the metal
plate that covers the connector
slot, and then lift the plate off.
Save the screw.
3 Unpack the option card.
Save the packing materials.
Install memory and option cards
35