Parallel A parallel port is standard on the base model.
To attach the printer to a computer:
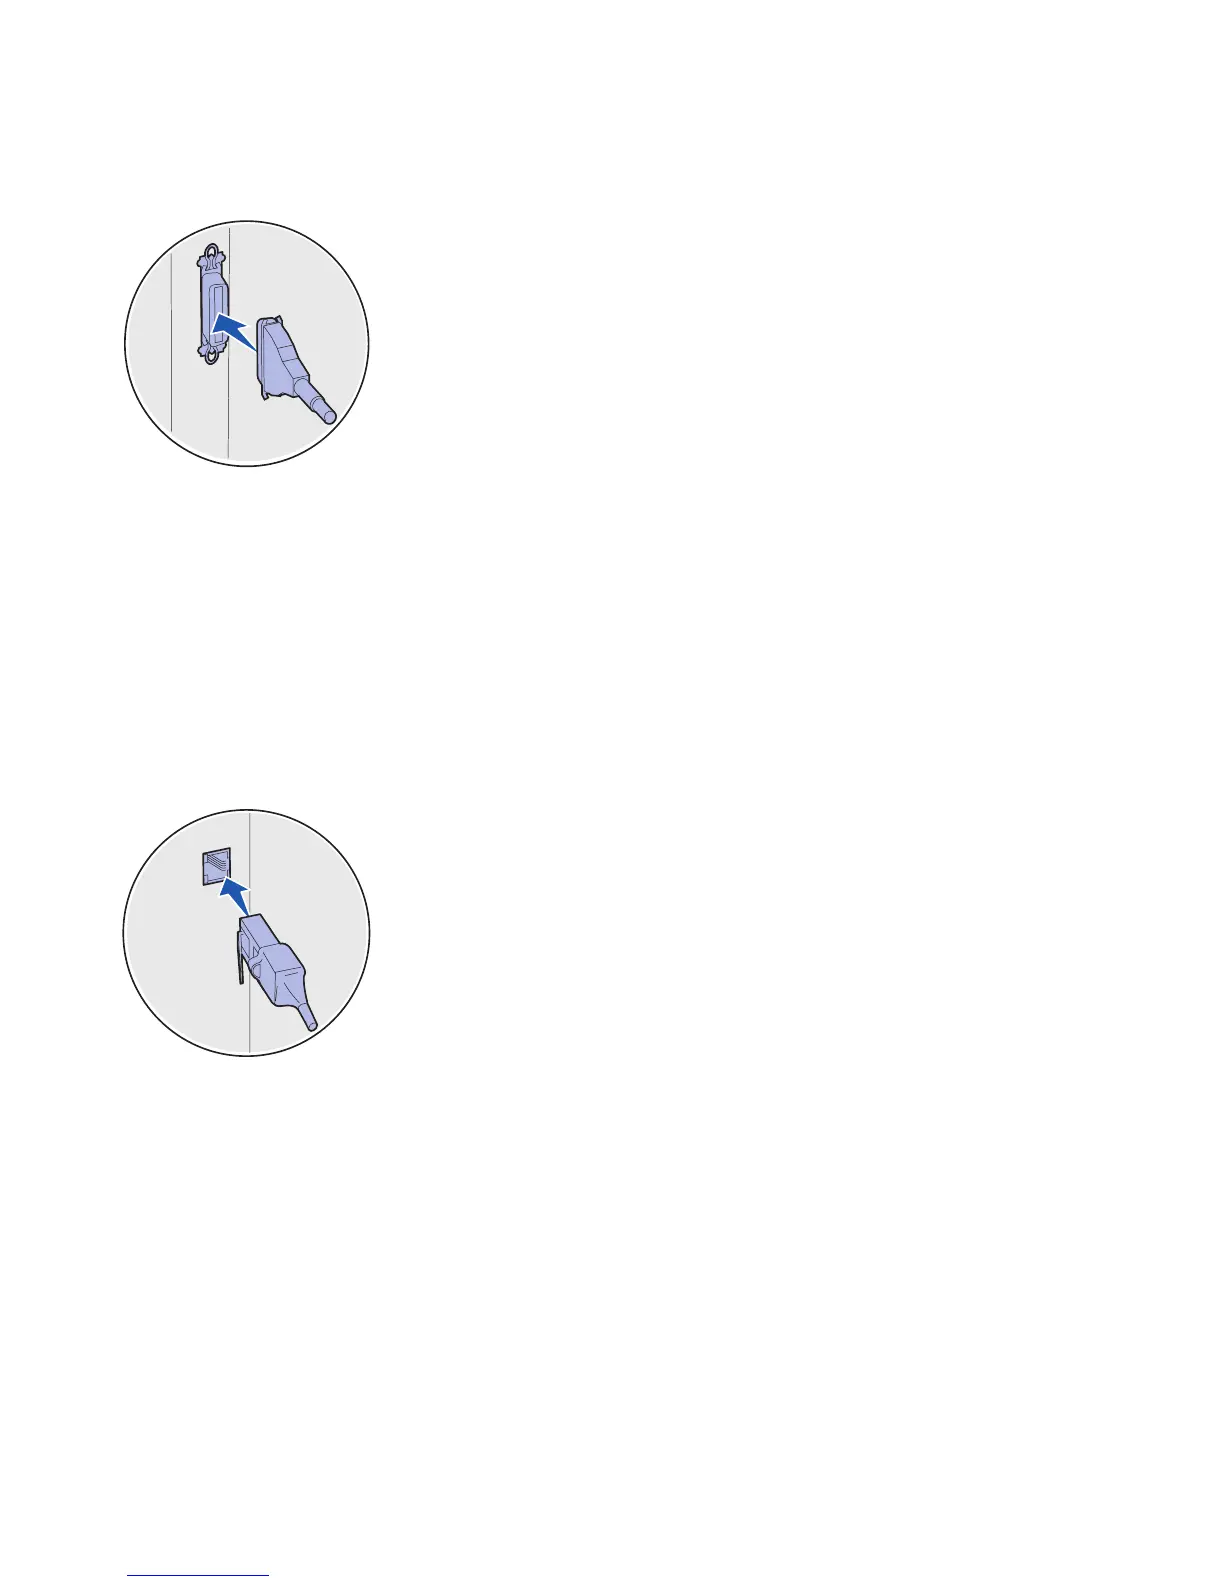
1 Connect the printer to the computer using a parallel cable.
A base machine’s parallel port requires a 1284 A-B parallel
cable such as Lexmark part number 1329605 (3.05 m [10 ft]) or
part number 1427498 (6.1 m [20 ft]). A parallel port on an
RS-232C Serial/Parallel 1284-C Interface Card requires a
1284 A-C parallel cable, such as Lexmark part number
11K4078 (1.83 m [6 ft]).
2 Go to “Turning on the printer” on page 53.
Attaching a You can attach your printer to a network using standard network
network cable
cables.
Ethernet A 10BaseT/100BaseTX Fast Ethernet port is standard on the network
model.
To attach the printer to a network:
1 Make sure the printer is turned off and unplugged.
2 Connect the printer to a LAN drop or hub using standard cabling
that is compatible with your network. The printer automatically
adjusts for the network speed.
3 Go to “Turning on the printer” on page 53.
Use a Category 5 cable with an RJ-45
connector for the standard network port.
Attach cables
52
 Loading...


