Attaching the paper tray labels
1
2
3
4
5
3
or
depending on
configuration
To remove the factory installed
spacer:
a Remove the spacer from the
top of the caster.
b Insert the four screws through
the caster.
c Align and insert the screws into
the screw holes on the high
capacity feeder.
5 Tighten the four screws to secure
the caster.
6 Repeat steps 3 through 5 to add or
remove spacers on the remaining
three casters.
7 Return to step 5 on page 13.
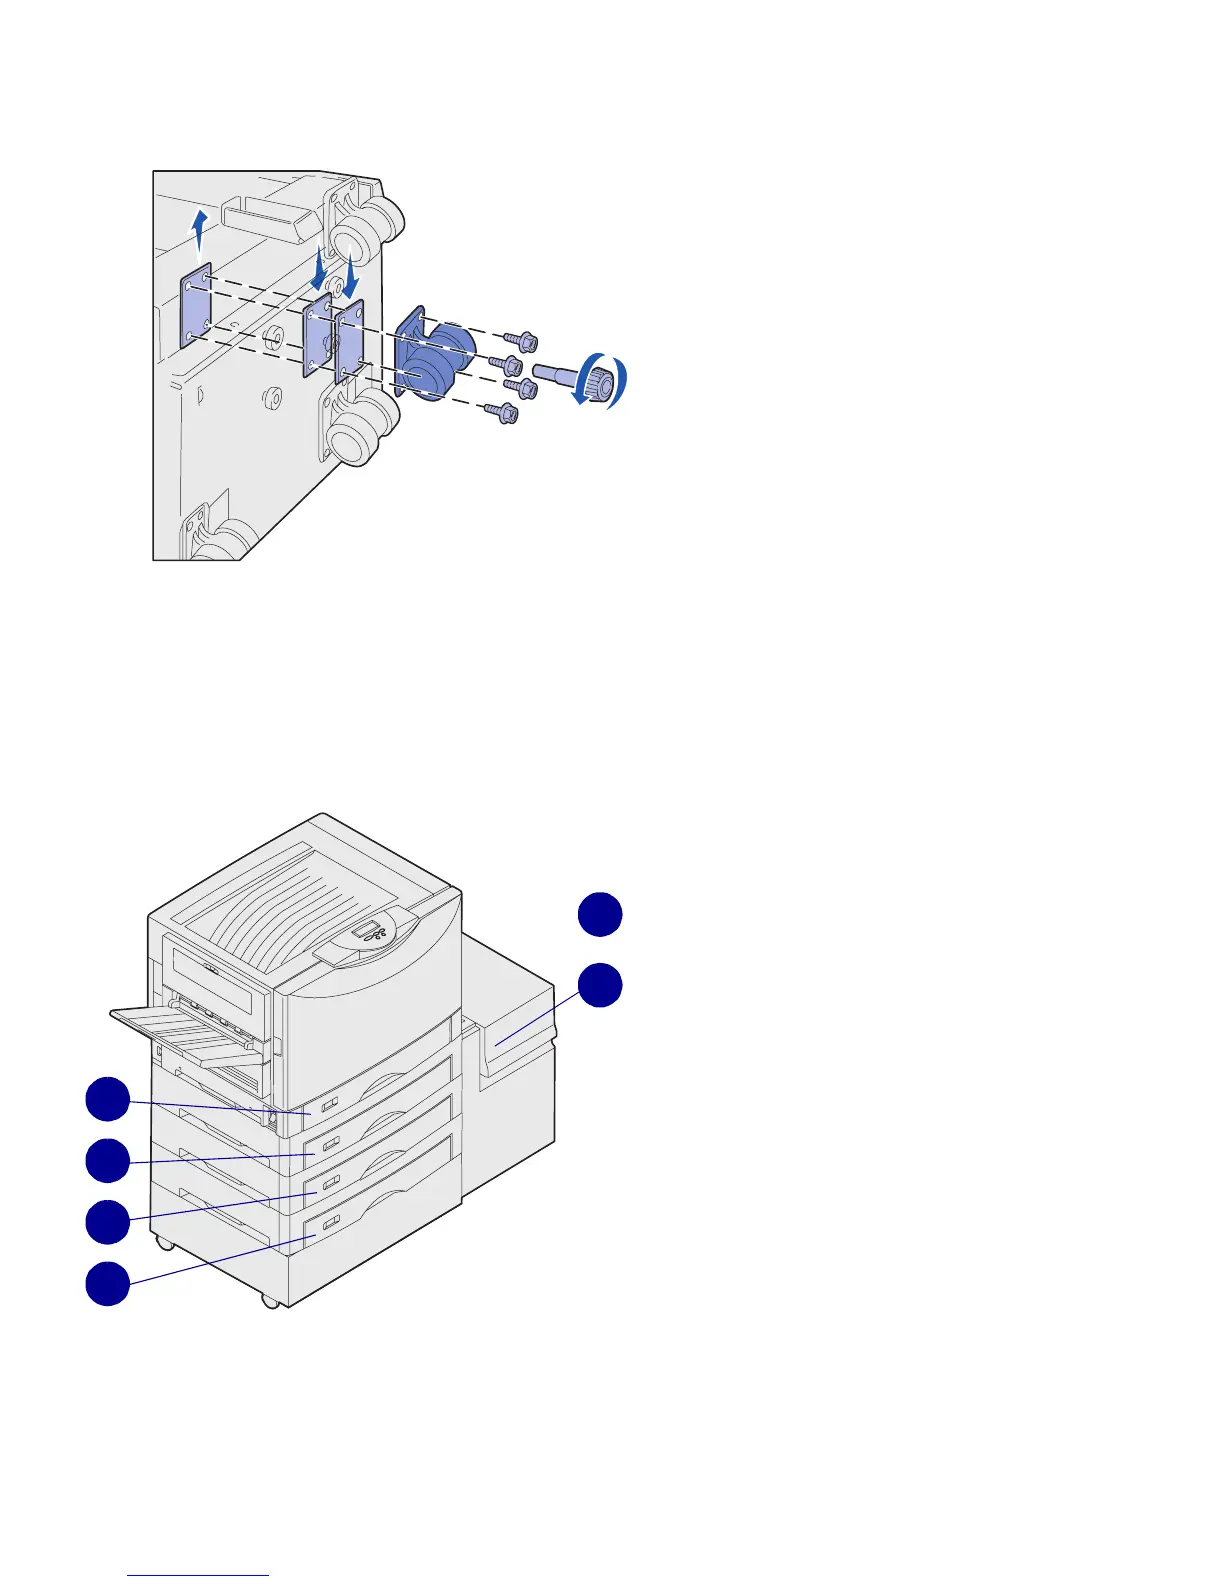
Paper tray labels are included with each
paper tray option. Use the labels to
indicate the tray number and to help
identify paper jams and change paper
tray menu options.
Number the trays in sequential order,
according to the illustration. The actual
number for the trays may differ depending
on your printer configuration.
Set up the printer and paper handling options
16
 Loading...


