Replacing ink cartridges
Make sure you have a new ink cartridge or cartridges before you begin. You must install new cartridges immediately
after removing the old ones, or the ink remaining in the printhead nozzles may dry out.
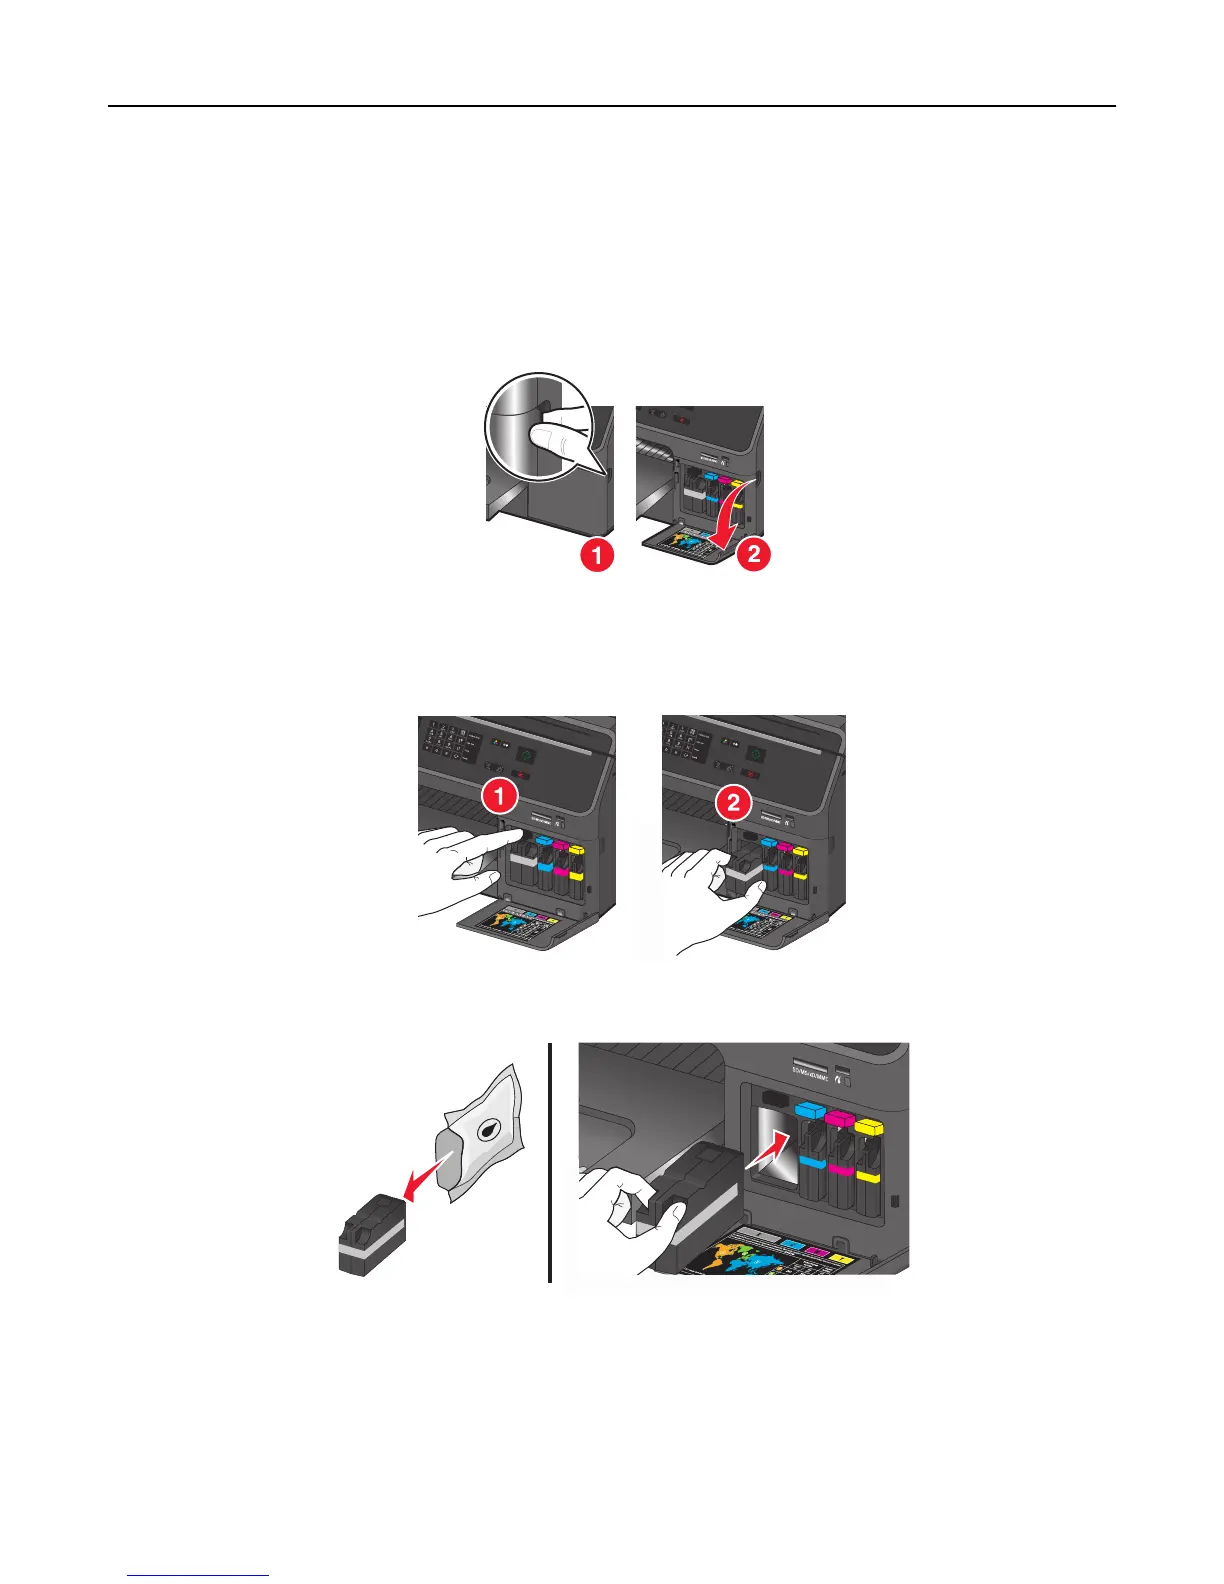
1 Turn on your printer.
2 Open the ink cartridge access door.
Warning—Potential Damage: Do not extend the ink cartridge access door beyond 90 degrees when opening to
prevent it from breaking.
3 Press the release tab, and then remove the used ink cartridge or cartridges.
4 Insert each ink cartridge until it clicks into place.
Note: Install the new ink cartridges immediately after removing them from the packaging to avoid exposing the
ink to air.
5 Close the ink cartridge access door.
Ordering and replacing supplies 14

 Loading...