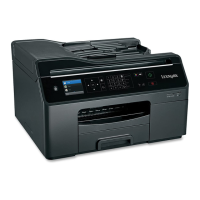
E-mailing
You can use your printer to send e-mail to one or more recipients without using a computer provided you have set up
the scan to e-mail task through shortcuts. For more information, see the section on shortcuts in the User's Guide.
Before you can send e-mail using the printer control panel, you must first configure the network connection and e-mail
settings of your printer.
Setting up the printer to e-mail
Setting up the e-mail function
For Windows users
1
Click or Start.
2 Click All Programs or Programs, and then select the printer program folder from the list.
3 Navigate to:
Printer Home > select your printer > Settings > Set up the printer to e‑mail
The E‑mail Setup Wizard opens.
4 Follow the instructions on the computer screen.
For Macintosh users
1
From the Finder, navigate to:
Applications > select your printer folder > Printer Settings > Email
2 Follow the instructions on the computer screen, and then click Save Settings.
Configuring e‑mail settings
1 Type the printer IP address into the address field of your Web browser.
If you do not know the IP address of the printer, you can:
• View the IP address on the printer control panel in the TCP/IP section under the Networks/Ports menu.
• Print a network setup page or the menu settings pages and locate the IP address in the TCP/IP section.
2 Click Settings > E-mail/FTP Settings > E-mail Settings.
3 Fill in the fields with the appropriate information.
4 Click Submit.
E-mailing 72

 Loading...