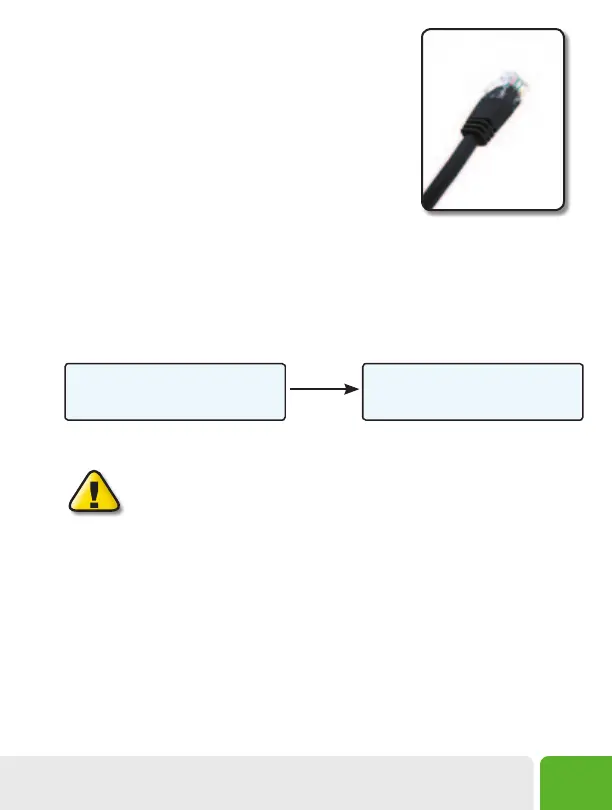
5. Connect the small end of the cable
Plug the small end of the cable into the back or side of the
ScanGauge.
6. Turn the vehicle on.
Start your vehicle or turn the ignition to the ON position.
7. Plug the ScanGauge Plug Into The
Diagnostic Connector.
While inserting in the plug, you may have to rotate the plug to align the connector pins. Once the
pins are aligned, push firmly on the plug to complete the connection.
Once connected with the vehicle running or the ignition in the ON position, your ScanGauge will
display the Connecting Screen, and then quickly switch to the Home Screen.
When the Home Screen is displayed, your ScanGauge is connected and has established
communication with your vehicle’s computer.
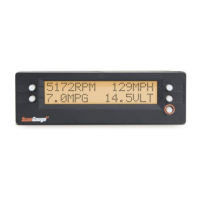
Connecting...
<TRIP MORE>
Connecting Screen
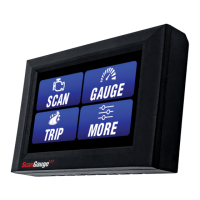
<SCAN
<TRIP
GAUGE>
MORE>
Home Screen
Up to 10
seconds
If it does not stop saying “Connecting...” or the screen goes blank after 60
seconds, refer to Troubleshooting on page 52.
The TRIP and MORE buttons can be used even if a connection is not established. If communication
with the vehicle ECU is not completed within about 75 seconds, the ScanGauge goes to sleep. It will
continue to attempt to connect when the vehicle is restarted or the HOME button pressed. When
communication has been established, the display will change over to that which was displayed the
last time it went to sleep or to the Home Screen.
8. If this is the first time it has been used on this vehicle, follow the
procedures outlined in Setting Up Your ScanGauge, on page 11.
Small end of the cable
connects to your ScanGauge.
Installing the ScanGauge
9