SCP System • Replacing components
CP_SEM_60-00-00.002 29
5 Replacing components
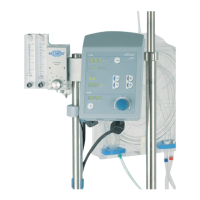
5.1 Pump control panel
5.1.1 Opening the pump control panel
Fig. 11: Opening the casing (1)
To open the casing:
◗ Unscrew the six screws on the back panel (slotted screwdriver size 2).
◗ Turn the pump control panel over so that the front is pointing upwards.
◗ Carefully lift the front of the casing. Caution: The upper casing cannot be fully removed yet as the
connections between the upper and lower casing must first be detached!
Operating with the S5/C5 or the S3/SC System
Open the pump control panel to assign the SCP System to the S5/C5 or the S3/SC System.
◗ Adjust DIP switch A 29 on the circuit board CPU (ZKR 9910) to the correct setting:
– Switch 1 / setting ON: when operating the SCP System with the S5 or the C5 System
– Switch 1 / setting OFF: when operating the SCP System with the S3 or the SC System
Pump number "6" will be displayed on the corresponding HLM if the assignment was performed
correctly.