Do you have a question about the LogTag TRIX-8 V2 and is the answer not in the manual?
Procedure for placing SMD components, ensuring reflow temperature, and inspecting solder quality.
Guidelines for operators on wearing gloves, ESD wrist-straps, and maintaining clean workstations.
Instructions on carefully separating PCBA's from panels and cleaning soldering residue from critical areas.
Procedure for programming the PIC16LF1704 processor using the Microchip PM3 programmer and specific software.
Testing and calibrating PCBA functionality and temperature sensor using production software and test fixture.
Installing electrical contacts into the case and swaging them for secure PCB retention using a riveting press.
Soldering the electro-cap, solder link, and thermistor onto the PCBA according to specified procedures and polarity.
Applying RTV sealant to components and conformal coating over areas for protection and environmental sealing.
Soldering the battery to the PCBA and inspecting the joint for quality, polarity, and insulation integrity.
Applying an adhesive foam dot onto the top of the battery for vibration damping and protection.
Applying non-corrosive RTV sealant to the sensor area for environmental protection and sealing against moisture.
Pressing case halves together using a pneumatic press and verifying the assembled case thickness.
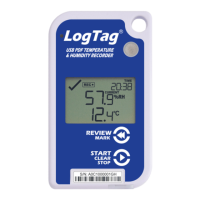
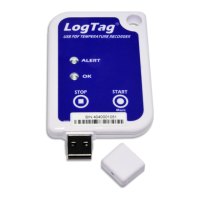
Performing functional and setup verification of the LogTag using dedicated software and USB interface.
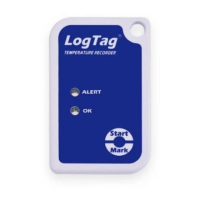
Checking the push start button functionality and securing the case with screws, ensuring proper torque.
Pressing lightpipes into LED holes and applying protective tape over openings for environmental sealing.
Conducting temperature cycle testing to assess product durability under alternating extreme thermal conditions.
Performing final checks and tests to verify product functionality after stress testing before packaging.
Configuring LogTag devices with custom settings, serial numbers, and labels for shipping and order fulfillment.
Packaging the customised LogTag devices in protective covers and placing them into shipping subcartons for distribution.
| Model | TRIX-8 V2 |
|---|---|
| Temperature Range | -40°C to +85°C |
| Temperature Resolution | 0.1 °C |
| Temperature Accuracy | ±0.5 °C |
| Weight | 100 g |
| Power Source | 3V Lithium Battery |
| Water Resistance | IP67 |
| Interface | USB |
| Software | LogTag Analyzer |
| Compliance | CE, RoHS |
| Sensor Type | Thermistor |