114
Appendix F: DDNS Setup (Advanced)
3 Reconnect the power cable to power the DVR back on.
ROUTER
(Not Included)
COMPUTER
(Not Included)
(not required for
local viewing)
INTERNET
Ethernet Cable (included)
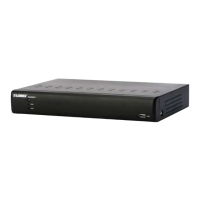
8-channel model shown
Step 2 of 3: Obtain the DVR’s Local IP Address
1 Right-click and click the Main Menu button ( ). Enter the DVR password (default:
000000). Then click Syst
em>Info.
OR
Press the
button on the remote control to open the System Information window.
2 Write down the IP Address number of the DVR.
• A local IP looks something like this: 192.168.5.11
8. Note that single digit numbers appear as
three digits. For example, "005" is the same as "5".
Step 3 of 3: Connect to the DVR’s Local IP Address
Follow the steps below to confirm connectivity over a local network on a PC or Mac.
To connect using the DVR’s local IP address on a PC:
1 Insert the software CD that comes included with the system. Open the CD and click DVR
Software>Lorex Client Software - PC. Follow the on-screen instructions to install.

 Loading...