xMAP Technology Maintenance and Cleaning
27
4. Clean the filter with a vacuum or with distilled water. Stand the
filter upright to air dry.
5. Re-install it with the arrows facing up. The filter should click
into place.
6. Plug in and turn on the Luminex 200 analyzer power.
Annually
Sheath Filter To change the Luminex 200 analyzer sheath filter:
1. Disconnect the Luminex 200 analyzer from AC power by turning
off the power switch on the rear of the analyzer, then unplugging
the analyzer power cord from the wall source.
2. Disconnect the sheath fluid tubing before changing the filter.
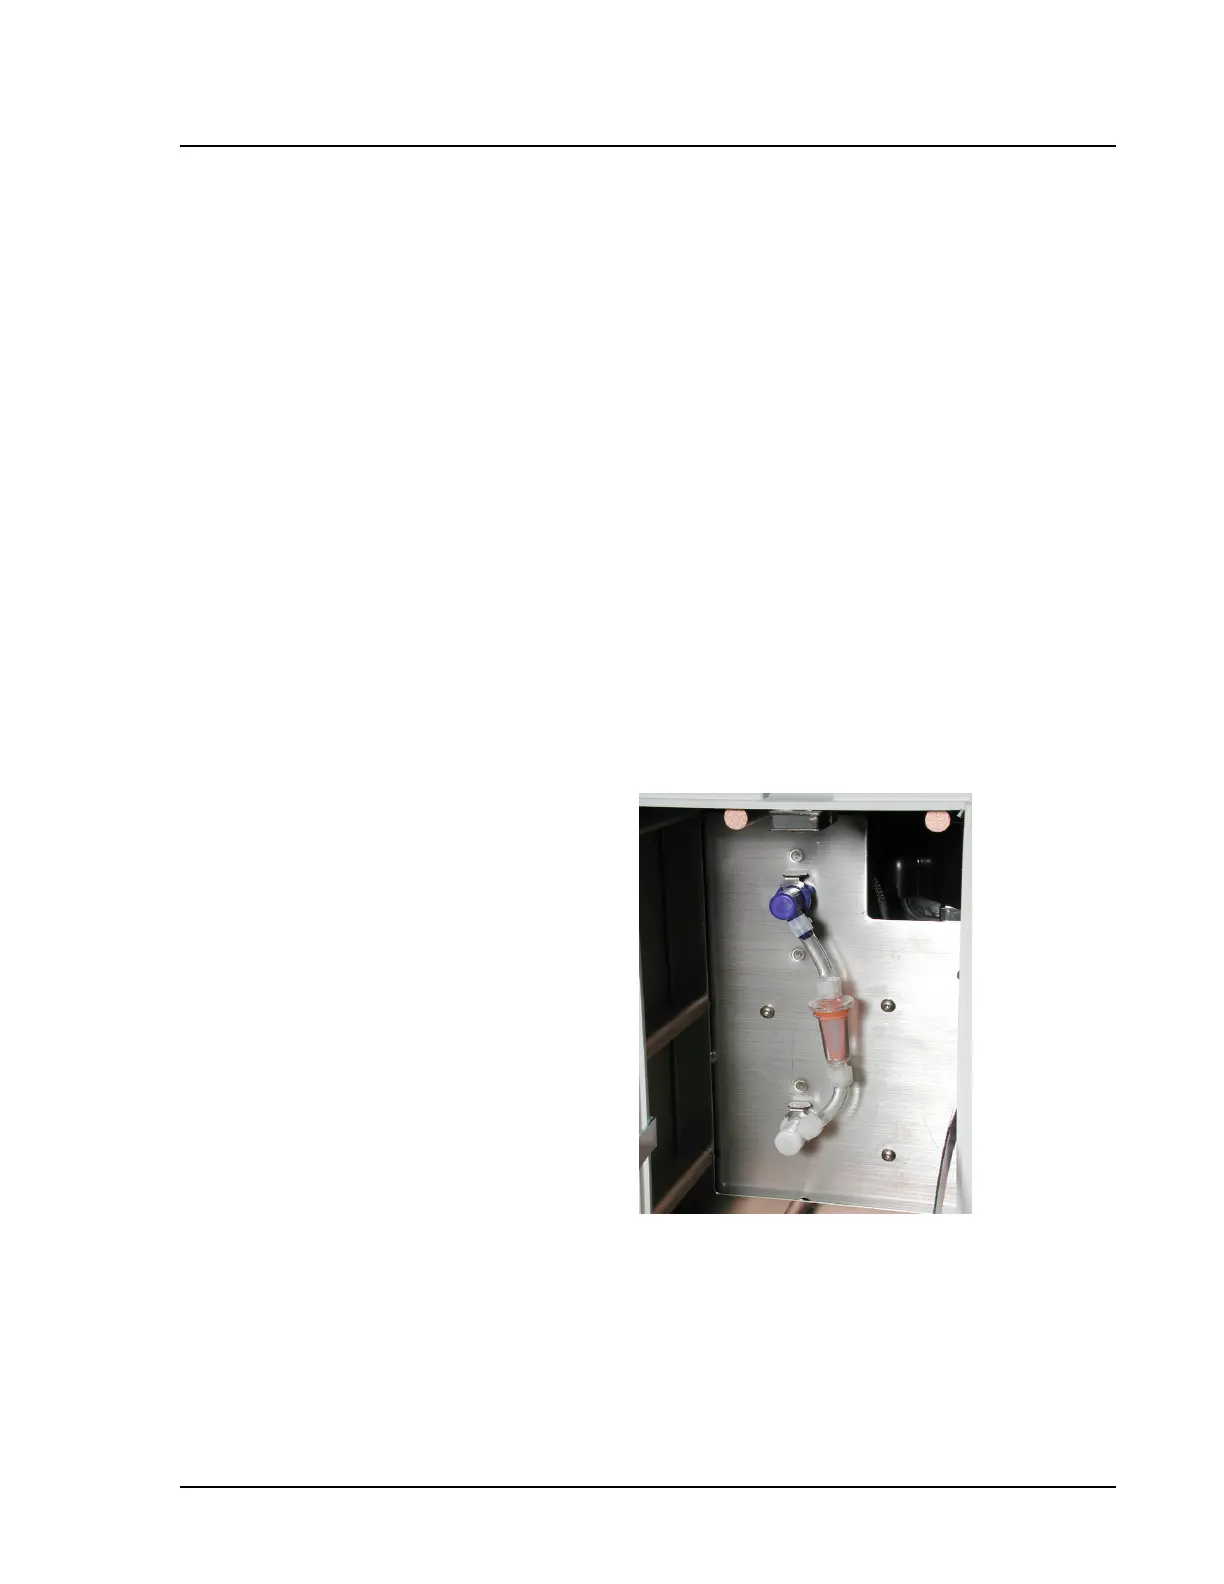
3. Open the left door on the Luminex 200 analyzer. Disconnect the
filter by pushing down on the metal clamps on each connection.
See Figure 8.
Figure 8 Sheath Filter
4. Connect the new sheath filter, matching up the color-coded
fittings. The arrow on the sheath filter should be pointing up.
5. Reconnect the sheath fluid tubing.
6. Plug in and power on the Luminex 200 analyzer.

 Loading...