EasyManuals Logo

Luminex 200 User Manual

Luminex 200
64 pages
To Next Page IconTo Next Page
To Previous Page IconTo Previous Page
Page #38 background imageLoading...
Page #38 background image
Luminex 200 System User Manual
28
7. Close the left analyzer door.
8. Prime twice.
As required
Fuses

To replace the fuses in either the Luminex 200 analyzer or the
Luminex XYP instrument:
1. Turn off the power switch on the rear of the analyzer or
instrument, then unplug the instrument power cord from the wall
source. Remove the power cord from the analyzer or instrument.
2. With a small, flathead screwdriver, open the module door on the
lower left corner of the back of the analyzer or instrument. See
Figure 9.
Figure 9 Opening the Module Door
3. Remove the red cartridge (use a flathead screwdriver).
4. Check both fuses for damage.
5. Replace damaged fuses with the type specified on the sticker to
the right of the power input module.
Warning: To avoid serious injury or death by electric shock,
you must turn off the system and unplug it from the wall.

Table of Contents

Other manuals for Luminex 200

Questions and Answers:

Question and Answer IconNeed help?

Do you have a question about the Luminex 200 and is the answer not in the manual?
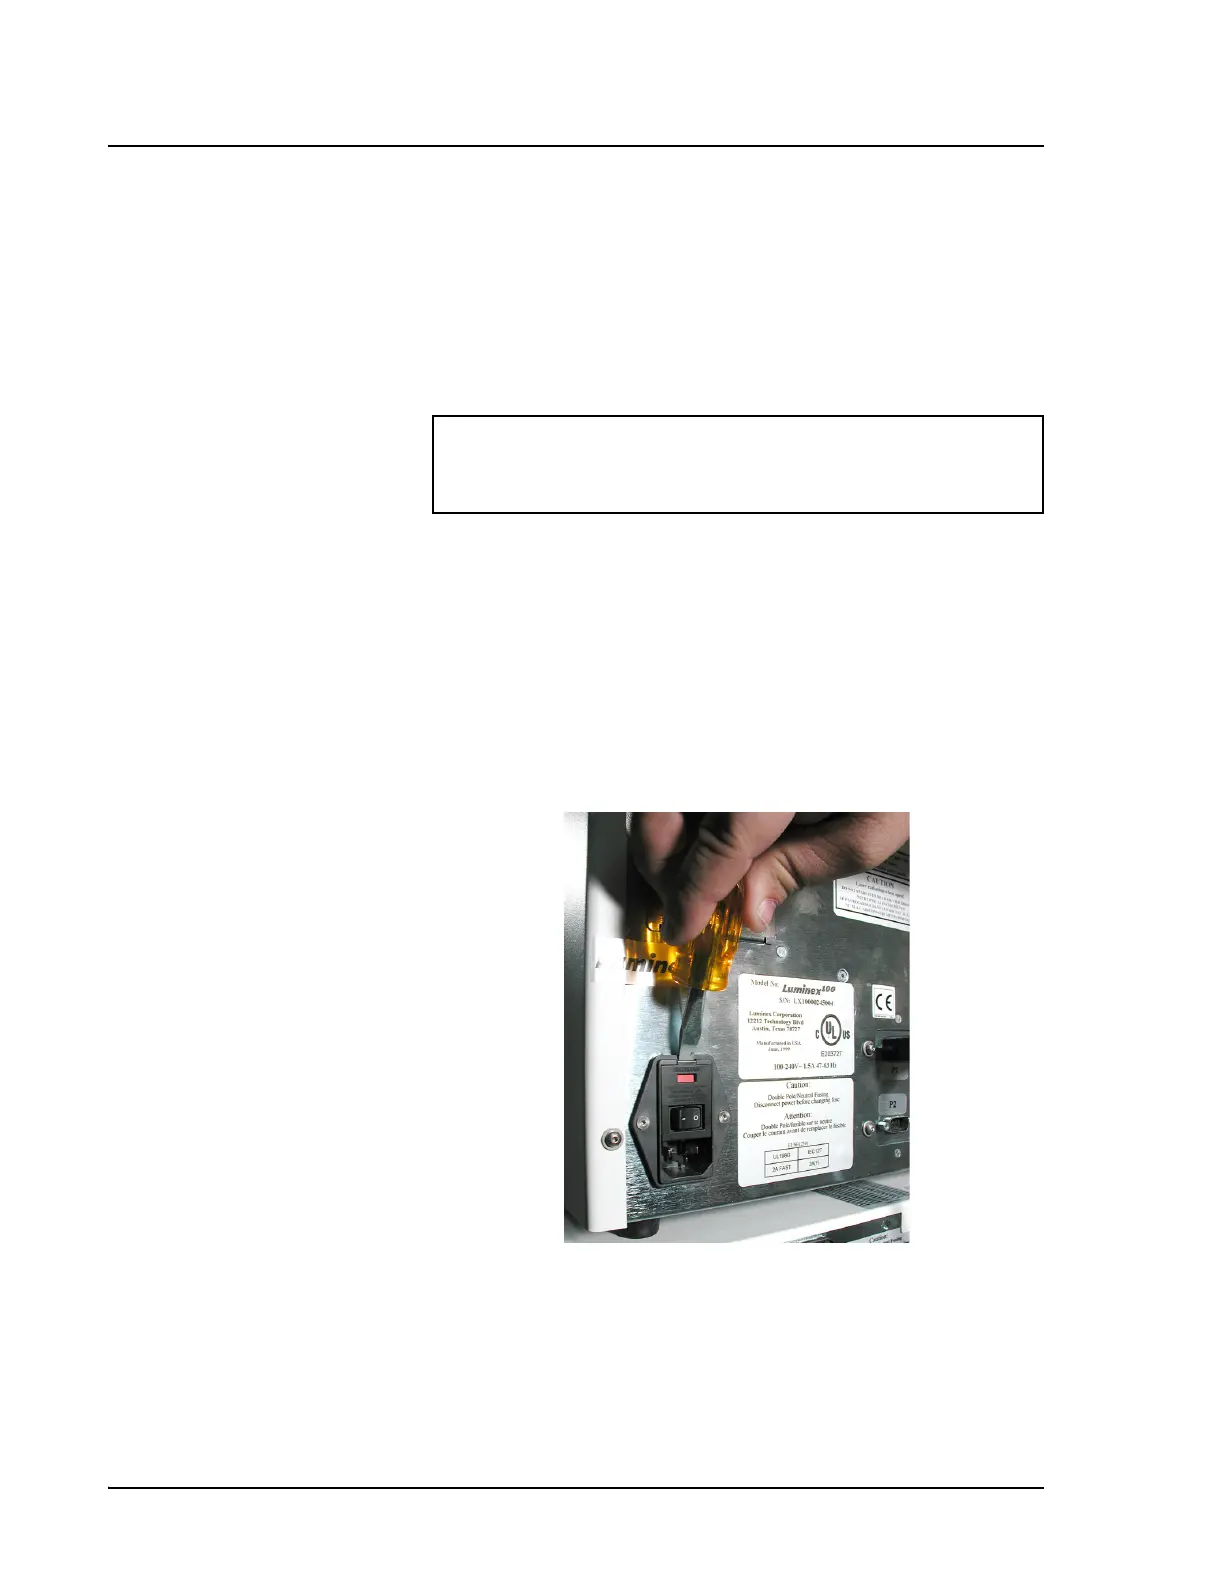
Luminex 200 Specifications

General IconGeneral
Power Requirements100-240 VAC, 50/60 Hz
Dynamic Range3.5 logs
Number of AnalytesUp to 100
SoftwarexPONENT
ApplicationImmunoassays, Nucleic Acid Detection, Enzyme Assays
TechnologyxMAP (Multi-Analyte Profiling)
Bead TypesColor-coded microspheres
Lasers2 (532 nm and 635 nm)
Assay TypesImmunoassays, nucleic acid assays, enzyme assays
Sample Volume12.5 - 50 µL
PMT DetectorsYes