Chapter 1 - Basic info
38
Chapter 3 - Preparing the battery and compact flash card
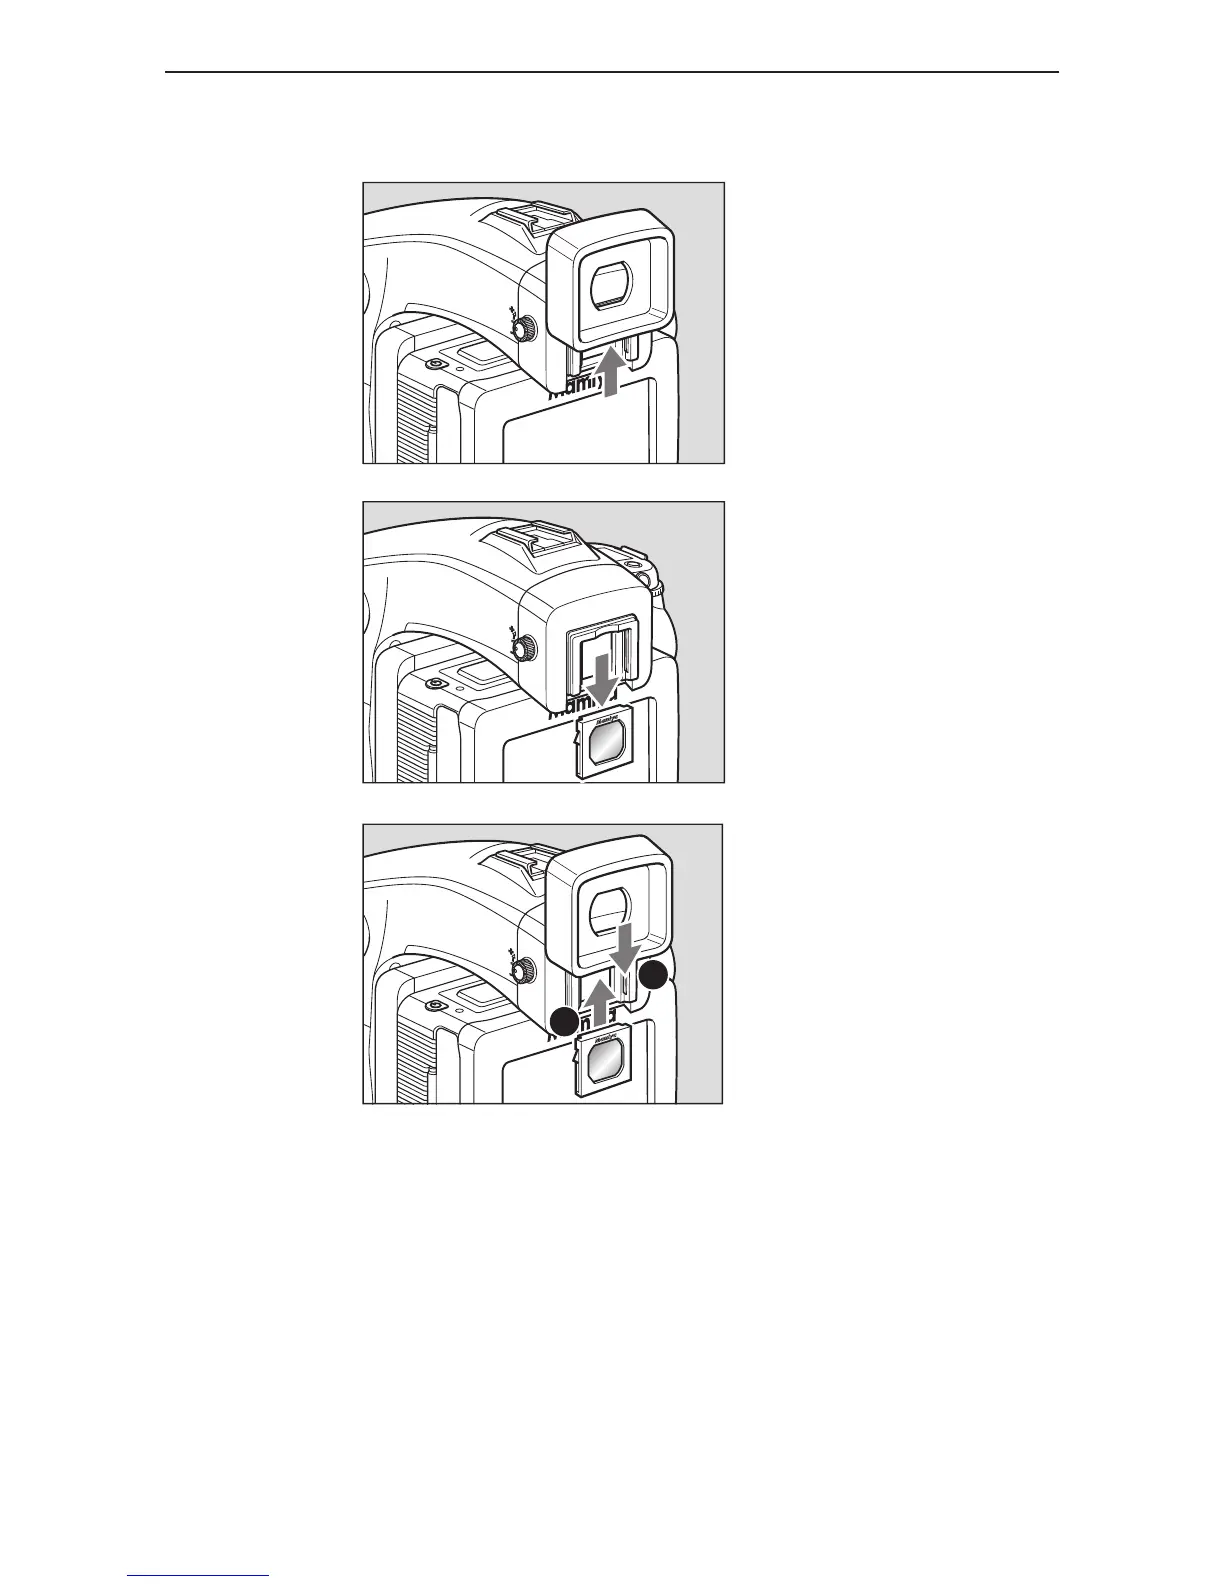
replacinG the diopter correction lens
1. Remove the rubber eye piece by
sliding it upwards.
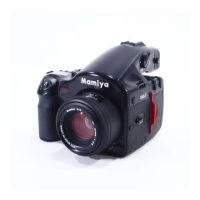
2. Remove the existing diopter by
sliding downwards using the fingernail
groove and detach.
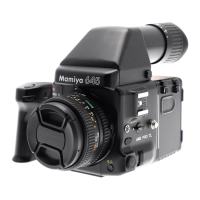
3. Insert a new diopter by aligning
it to the base of the diopter holder
and sliding it upwards into place then
reattaching the rubber eye piece.
If there is dirt or dust on the lens surface, remove it with a blower or sweep it off gently with a
lens brush.
If there are fingerprints or dirt on the lens surface, wipe away with a piece of clean,
soft gauze.
Using solvents could discolor the diopter correction lens frame.