17
D00619EN - v0 SWING OPERATOR - INSTALLATION MANUAL
5.4
G
• Place the washer (Fig. 9 part B) and the screw (Fig. 9 part C) on the connection point with the arm (Fig. 9 part A).
• Place the first part of the articulated arm (Fig. 15 part D) in the arm joining cavity as shown in Fig. 9, and tighten the
screws (Fig. 9 part. E).
• Unscrew the three M8 x 16 screws (Fig. 16 part B) so that the part of the arm that fixes to the leaf is separated.
• Make holes in the door as indicated in figures 12 and 13.
• Affix the leaf-joining part of the articulated arm (Fig. 16 part. A) to the door leaf using the appropriate screws.
Before tightening the arm connection to the operator axis, check that the distance between the guide and the upper
side of the arm is about 17mm.
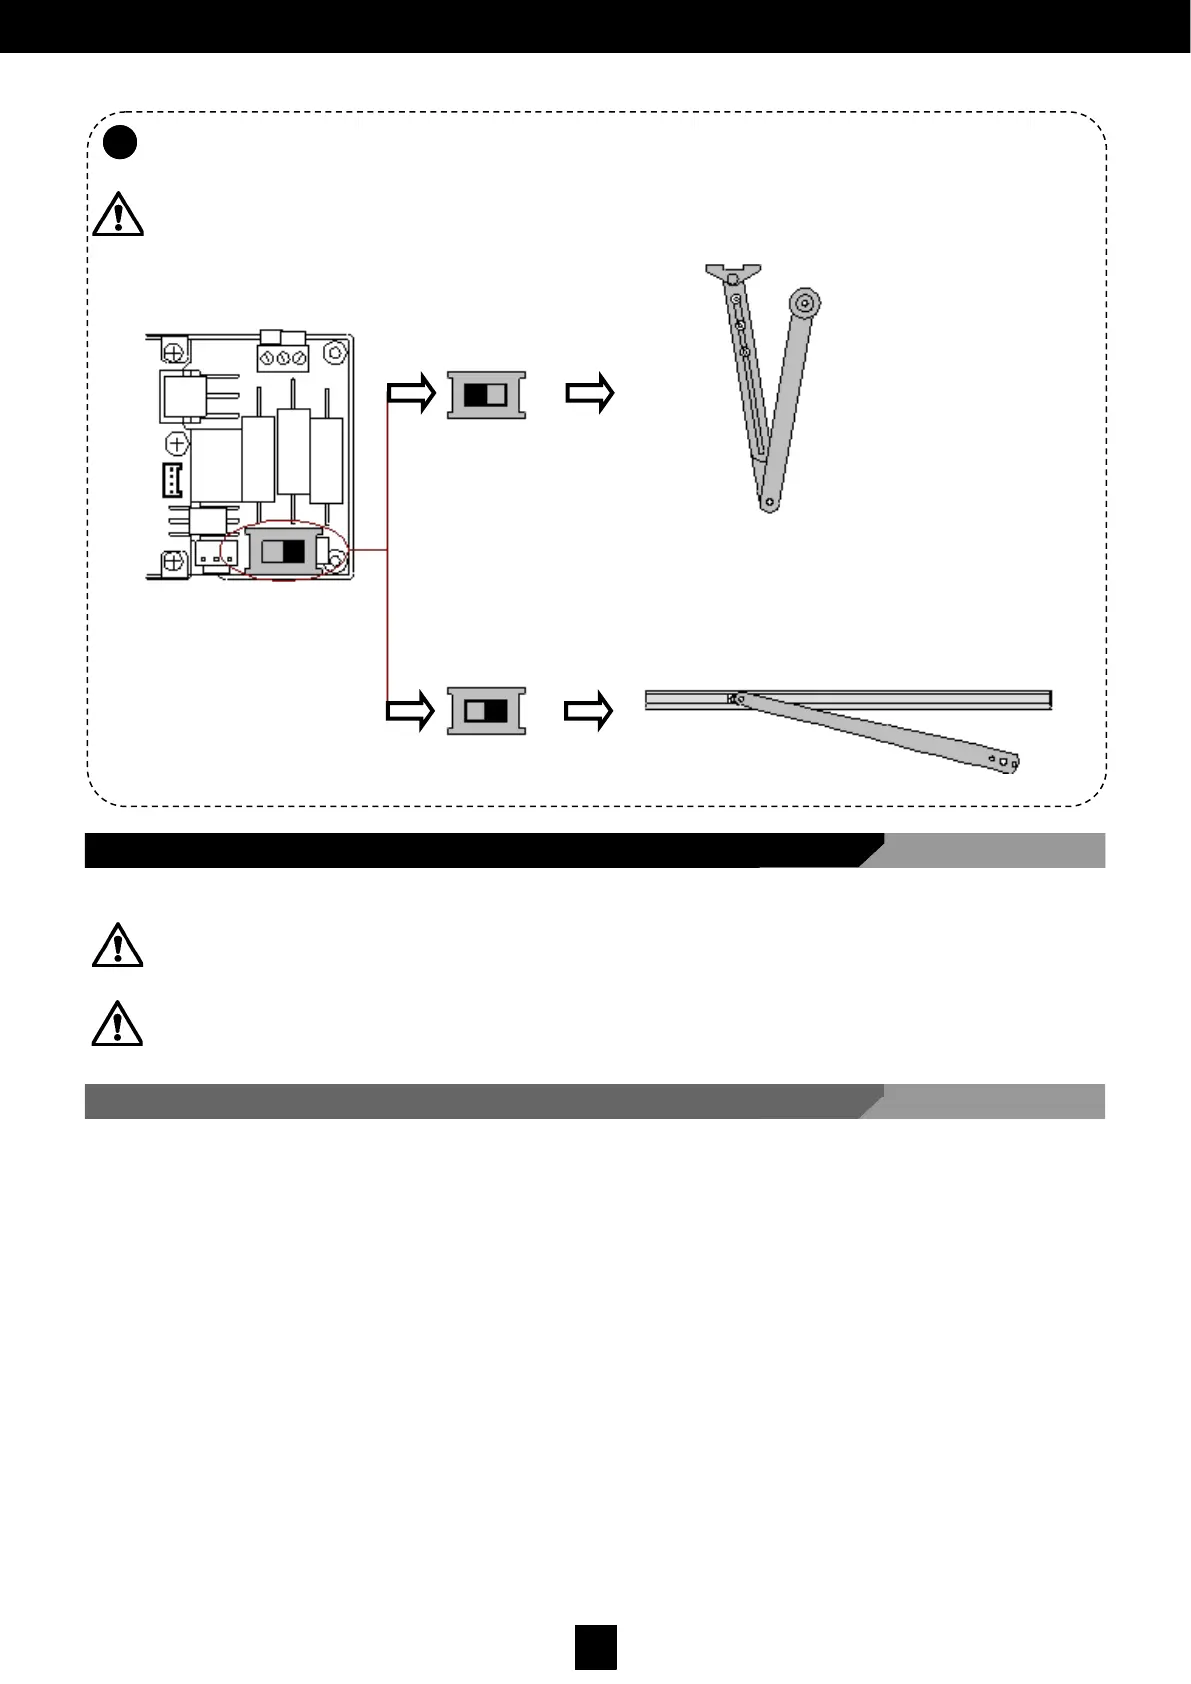
WARNING: After installing the rigid arm and the guide, ALWAYS check that the Switch position is to the right,
as shown in Fig. 11.
Fig. 11.
5.5.1 Attaching the Arm to the Leaf
The pushing articulated arm is used when the operator is installed on the opposite side from where the door opens.
WARNING: To correctly place it, always use as main reference the axis of the leaf hinges and the motor drive shaft,
as shown in Fig. 12, Fig. 13 (LEFT-opening leaf) and Fig. 14 (RIGHT-opening leaf).
WARNING: The final tightening of the screws should be performed only after ensuring that the position of the operator
and the articulated arm guarantee that it can easily rotate within the door frame.
CARACTERÍSTICAS MECÁNICAS
5.5 Installing the Pushing Articulated Arm