27
T50/T100 PTM – User Guide – Version 2 Issue 1
Maintenance – Print Pause – Upto Two Weeks
To change the modulation setting, first select the desired T50/T100 and then tap the
Configure button, as highlighted. Then tap the Configure Cleaning button from the Configure
PTM window, which will display the Clean PWM (Prime Width Modulation) window, as
shown.
The default value for the Prime Width Modulation is 80. Entering a greater value will
increase the ink flow rate. A value less than the default value will decrease the flow rate.
Print Pause – Upto Two Weeks
If a PTM is to be moved/adjusted in any way that would disturb its stationary status it
must be prepared as described under "Moving, Storing, or Shipping a PTM".
• If a PTM is to be remain inactive, leave the power supply ON. This will ensure that the
Gutter Clean interval (Automatic Cleaning) can function and the PTM is kept in good
working order. The PTM must remain stationary!
• If the power supply has to be disconnected put a rag under the print head’s nozzles as ink
can leak. The PTM must remain stationary!
The Gutter Clean Interval is set from within the PCM’s Configuration menu. First select
Print Heads, then the relevant Marker, and finally its Advanced options. It is recommended
that the Gutter Clean Interval is always used.
Using the Gutter Clean Interval ensures that ink does not build up around the gutter. Any
expelled ink that resides in the gutter will be sucked back into the ink system. For further
information refer to the PCM’s Technical Manual.
Moving, Storing, or Shipping a PTM
PTMs must be correctly prepared before: moving them in any way that would disturb
their stationary status, storing them, or shipping them. Failure to correctly prepare
them will lead to printing problems that can be difficult to resolve. The PTM’s warranty
will become void if a head is damaged as a result of not being correctly prepared.
Procedure – Preparing for: Moving, Storing, or Shipping
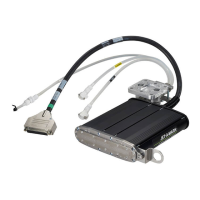
1. Press and hold the PRIME button on the back of the PTM for one second and then
release it. Refer to “External Components” on page 6.
2. Disconnect all cables from the PTM.
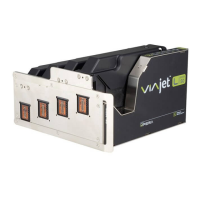
3. Clean the Nozzle-Protector-Plate with a lint free cloth and then screw it on to the front of
the PTM, finger tight. Make sure that it is mounted so the text "Gutter", that is printed on
the plate, is positioned at the bottom of the nozzles. It should be mounted as shown in
Figure 25 on page 30.