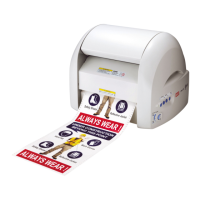
8
Machine Preparation
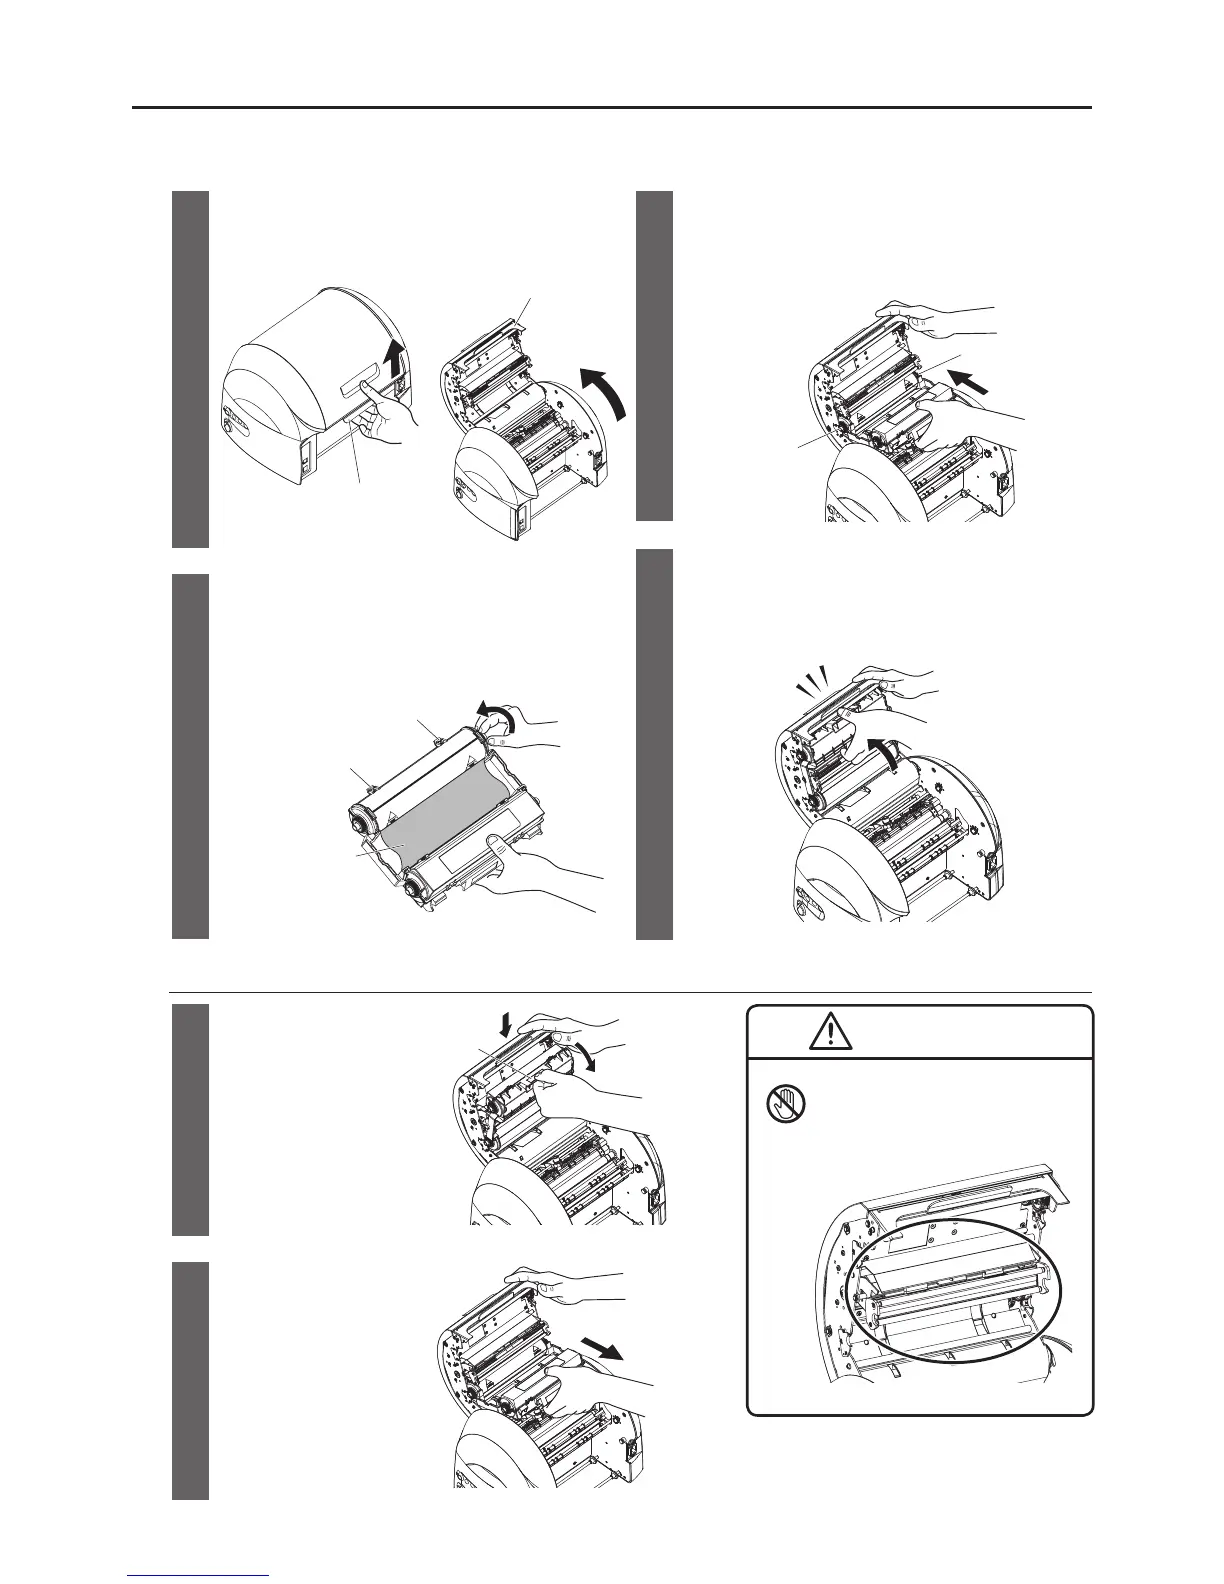
InsertingtheRellableRibbonCartridge
1
Pull up the opening/closing lever to open the door
cover.
3
Fit the Hinges of the rellable ribbon cartridge into
the slots in the back of the door cover. Ensure
that the ribbon gear color matches the colour
printed on the CPM-200.
Opening/Closing Lever
Door Cover
Orange
Green
4
Turn the rellable ribbon cartridge upward, using
the Hinges as leverage. Push it in rmly until
the rellable ribbon cartridge locks with a “click”
sound.
2
Check for slack in the ribbon rell.
If there is slack in the ribbon rell, hold the
rellable ribbon cartridge as shown in the gure,
turn the ribbon gear in the arrow-indicated
direction, and take up the slack.
Click
Ribbon Refill
Hinges
Hinges
RemovingtheRellableRibbonCartridgefromtheCPM-200
1
Open the door
cover. Hold the
rellable ribbon
cartridge catch
and pull it forward.
Catch