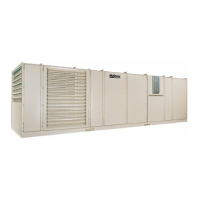
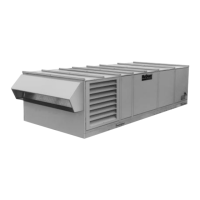
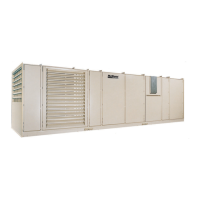
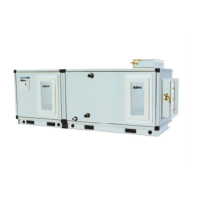
Page 80 IM-738
Expansion Valve Superheat Adjustment
It is very important that the expansion valve superheat setting
be adjusted to be between 10° F (-12° C) and 13° F (-11° C).
Insufficient superheat will cause liquid floodback to the com-
pressor which may result in slugging. Excessive superheat will
reduce system capacity and shorten compressor life.
Turn the adjustment stem clockwise 'to increase superheat. Not
exceeding one turn, adjust the stem and then observe the
superheat. Allow up to 30 minutes for the system to rebalance
at the final superheat setting.
On refrigeration circuits with multiple expansion valves, the
superheat adjustment should be approximately the same for all
valves in the circuit.
Checking Superheat
Following are recommendations for checking superheat:
1. Close the unit section doors. Running the unit with its
doors open will affect expansion valve and system opera-
tion considerably.
2. For units with one expansion valve per circuit, check the
pressure and temperature at the compressor suction valve.
3. For units with multiple expansion valves per circuit,
check the pressure at the compressor, and check the tem-
perature at the suction header that is fed by the valve.
Heating System Start-up
General
1. At the keypad, set the heating set points high enough so
that the controller will call for heating. On CAV-ZTC
units, adjust the "Heating Spt=" entry on menu item 12D.
On VAV or CAV-DTC units, adjust the "Heating Spt="
entry on menu item 12C, and if equipped with modulating
heat, the "Set Point=" entry on menu item 14A.
2. Place the unit into the "0cc-Heat Only" mode through
keypad menu 11 ("Control Mode").
3. Verify that the high ambient heating lockout temperature,
"Max OAT=" (menu item 14B), is set above the outdoor
air temperature.
Gas Furnace
Refer to the "Start-up and Operating Procedures" section of
the Forced Draft Gas Fired Furnace Installation Manual,
Bulletin No. IM 684 or 685. Perform the start-up procedures
given in it.
Electric Heat
Turn the electric heater switch HS1 to "on." The electric heat-
ers should energize. If the unit has multistage electric heat, the
MicroTech II controller should energize the heaters in succes-
sive stages. The rate of staging is controlled by the program-
mable parameter with the menu name "Heating Setup" and
item name "Stage time = ___ min." (see page 79 in OM138 or
page 58 in OM137).
Steam Heat
The steam valve actuator should open the valve. The steam
valve is open when the valve stem is up. If the unit loses
power, the spring in the actuator should drive the valve wide
open. Check this by opening system switch S1.
Hot Water Heat
The hot water valve actuator should open the valve to the coil.
The three-way hot water valve is open to the coil when the
valve stem is down. If the unit loses power, the spring in the
actuator should drive the valve wide open to the coil. Check
this by opening system switch S1.
Air Balancing
Air balancing should be performed by a qualified air balancing
technician. Note that the supply fan motors are usually shipped
with variable pitch sheaves which are typically set at the low
end of the drive's fan rpm range. See “Mounting and Adjusting
Motor Sheaves” on page 82. The return fan motors are usually
shipped with fixed pitch sheaves.
The following should be performed as part of the air balancing
procedure:
1. Check the operating balance with the economizer dampers
positioned for both full outdoor air and minimum outdoor air.
2. Verify that the total airflow will never be less than that
required for operation of the electric heaters or gas furnace.
3. For VAV units that have fan tracking control, adjust the sup-
ply/return fan balance by using the MicroTech II controller's
built-in, automatic capability. For complete information on
using this feature, see the "Return Fan Airflow Control: Fan
Tracking" section in Bulletin No. OM 108, "MicroTech II
Applied Rooftop Unit Controller: VAV Control."
4. When the final drive adjustments or changes are complete,
check the current draw of the supply and return fan motors.
The amperage must not exceed the service factor stamped on
the motor nameplate.
5. Upon completion of the air balance, replace variable pitch
motor sheaves (if any) with comparably sized fixed pitch
sheaves. A fixed pitch sheave will reduce vibration and pro-
vide longer belt and bearing life.
WARNING
Moving machinery hazard. Can cause severe
personal injury or death.
Use a strobe tachometer to measure the speed of return
fans. Safety considerations prohibit the use of a
mechanically driven tachometer on this fan
arrangement.