Other Functions
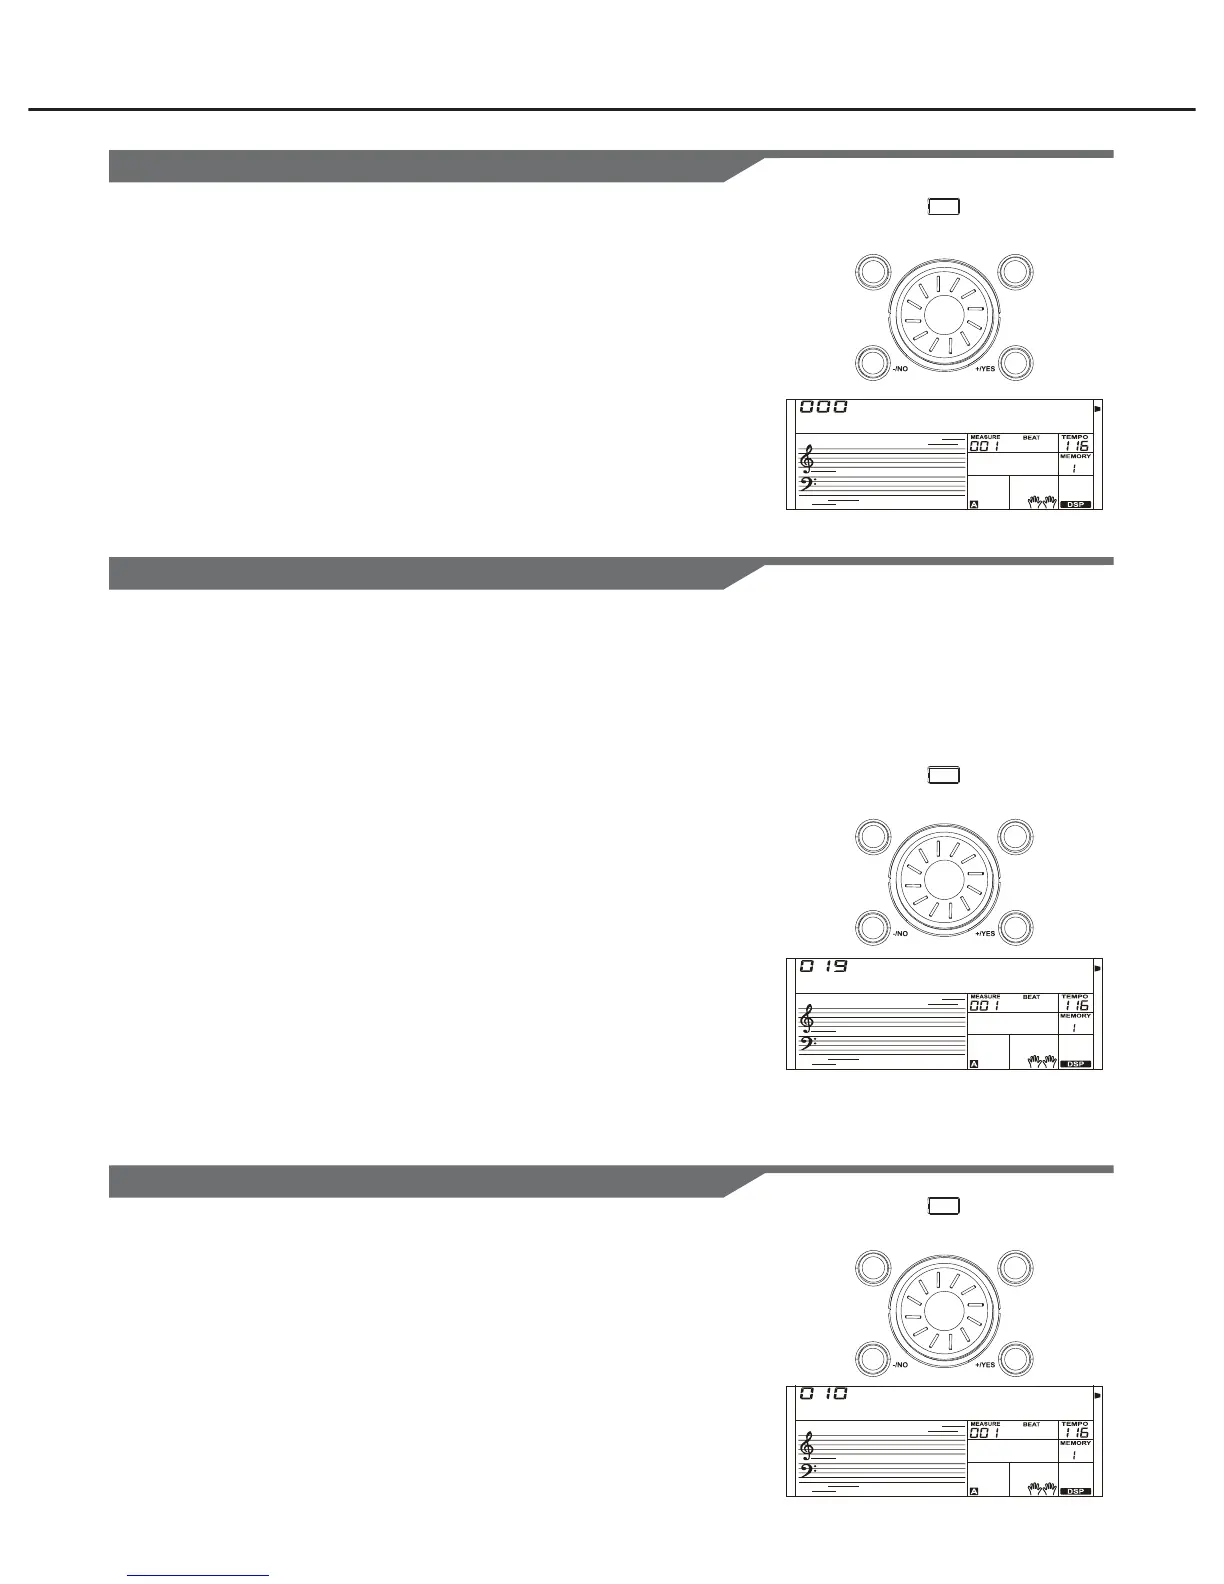
Setting the Octave
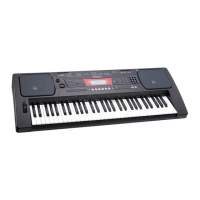
Setting the Split Point
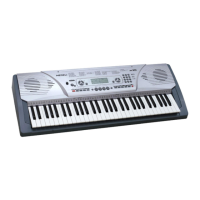
Fade in Duration
Press the [FUNCTION] button.
Select “OCTAVE”.
Use [FUNCTION], [BACK] or [NEXT] button to select
OCTAVE. The LCD displays the octave value. The value
ranges from -1 to 1 and the default value is relevance to the
voice.
This function determines the relative octave setting for the
keyboard-played voice R1, R2 and L.
Change the octave value.
Use the data dial, [+/YES] or [-/NO] button to change the
octave value.
Press [+/YES] and [-/NO] simultaneously to set the default
octave value.
1.
2.
3.
Press the [FUNCTION] button.
Select “FADE IN”.
Use [FUNCTION], [BACK] or [NEXT] button to select FADE
IN. The LCD displays the time value. The value ranges from
1 to 30 seconds and the default value is 10.
Change the time value.
Use the data dial, [+/YES] or [-/NO] button to change the
fade in time value.
Press [+/YES] and [-/NO] simultaneously to set the default
value.
1.
2.
3.
Press the [FUNCTION] button.
Select “SPLIT POINT”.
Use [FUNCTION], [BACK] or [NEXT] button to select SPLIT
POINT. The LCD displays the default split point is 19
(#F3/G3).
Change the split.
Use the data dial, [+/YES] or [-/NO] button to change the split
point and you can simply press a key on the keyboard to set
it as the split point.
Press [+/YES] and [-/NO] simultaneously to set the default
split point.
The point on the keyboard that separates the auto
accompaniment section and the right-hand section of the
keyboard is called the “split point”.
When the auto accompaniment is on, keys played to the left of
the split point are used for controlling the auto accompaniment.
When the auto accompaniment is off, keys played to the left of
the split point are used for playing voice lower.
1.
2.
3.
FUNCTION
FUNCTION
FUNCTION
30
Octave
SPlit Pt
Fade In
BACK NEXT
BACK NEXT
BACK NEXT