User Manual : Editing
User Manual
57
clicked. Alternatively, simply click the mouse on the track and at the time you want the clip to start,
right -click and choose Paste to insert the clip where you placed the mouse cursor.
Selecting a Clip
Click on any clip in the Composition to select it. It will change color to indicate selection. Shift-click to
select multiple clips at the same time.
Simple Copy and Paste
1. Left-click a clip to select it.
2. Right-click and choose Copy from the pop-up. (or use menu Edit > Copy or use Ctrl + C)
3. Place the Play Head Cursor where you want to paste the beginning of the Master Clip.
4. Right-click on the Track to which you wish to place the clip, and choose Paste to Cursor from the
pop-up. (or use menu Edit > Paste to Cursor or use Ctrl + V). The beginning of the clip will be
placed at the Play Head in the Track on which you right-clicked. Alternatively, simply place the
mouse cursor on the track and at the time you want the clip to start, right-click and choose Paste to
insert the clip where you placed the mouse cursor.
Selecting a Region
To select a region, click the mouse at one end of the region you wish to select, and drag the cursor to
the other end of the region you wish to select. A region can include more than one clip, and may extend
across multiple tracks. The selected region may also include the area on a track where a clip may not
be present. Discontinuous regions cannot be selected.
Clip Selection Behavior
The following lists the various behaviors for a selected clip depending on different modifier keys.
When a Clip is selected:
No Modifier Key
With no key modifier, the clip can be manipulated in standard Edit Mode.
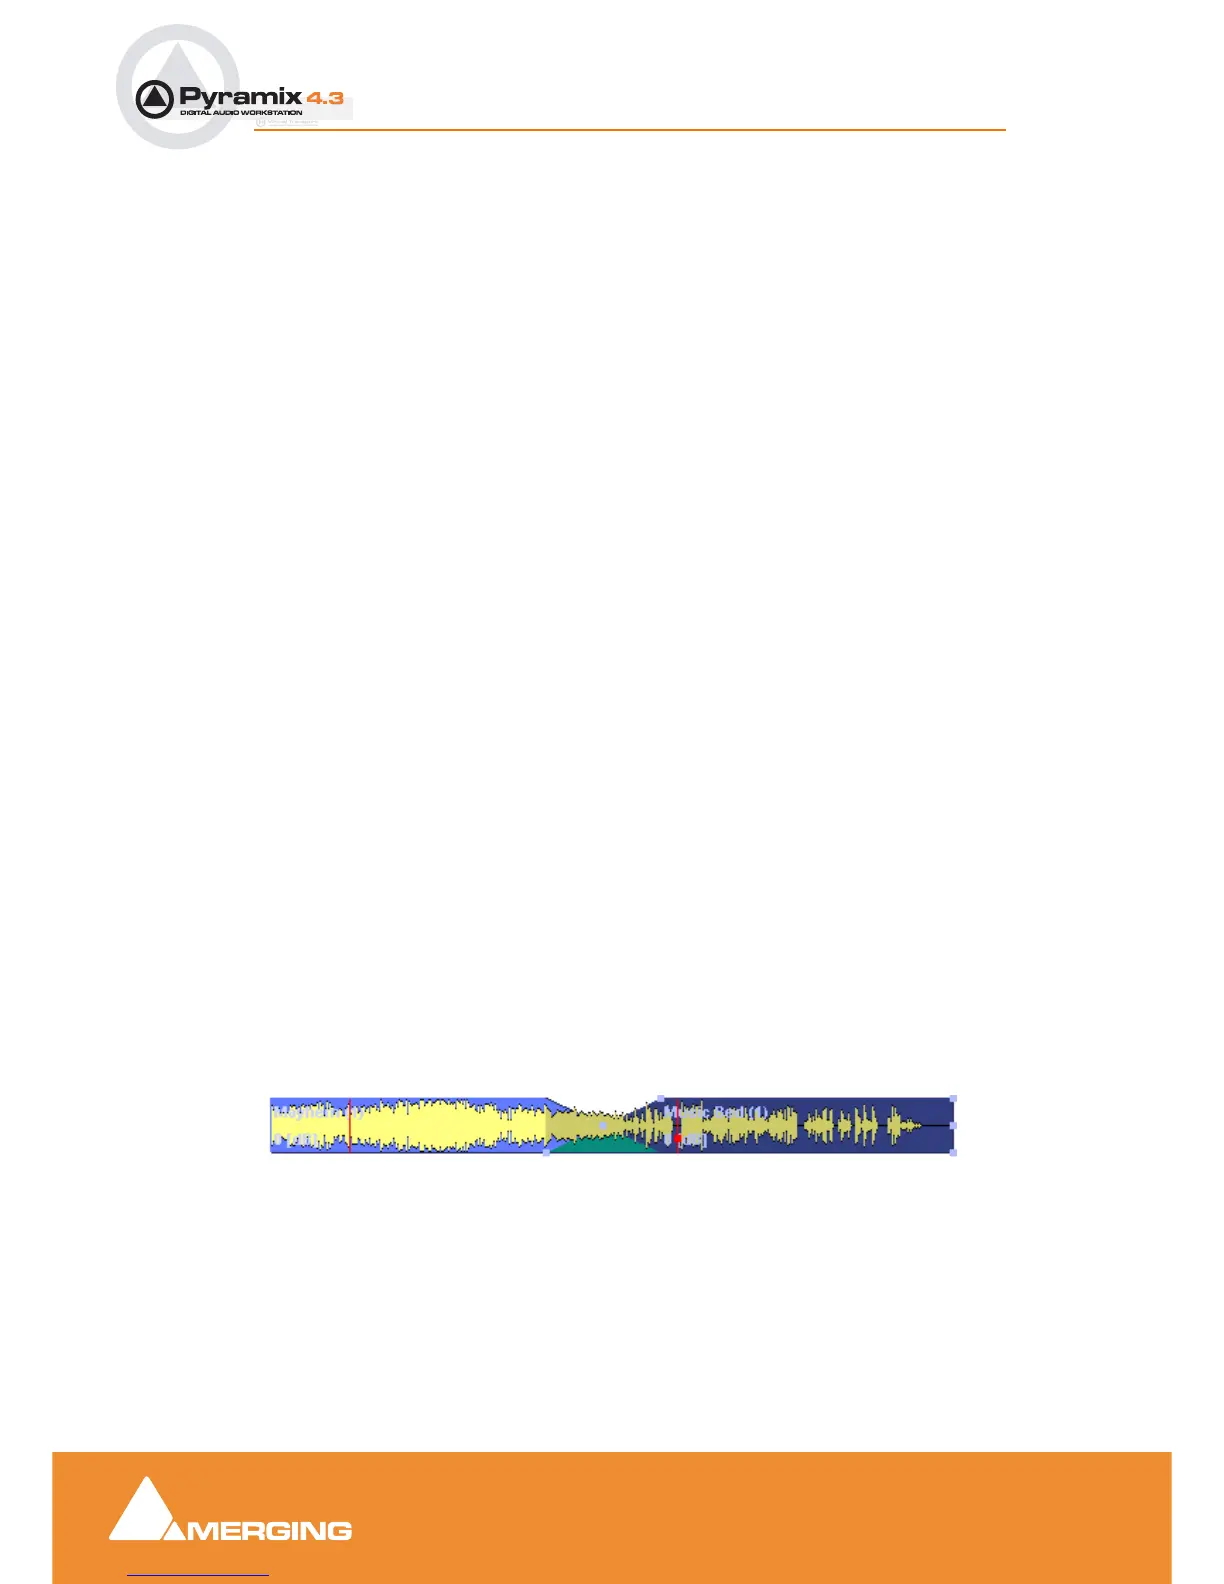
CTRL Key Modifier (Auto Crossfade Mode)
While a clip is selected, pressing and holding the CTRL key before clicking and dragging automatically
creates a cross-fade when the clip is moved to overlap any adjacent clip. The mouse cursor changes to
a hand with an X over it to indicate Auto Crossfade Mode is engaged. While in Auto-Crossfade Mode
selected clips can only be moved in time, not to other Tracks.
Auto Crossfade Mode