kajaaniMCA
i
– Installation, Operating & Service - 6.1 - W4610201 V2.5 EN
5. User Interfaces & Operating6. Configuration
When the sensor has been installed to the process, it can
be powered up. The sensor software has been designed
in such a way that the compulsory configuration must
be completed before the Main Menu appears. Config-
uration includes choosing the software language and
sensor type, and setting the signal level. Each configu-
ration display and the data required during each step
will be described in the following sections.
NOTE: Always complete the initial configuration and
calibration in normal process conditions! If this is not
possible for some reason, check the sensor calibration
as soon as the process conditions are again back to
normal.
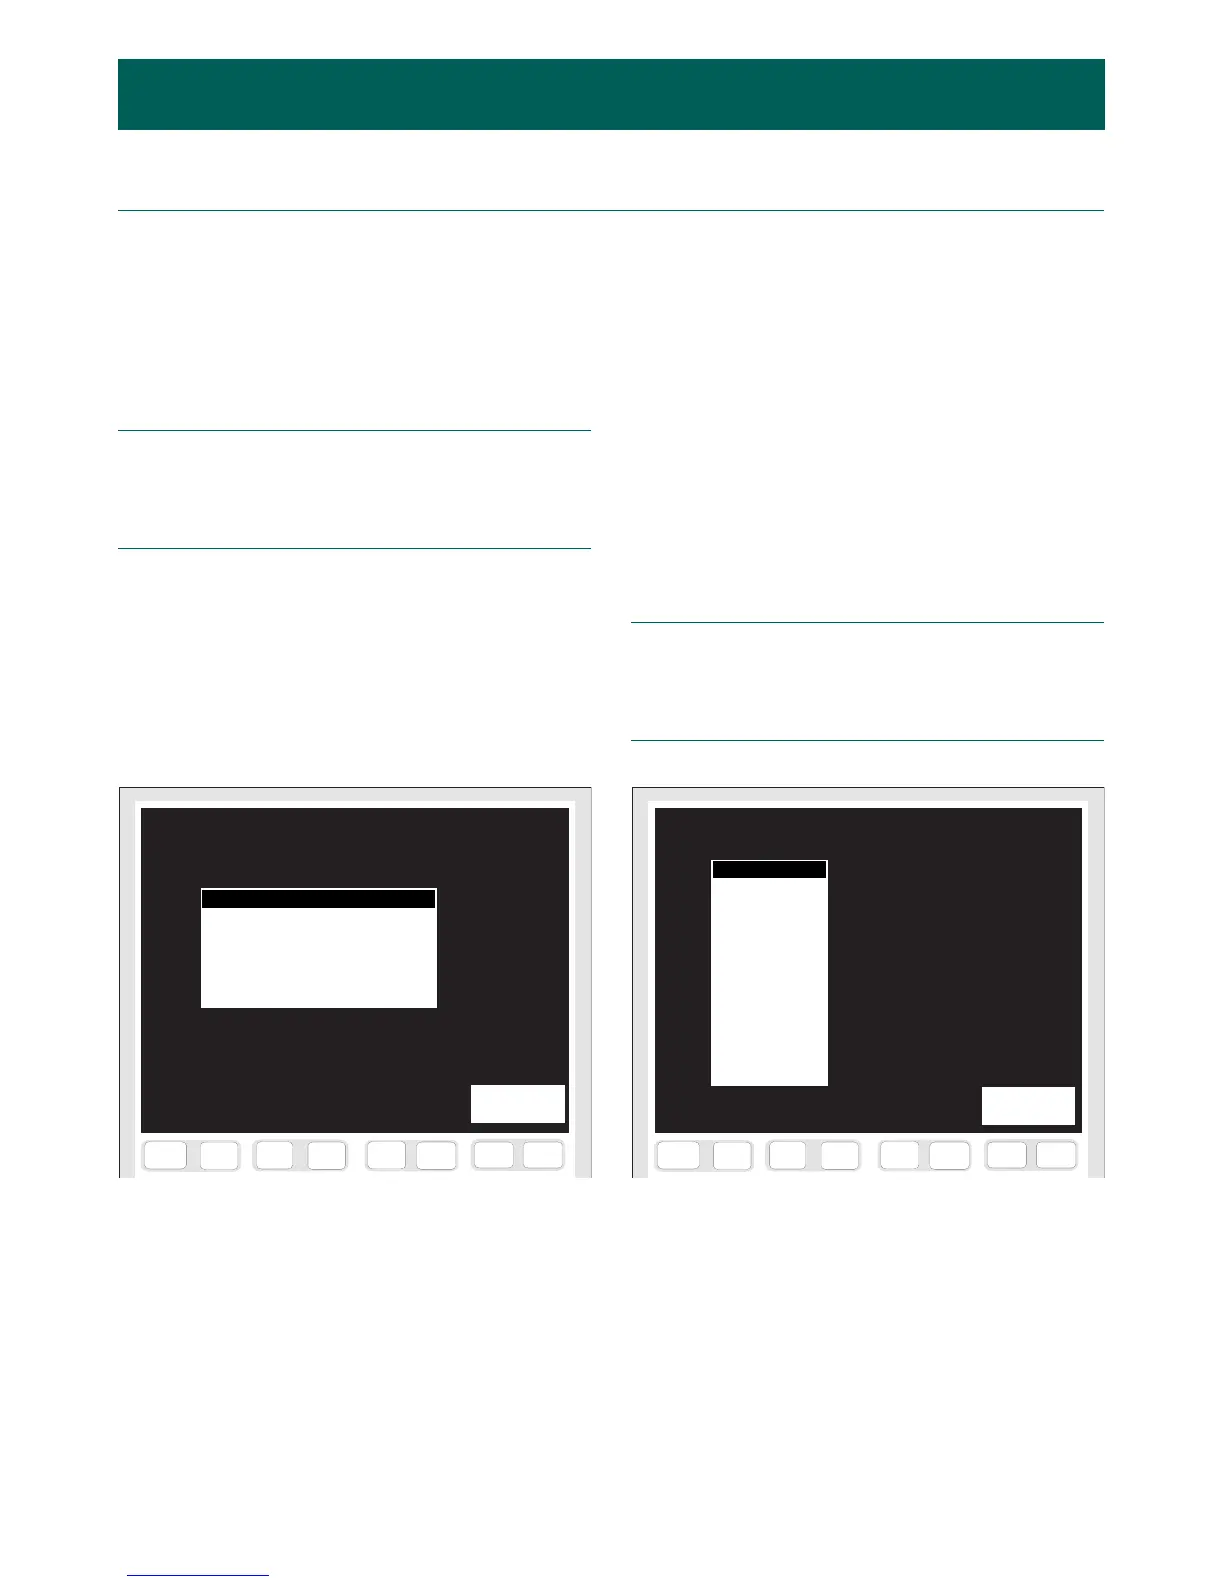
6.A.1. Software language
When the sensor is powered up, a language selection
menu will appear on the screen (Fig. 6.1). If not, do
Reset-Abort. Select the required language with the
arrow keys and then press [F7&F8] C
ONTINUE. The
software version (MCAi SW Vx.x) is also shown on the
screen.
F7
F6
F5
F4
F8
F3
F1
F2
F9
F10
F11
F12
F13
F14
F15 F16
i
MCAi SW V2.5
KIELI: SUOMI
LANGUAGE: ENGLISH
SPRACHE: DEUTSCH
SPRÅK: SVENSKA
LANGUE: FRANCAISE
LENGUAJE: ESPANOL
LINGUA: ITALIANO
CONTINUE
F7
F6
F5
F4
F8
F3
F1
F2
F9
F10
F11
F12
F13
F14
F15 F16
i
Fig. 6.1. Language selection menu. Fig. 6.2. Sensor type menu.
SELECTED SENSOR TYPE
NONE
MCAi-F
MCAi-FS
MCAi-FT 100
MCAi-FT 150
MCAi-FT 200
MCAi-FT 250
MCAi-FT 300
MCAi-FT 4”
MCAi-FT 6”
MCAi-FT 8”
MCAi-FT 10”
MCAi-FT 12”
11.10.00
CONTINUE
6.A. Initial Configuration of Sensor
6.A.2. Sensor type
Sensor type is selected from the display shown in Fig.
6.2. It is important to select the correct sensor type,
because the MCAi selects its calculation parameters
accordingly. The type can be selected from the sensor’s
device plate. Instead of sensor type, it is possible to
choose the date when the sensor has been started up and
calibrated. This alternative is used for example when
doing software updates or sensor service, to be sure that
the correct settings (calibration + configuration) will be
used.
Select the required alternative from the list with the
arrow keys and press [F7&F8] C
ONTINUE. Next the
software will ask for confirmation of the sensor type;
press YES, or return to the sensor type alternatives by
pressing NO.
NOTE: Always make sure to select the correct sensor
type when starting up a new sensor! The start-up proce-
dure stored in the sensor memory has been made during
final testing, and it does NOT correspond to the actual
process conditions.
 Loading...