Touchmaster
®
Conversion Kit Setup - 9
DETAILED INSTALLATION PROCEDURE
Verify Original Equipment Operation
1.
INSPECT PARTS
Unpack the conversion kit and verify that nothing was damaged in shipping.
2.
FLATTEN DECALS
Unfold the side panel decals. Stack large, heavy items like newspapers, books,
or magazines on them until the weight flattens them sufficiently for use.
3.
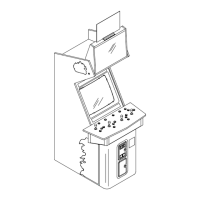
CHECK CABINET
Inspect VGM cabinet for damage. Repair before proceeding.
4.
VERIFY OPERATION
Plug in VGM and switch on AC power. A single beep should be audible during
startup. If the system starts without errors and enters the Attract mode it is considered functional.
5. Turn off power and unplug the VGM from the outlet.
6.
CLEAN
Vacuum the fan opening from outside the cabinet to remove loose dust.
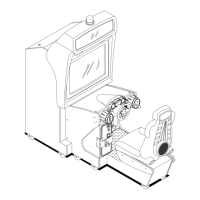
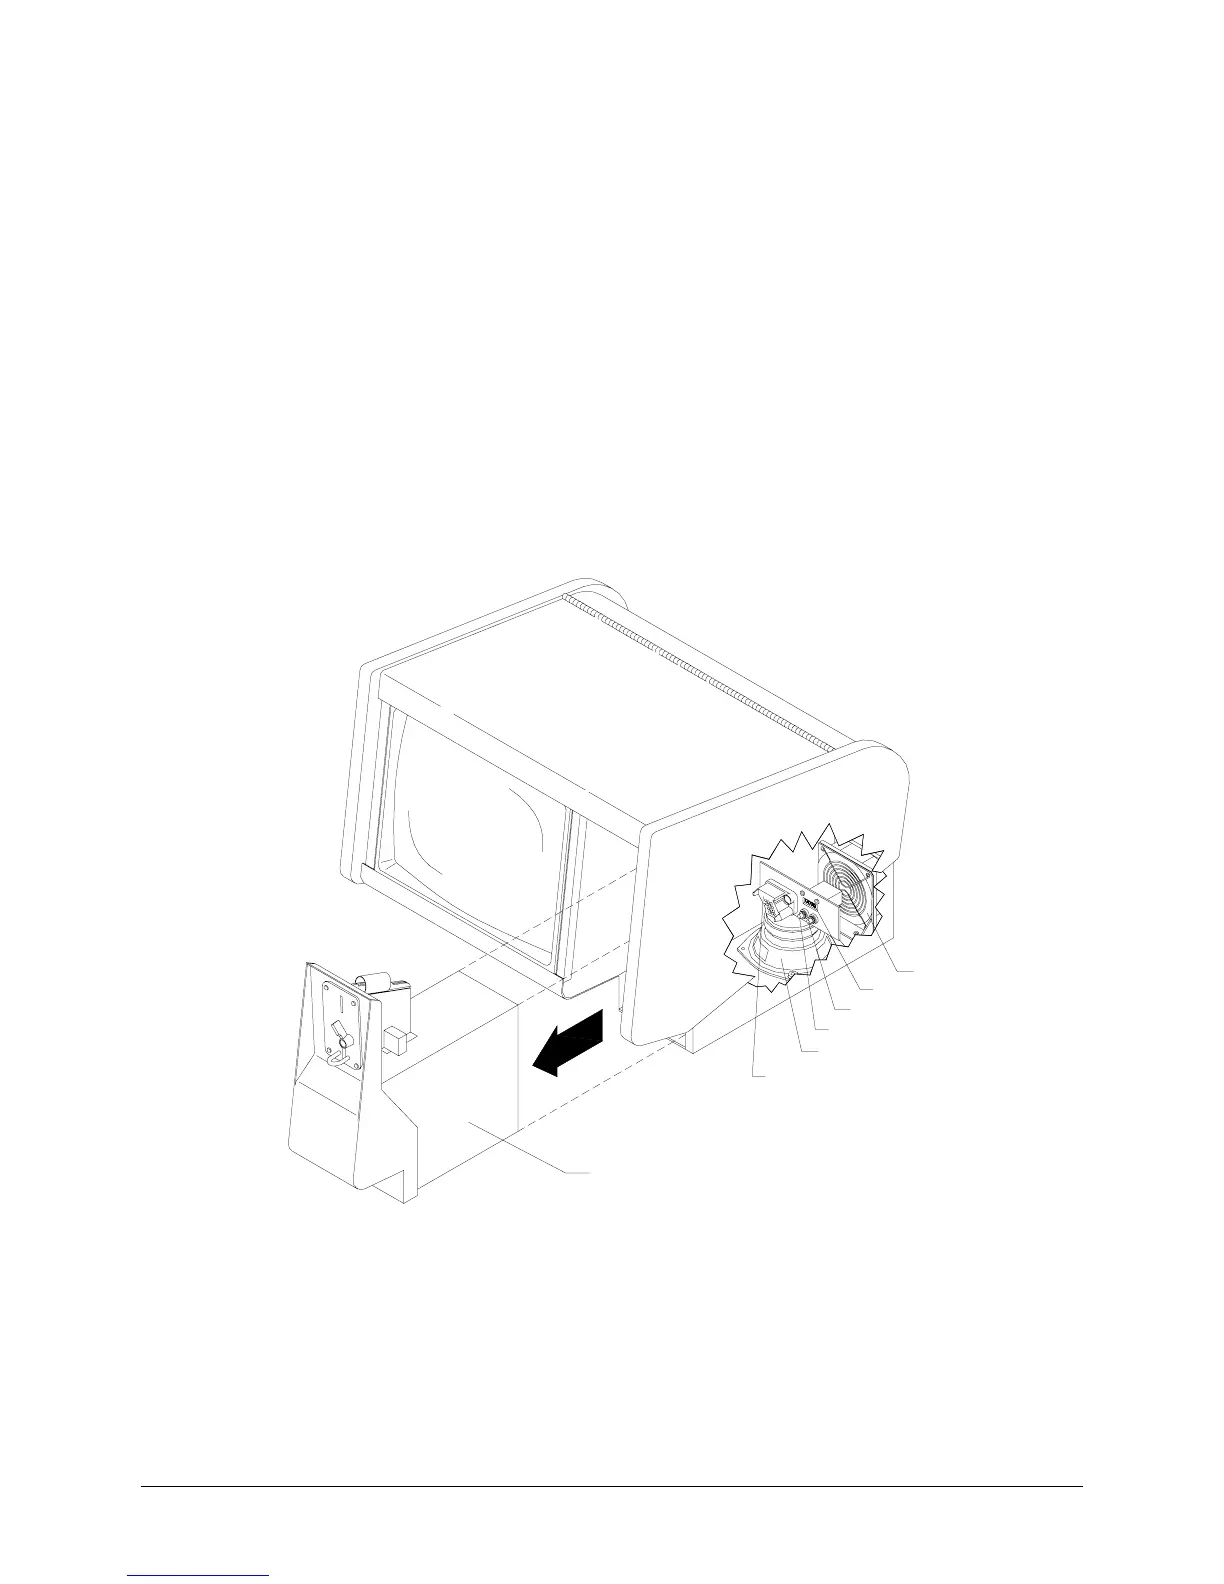
7. Insert key into coin lock and turn clockwise to unlock. Pull the entire cash door out of VGM.
8. Locate the coin meter, CALIBRATE button, and SETUP button at rear of the coin vault.
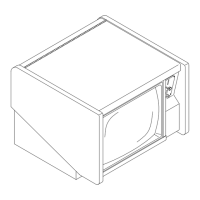
FAN
SPEAKER
COIN METER
CALIBRATE BUTTON
SETUP BUTTON
CASH DOOR
CONNECTOR
CASH DOOR
CUTAWAY OF CASH VAULT WITH CASH DOOR REMOVED
9.
METER
Record the existing coin meter count and replace cash door tight with connections in rear.
10. Plug in line cord and turn on AC power.
11.
CURRENCY
Insert coins and play games to verify operation. Record number of coins used.
12. Remove the cash door and confirm that coin meter has advanced for each coin inserted.
13.
ORIGINAL MANUFACTURER’S CALIBRATION
Press the CALIBRATE button to perform original
manufacturer’s adjustment. If the touchscreen does not calibrate correctly, repair or replace it.