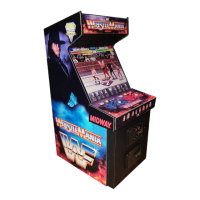
Setup - 18 Midway Amusement Games, LLC
DECALS
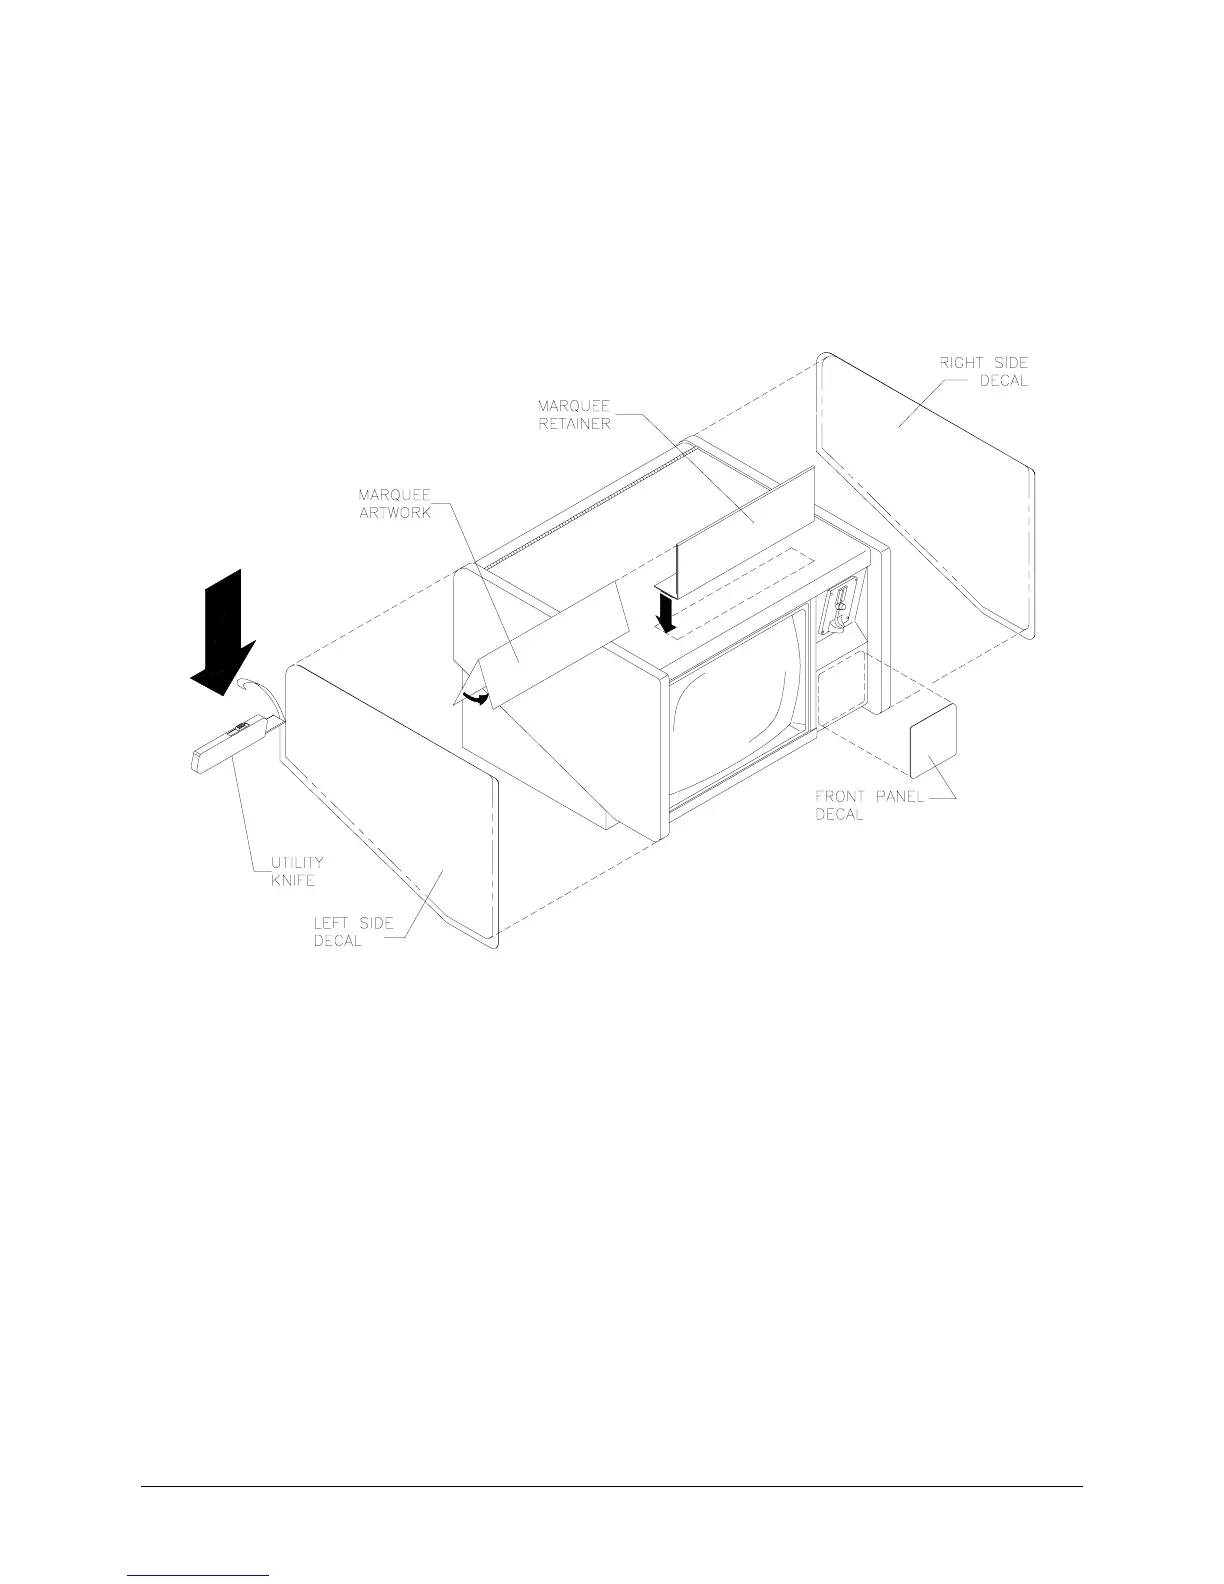
1. Remove existing decals or artwork. Clean off all glue residue. Turn off AC power and unplug line cord.
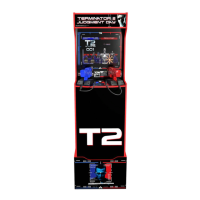
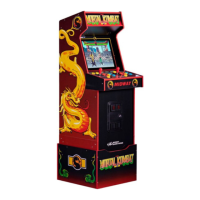
2. Locate side panel cabinet artwork. The decals should be larger than the panels. One at a time, peel
off the backing and line up the artwork with the top of the left and the right panels of the cabinet. Use
care to avoid wrinkles. Moving outward from the center of the artwork, smooth down and squeeze out
any air bubbles. Cut decals with a utility knife to fit the panels exactly. Decal can wrap slightly over
edge onto trim area, if necessary.
LOCATION OF DECALS
3.
KEYHOLE
If necessary cut a circle in the right side decal to accommodate key insertion.
4. Select the front panel decal whose size is appropriate to your cabinet model. Center this piece on front
of cash door beneath currency acceptor and apply as in previous step.
5.
LABEL
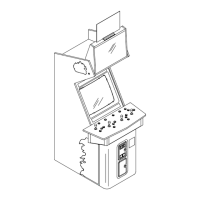
Locate the epilepsy warning label. Peel off backing and apply to the base of the cabinet just
underneath the monitor bezel.
6.
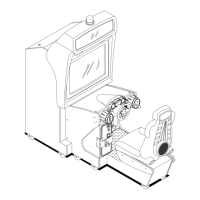
CURRENCY
Insert coins and play games to verify operation. Record number of coins used.
7. Remove the cash door and confirm that coin meter has advanced for each coin inserted.
8.
OPTIMIZE
Read the operating instructions and make adjustments to optimize the games.
9.
MARQUEE
Fold marquee artwork in half and insert it into the marquee retainer. Place the plastic
retainer on top of the cabinet. The magnets at the base of the marquee hold it in place.