Page 21 of 113
6. Remove the communication hub from the top wedging system.
7. Remove the top wedging system.
8. Using the pump carrying handles (for LFH version) or placing the hands below
the pump (ISL and FLEX versions), take the pump out of the box and place it
on a flat and stable surface.
NOTE
Store all packaging materials in a dry area for future use. The pump and the
communication hub must be packaged in this certified packaging if shipment
back to a service center is required. The pump and the communication hub
can also be packaged in the Steritest
®
Symbio pumps shipment case (see
Accessories and Replacement Parts).
9. Remove the 2 Steritest
®
canisters carrying trays and deliver them to the user
of the pump.
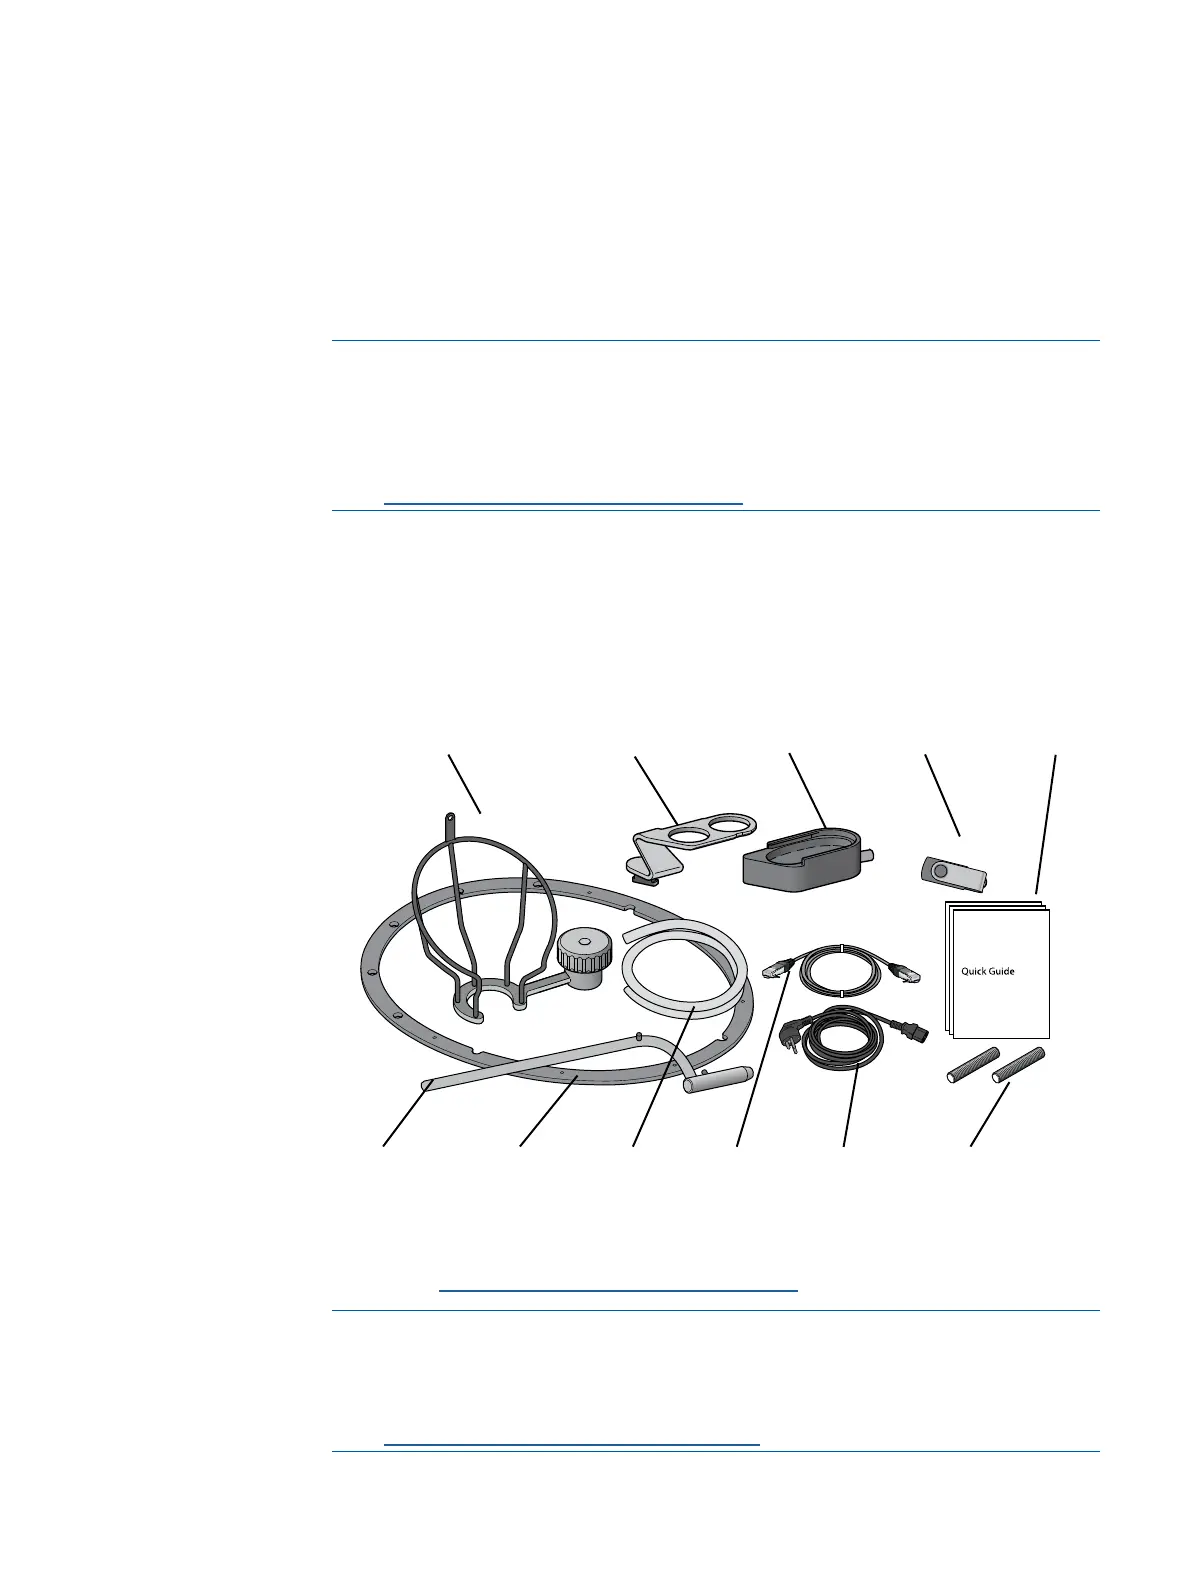
10. Open the smaller box that contains the accessories.
11. Remove the accessories.
*The power cord is not included in the Steritest
®
Symbio FLEX BQ Pump kit, 2
media (see Accessories and Replacement Parts).
NOTE
The Steritest
®
Symbio Pumps User Guide, the Steritest
®
Symbio ISL
Pump Installation Guide, the Steritest
®
Symbio FLEX Pump Installation
Guide, and the Steritest
®
Symbio Software User Guide are available at
www.millipore.com/steritest-symbio.
Bottle holder
basket
Drain tray
support
Drain tray
container
USB flash drive
Three quick
guides
Flat seal
(FLEX version)
Two threaded stems
(ISL and FLEX versions)
Power
cord*
Silicone
drain
tubing
Bottle holder
support rod
Network
cable