Noise Cancel
Range: 1–11
Factory Preset: 6
Manual Noise Cancel
The Noise Cancel setting allows you to
manually select and listen to each channel for
the least interference.
2 Press the Menu button
3 Scroll across to Expert (using the Right or
Left Navigation button)
4 Scroll down to Noise Cancel (using the
Down Navigation button)
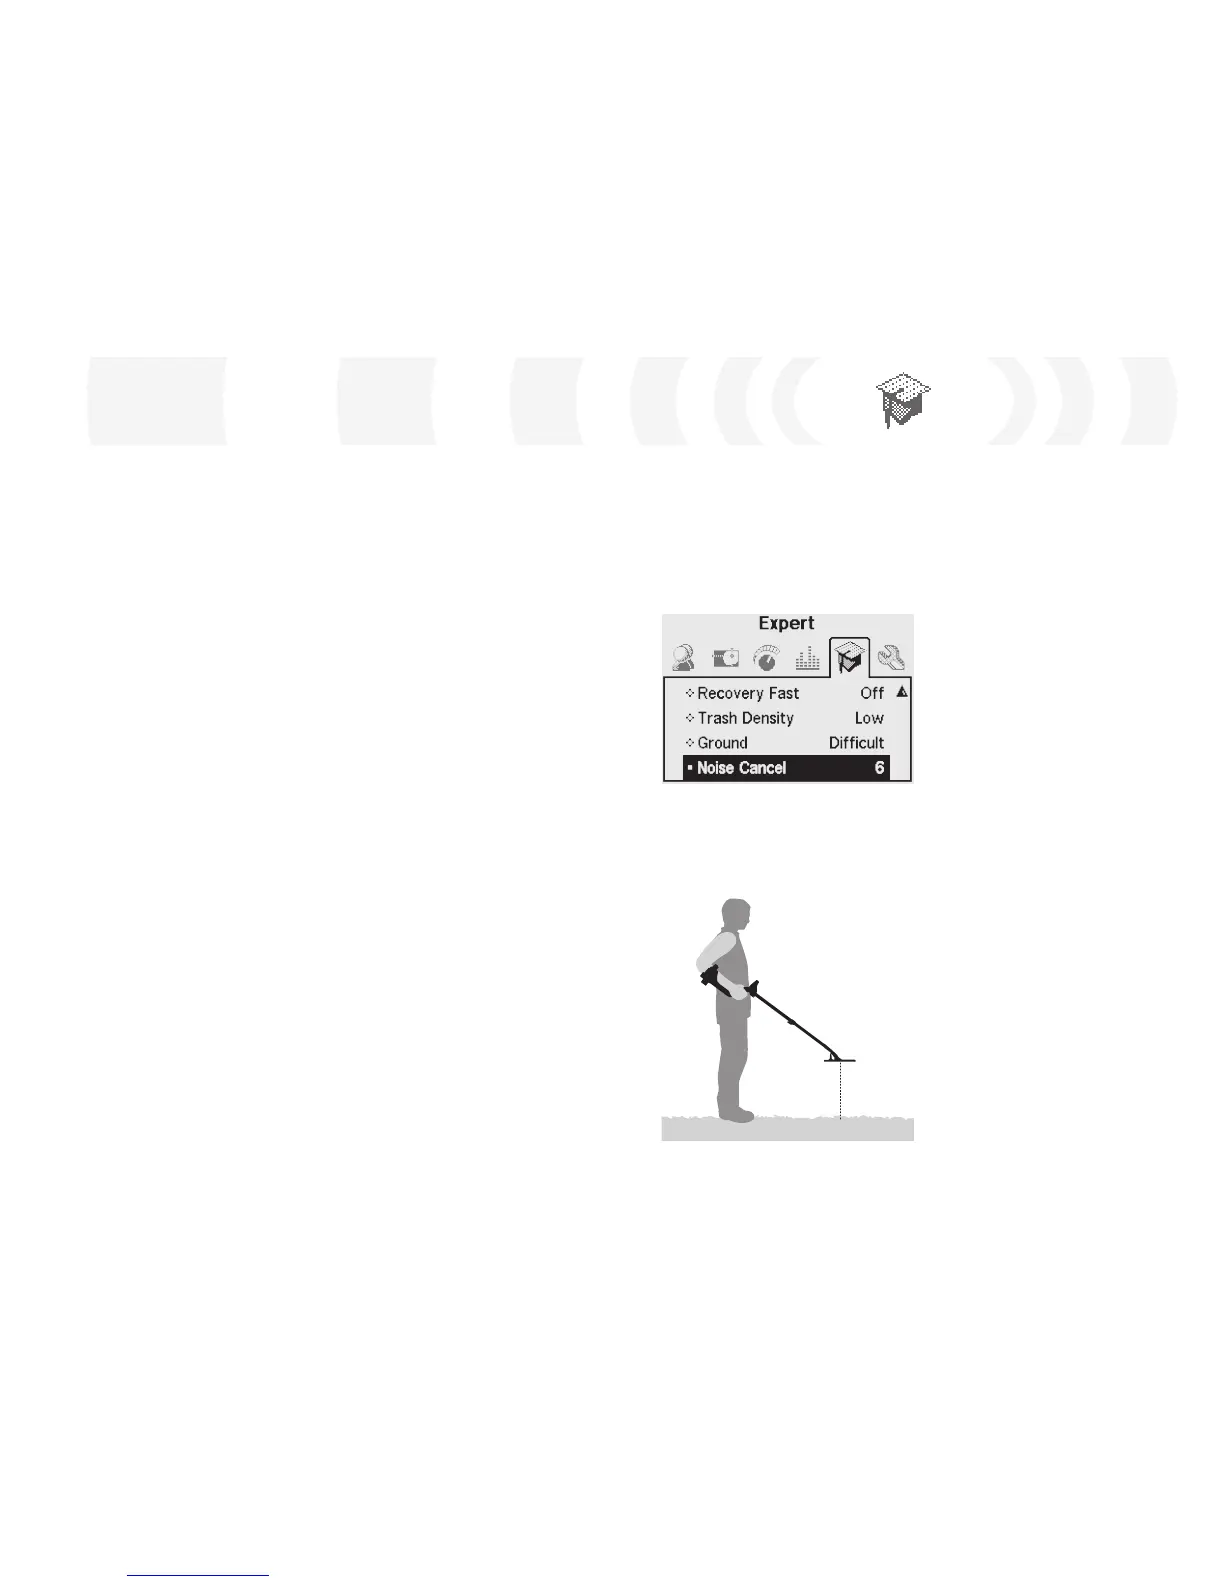
5 Keep the detector 30cm (12”) above
the ground and completely still. Press
the Left and Right Navigation buttons to
select a channel. Pause and listen to the
interference coming from the detector
while adjusting the Noise Cancel channel
6 Once a channel has been found with the
least interference, press the Detect button
to save and exit the Menu; and resume
detecting.
Once a channel is selected, most audio
responses to electromagnetic sources (e.g.
power lines) will be eliminated.
Tip: Noise Cancel is handy for metal detecting
competitions when several E-Tracs are working
close to one another. Each detector can be set
to operate on a different channel so interference
between detectors is eliminated. In this case, it is
best to select the channels manually.
To manually adjust Noise Cancel:
1 Make sure there are no large targets or
obvious sources of EMI close by, then hold
the detector 30cm (12”) above the ground
Expert Menu
30cm
(12”)
Ground
Range: Neutral or Difficult
Factory Preset: Difficult
The Ground setting affects the way the
detector responds to the mineralisation of
the soil. The correct Ground setting for your
detecting conditions will reduce false signals
from the soil and improve the stability of the
Target ID.
Selecting the appropriate Ground setting will
also improve the performance of the Depth
Gauge in those soils.
In some areas the Neutral setting will be
adequate and produce the best detection
results. However, there are types of soil where
the Difficult setting is more appropriate,
particularly when the soil conditions force a
reduction of the Sensitivity Level, in either
Manual or Auto (pp. 54–6).
There are also types of soil where changing
the Ground setting will not have a
pronounced effect, in this case either Neutral
or Difficult can be used.
Neutral should always be used whilst
detecting on the beach. However, for
beaches where the sand is contaminated
with mineralisation (e.g. black sand), some
experimentation is required.
A useful way to determine the type of ground
in which you are detecting is to monitor the
Auto Sensitivity (p. 55). In typically neutral
soil types the detector will run at higher Auto
levels and in difficult mineralized or magnetic
soils the detector will reduce the Sensitivity
(pp. 54–6).
To determine the Ground setting:
1 Find an area free of targets and set E-Trac
to accept ‘All Metals’ by using QuickMask or
clearing the discrimination pattern.
2 Switch to Manual Sensitivity and start
sweeping the clear area of soil as if
detecting for targets.
3 Progressively increase the Sensitivity
until the detector starts detecting the soil
and note this particular Sensitivity value
and the Target IDs you get from the soil.
4 Change the Ground setting to ‘Difficult’
and repeat the procedure, again noting the
Sensitivity value and the Target IDs you get
from the soil.
5 Choose the Ground setting that allows you
to use the highest Sensitivity and displays
any soil Target IDs in an area that is easily
masked by your discrimination.
Note: It should be understood that the value
determined by the test above is a maximum
usable value and not necessarily one that would
ensure accurate Target IDs. The ‘suggested’
Sensitivity should be used as a guide in setting
the Manual Sensitivity.
Regardless of the Ground setting, the stability of
the Target ID (and in particular the FE numbers)
is negatively affected if the Sensitivity is set too
high. Auto Sensitivity is the preferred option
to use inland, as it continuously monitors the
soil conditions and selects a Sensitivity which
gives a relatively stable Threshold (p. 58–9), and
consistent Target ID.