Turning the Detector On
The Power button turns the detector On and
Off. Press the Power button once to turn
the detector On. The detector will begin its
startup with an animation and tune, after
which the Pattern Screen will appear and
E-Trac is ready to find treasure!
It is best to operate the detector only
when outdoors and away from sources of
electromagnetic interference (EMI) such as
power lines and phone towers. These
sources may cause the detector to perform
erratically, giving false signals and causing
inaccurate target ID.
There are also many metallic objects inside a
house, such as nails in the floor, reinforcing
in the walls, televisions and other household
appliances, that might overload the
electronics of the detector.
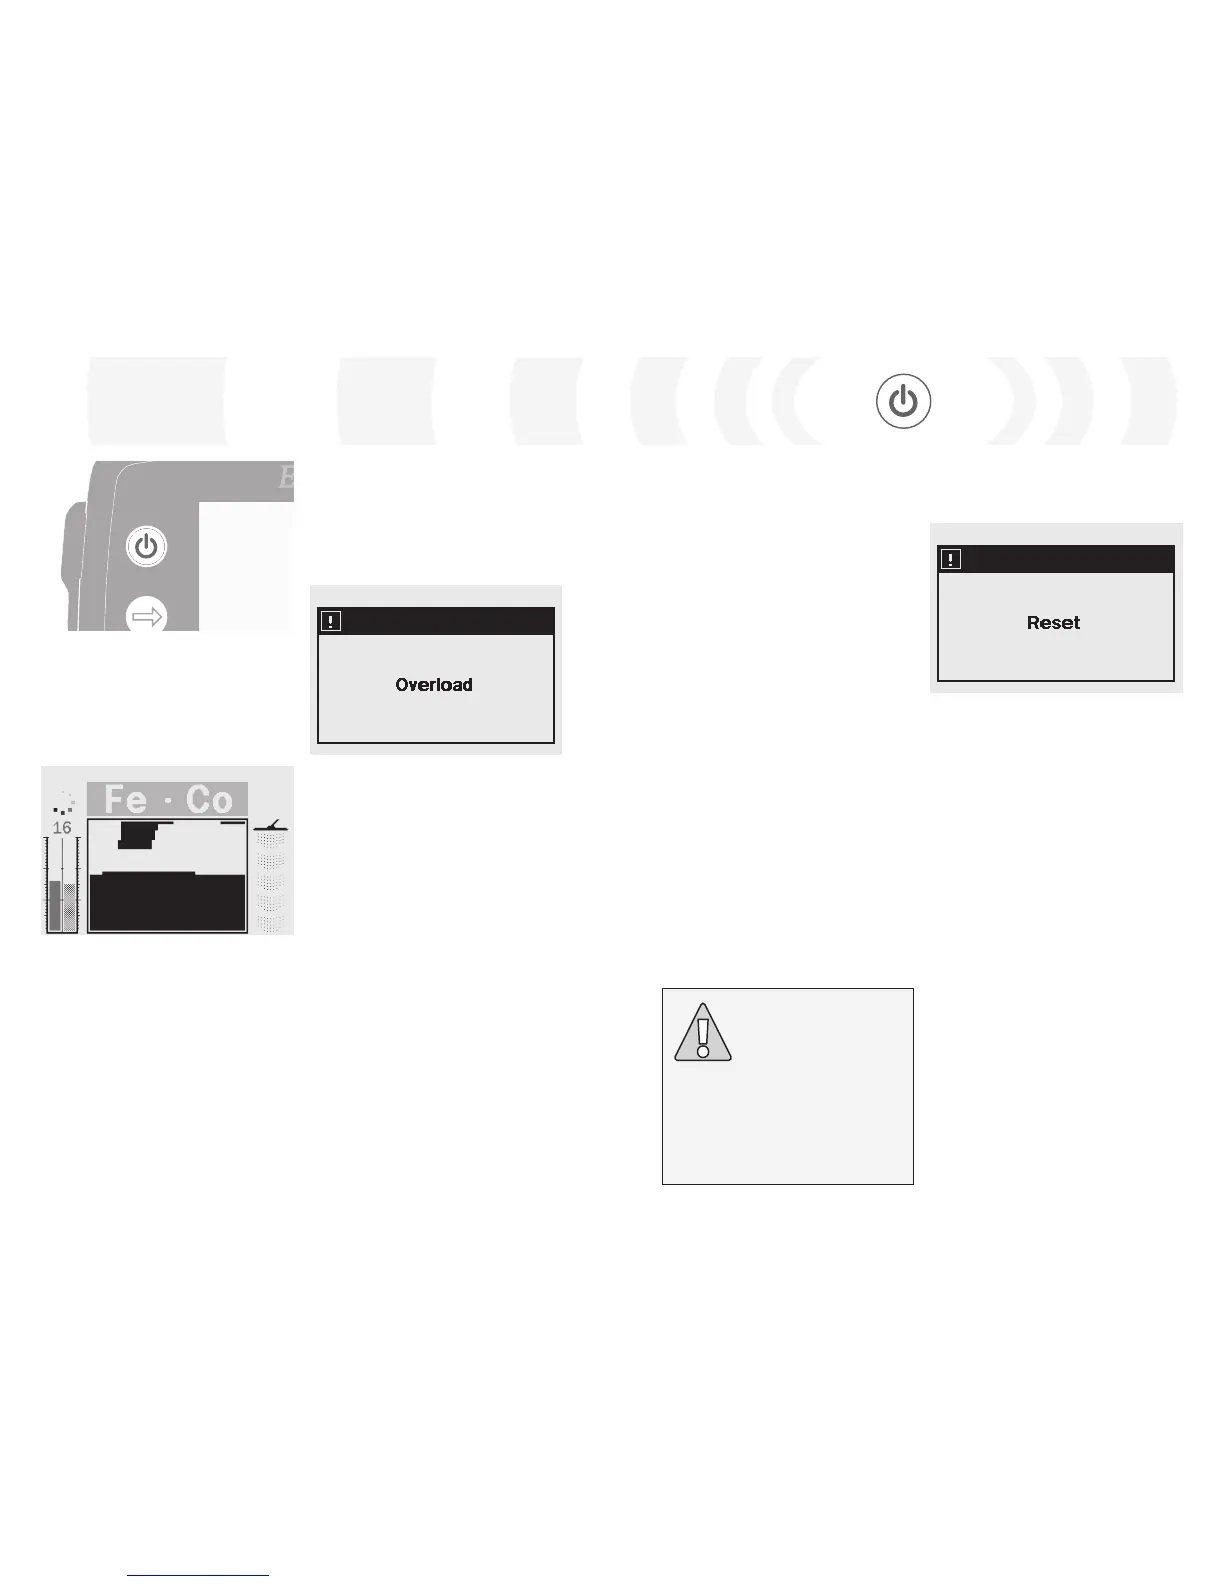
Reset
E-Trac is Factory Preset to allow you to start
detecting straight away. E-Trac’s Factory
Presets will respond to some low ferrous
metal targets such as silver coins and
jewellery, and ignore high ferrous targets
such as nails.
Any changes made to E-Trac’s settings are
saved automatically while detecting. These
settings will remain until they are changed, or
you instruct the detector to Reset to Factory
Presets, or Master Reset (p. 79).
When E-Trac is off, press and hold the Power
button for three seconds to turn the detector
on and ‘Reset’ it. Upon ‘Reset’, E-Trac loads
the Factory Preset User Mode and resets the
Universal Settings (p. 38).
User Modes and User Discrimination patterns
are not erased when the detector is ‘Reset’. All
settings within the Preferences Menu are only
reset if you use Master Reset (p. 79).
To Reset the detector:
1 While the detector is switched Off,
press and hold the Power button for
three seconds.
A ‘Reset’ message will appear on the screen
and a tune will sound. After the startup is
complete the detector will be reset and
E-Trac is ready to detect again.
Note: Sometimes it is possible that a large
object close to the coil will overload the
detector’s electronics. When this happens,
E-Trac displays an Overload message and
emits a fading Overload sound which repeats
until the coil is moved away from the source of
the overload.
Each time you turn the detector On, the
last Detection Screen used before shutting
down will appear, e.g. if E-Trac was operating
in the Digital Screen when turned Off, then
the Digital Screen will appear when E-Trac is
turned back On.
To turn the detector Off, press the
Power button.
CAUTION: After turning E-Trac Off, allow
at least 1 second before turning E-Trac
back On. This will allow the detector to
save user settings into the memory so
they are not lost when the batteries
are removed.
Overloading is not harmful to the electronics
of the detector. E-Trac is designed to
withstand coil overload.