95
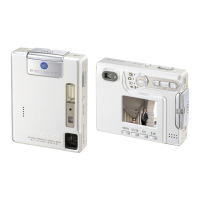
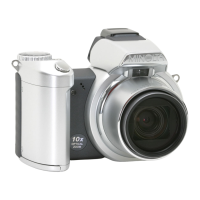
When the USB connection is completed, a drive icon, or volume, appears in
My Computer or the desktop; the name varies with memory card. When using
Windows XP or Mac OS X, a window opens requesting instructions on what
to do with the image data; follow the directions in the window.
Windows XP
Mac OS X
Windows
Mac OS
The driver needs only to be installed once. If the driver cannot be installed automatically, it can be
installed manually with the operating system’s add-new-hardware wizard; see the instructions on the
following page. During installation, if the operating system requests the Windows 98 CD-ROM, insert
it into the CD-ROM drive and follow the accompanying instructions on the screen. No special driver
software is required for other Windows or Macintosh operating systems.
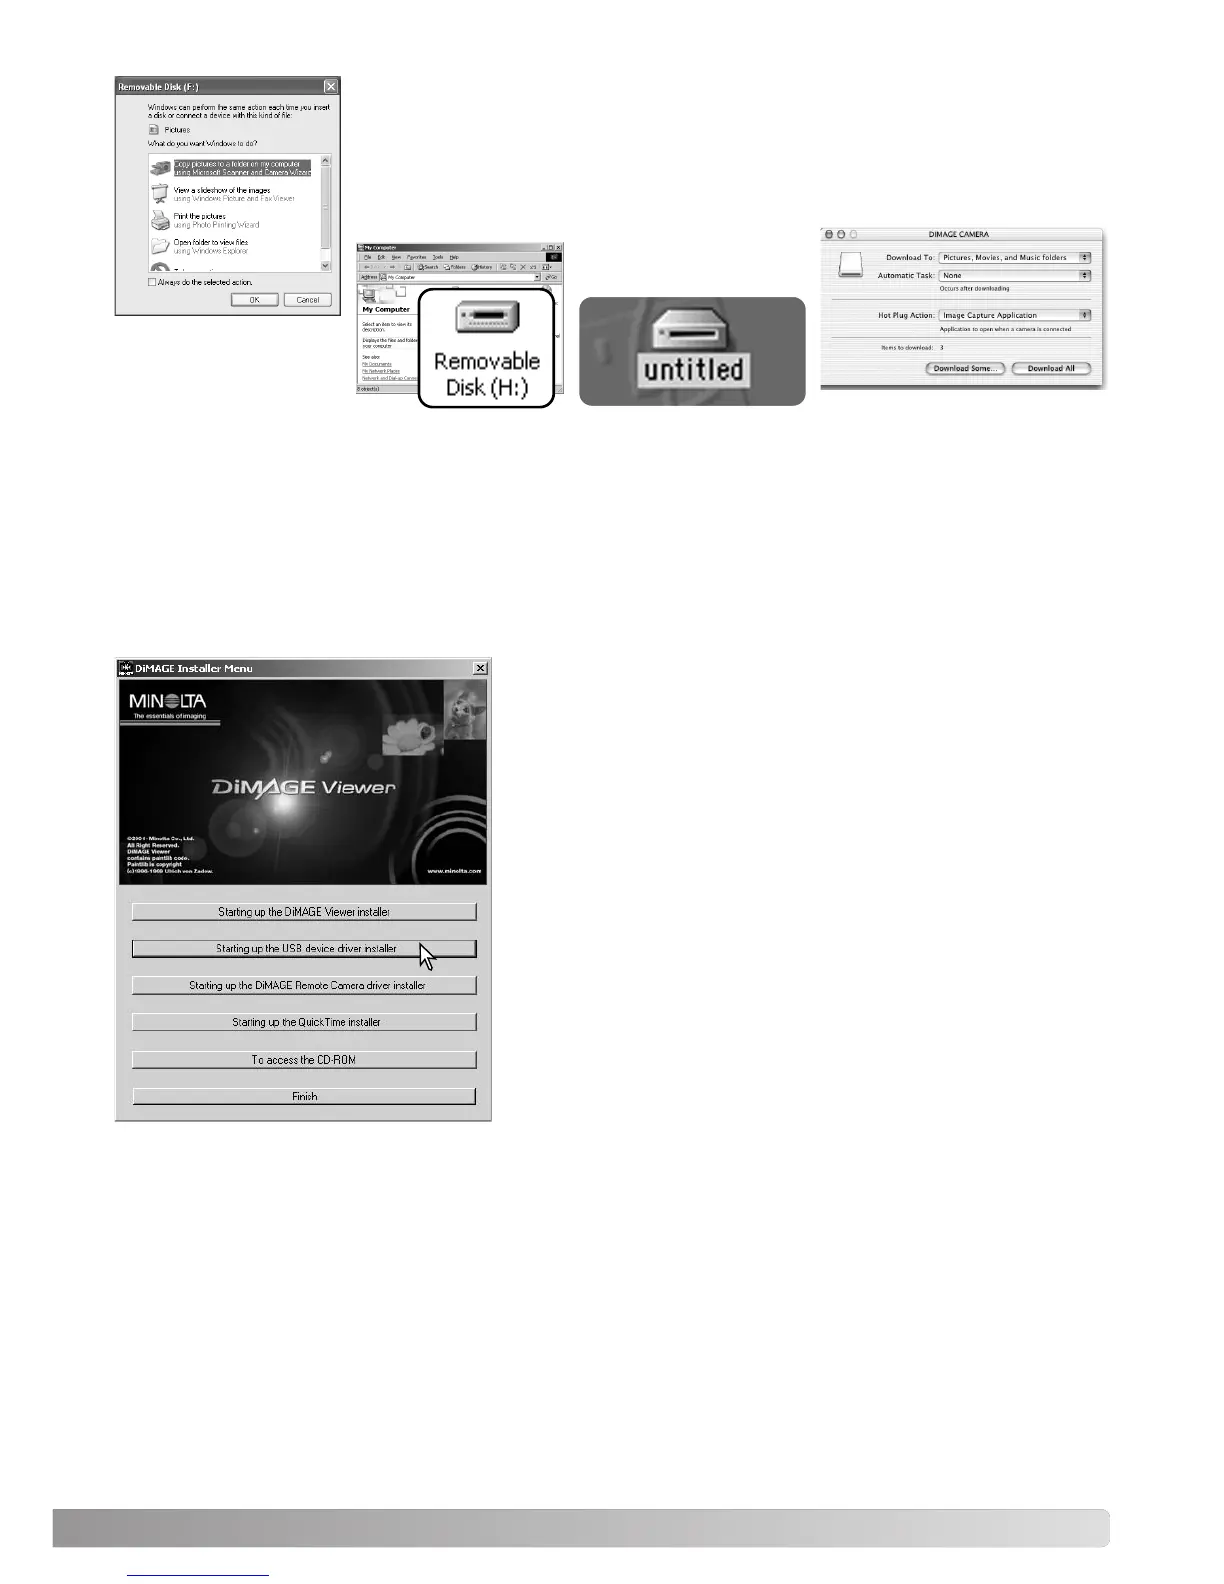
Connecting to Windows 98 and 98 SE
Before connecting the camera to the computer, place the
DiMAGE Viewer CD-ROM in the CD-ROM drive. The
DiMAGE installer menu should automatically activate. To
automatically install the Windows 98 USB driver, click on the
starting-up-the-USB-device-driver-installer button. A window
appears to confirm that the driver should be installed; click
“Yes” to continue.
When the driver has been successfully installed, a window
appears. Click “OK.” Restart the computer and connect the
camera (p. 94) to complete the operation.
Automatic Installation
 Loading...