- Digital multimeter, at least 3½ digits, accuracy better than 1%.
- Oscilloscope
- Digital Thermometer
- PC
- winspiroPRO Software Installation CD
- USB port connection cable
- Oximeter sensor (MIR code 919024_INV)
- Hot Glue Gun
- 3 mm double-sided adhesive tape
- Welder
- Signal cable (MIR code ZC017).
If a problem cannot be solved with the present equipment and suitable instruments are not available, please send the
spirodoc to the manufacturer to carry out the service.
3.3. CHECKLIST
The following procedures must be carried out during an inspection and/or after every repair:
Modifications, if any, must be noted on the “Service Info” sheets. See Appendix B of this manual for further
information.
Visual inspection. Check the electrical connection for safety and check that all components are properly fastened.
Check that all accessories do not present any visible damage.
Functional test (see Paragraph 3.3.1)
File a copy of all service activities.
3.3.1. Functional test
3.3.1.1. Self test
Switch on the equipment. spirodoc will carry out the so-called self-test for approx 3 seconds. It is assumed that when the
self-test is passed all functions of spirodoc are okay.
Any severe malfunction (if any) will be reported on the display.
Switch off spirodoc.
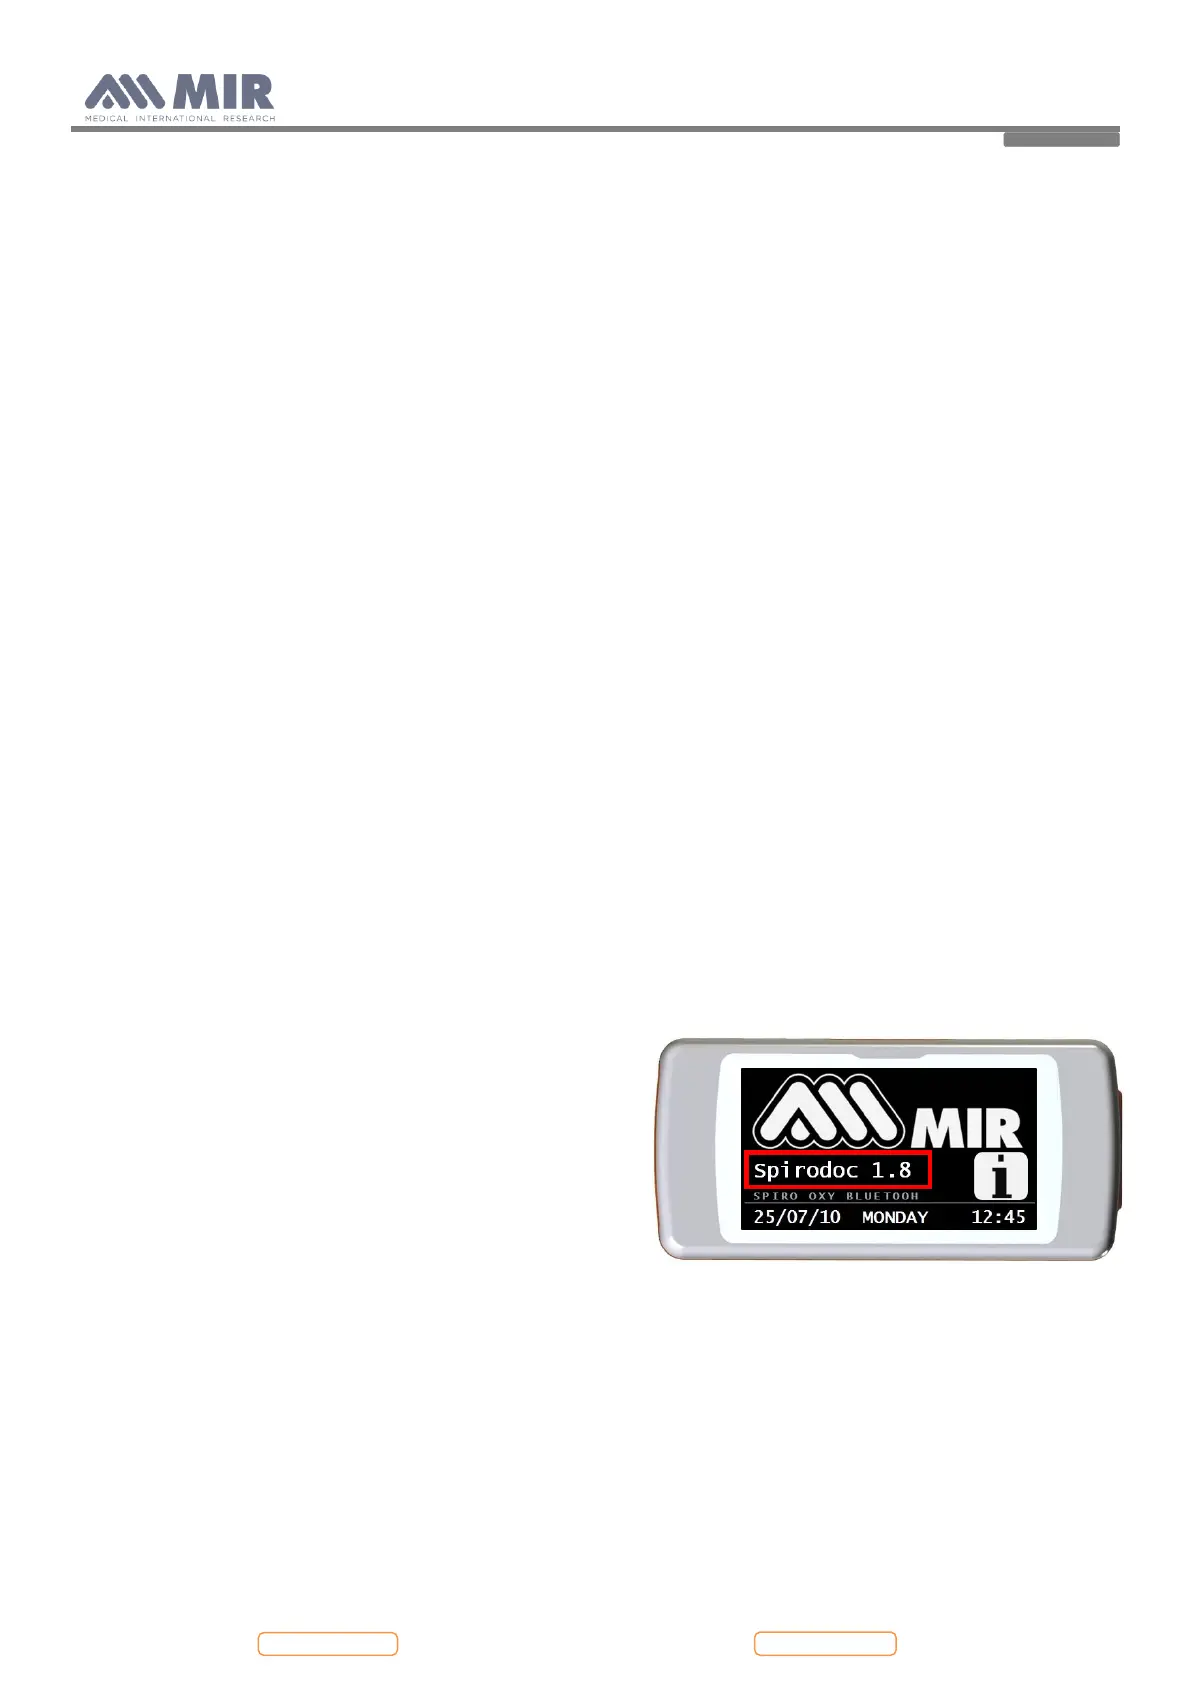
3.3.1.2. Software version
To check the software version installed on the device, switch on
spirodoc pressing and releasing the power key placed in the
middle on the side of the device, wait for the first screen to
appear; the software version is found as indicated in the image
alongside.
4. REPLACEMENT PROCEDURES
4.1. General
When handling sensitive static devices such as the mainboard of the spirodoc the following precautions should be
observed:
- Persons should be earthed by means of a wrist strap.
- Ground all electrical equipment, workbench etc.
Also make sure that you have not left any tools inside and all screws including their washers are again fixed in the original
place.