28
3.19 Remove the backplate from the
concealing plate and fit in position with
the screws provided.
Note! For shallow building in depths
and front face panel mounting use the
two short M5 x 25 mm screws
(provided) in line with the inlet pipework.
Do not overtighten the screws as
this may distort the valve position
within the wall.
Note! If the finish is particularly uneven
(i.e. due to grout lines), apply a small
amount of silicone sealant to ensure a
seal.
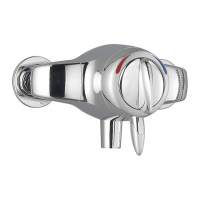
3.20 Slide the foam seal over the chrome
shroud and align onto the back plate.
3.21 Fit the concealing plate over the
shroud. Firmly push the concealing
plate until it clips into position onto the
backplate.
3.22 Carefully slide the concealing plate into
position over the shroud. Firmly push
until it clips to the backplate.
3.23 Fit the control lever assembly refer to
section: 'Commissioning and
Control Assembly Installation'
Shower Fittings
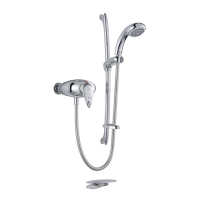
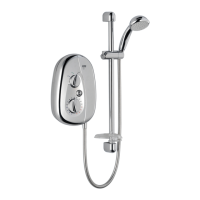
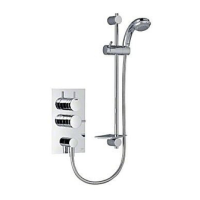
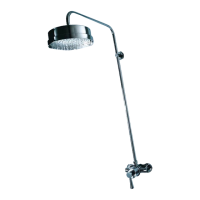
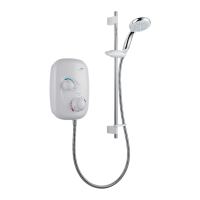
3.24 Install the shower fittings. Refer to the
shower fittings Installation and User
Guide.
Back Plate
Concealing
Plate
Alternative
Short Screws
Foam Seal
For latest prices and delivery to your door visit MyTub Ltd 0845 303 8383 www.mytub.co.uk
 Loading...