Front Panel Menu Operation
19
Device/Circuit Bypass
Use this option if you want to bypass or unbypass a device or circuit from the panel. Usually this is
done when you need to add, remove, repair, or investigate a device or circuit.
To unbypass the device or circuit, follow the same procedure for device/circuit bypass.
At this point the display will vary, depending on your choice:
• If you selected “yes”, the system will display the message “Device/Circuit bypassed
(unbypassed), then it will return to the Bypass Menu.
• If you selected “no”, the system will display the message “Operation cancelled”, then it will
return to the Bypass Menu.
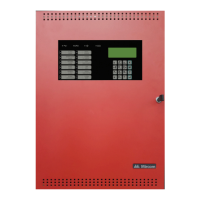
Step 1: Select Device/Circuit
Press ENTER ( ) when the cursor is flashing
beside “Device/Circuit” to select a device.
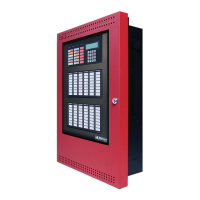
Step 2: Enter your passcode
Enter your passcode. See page 26 for instructions on
entering passcodes.
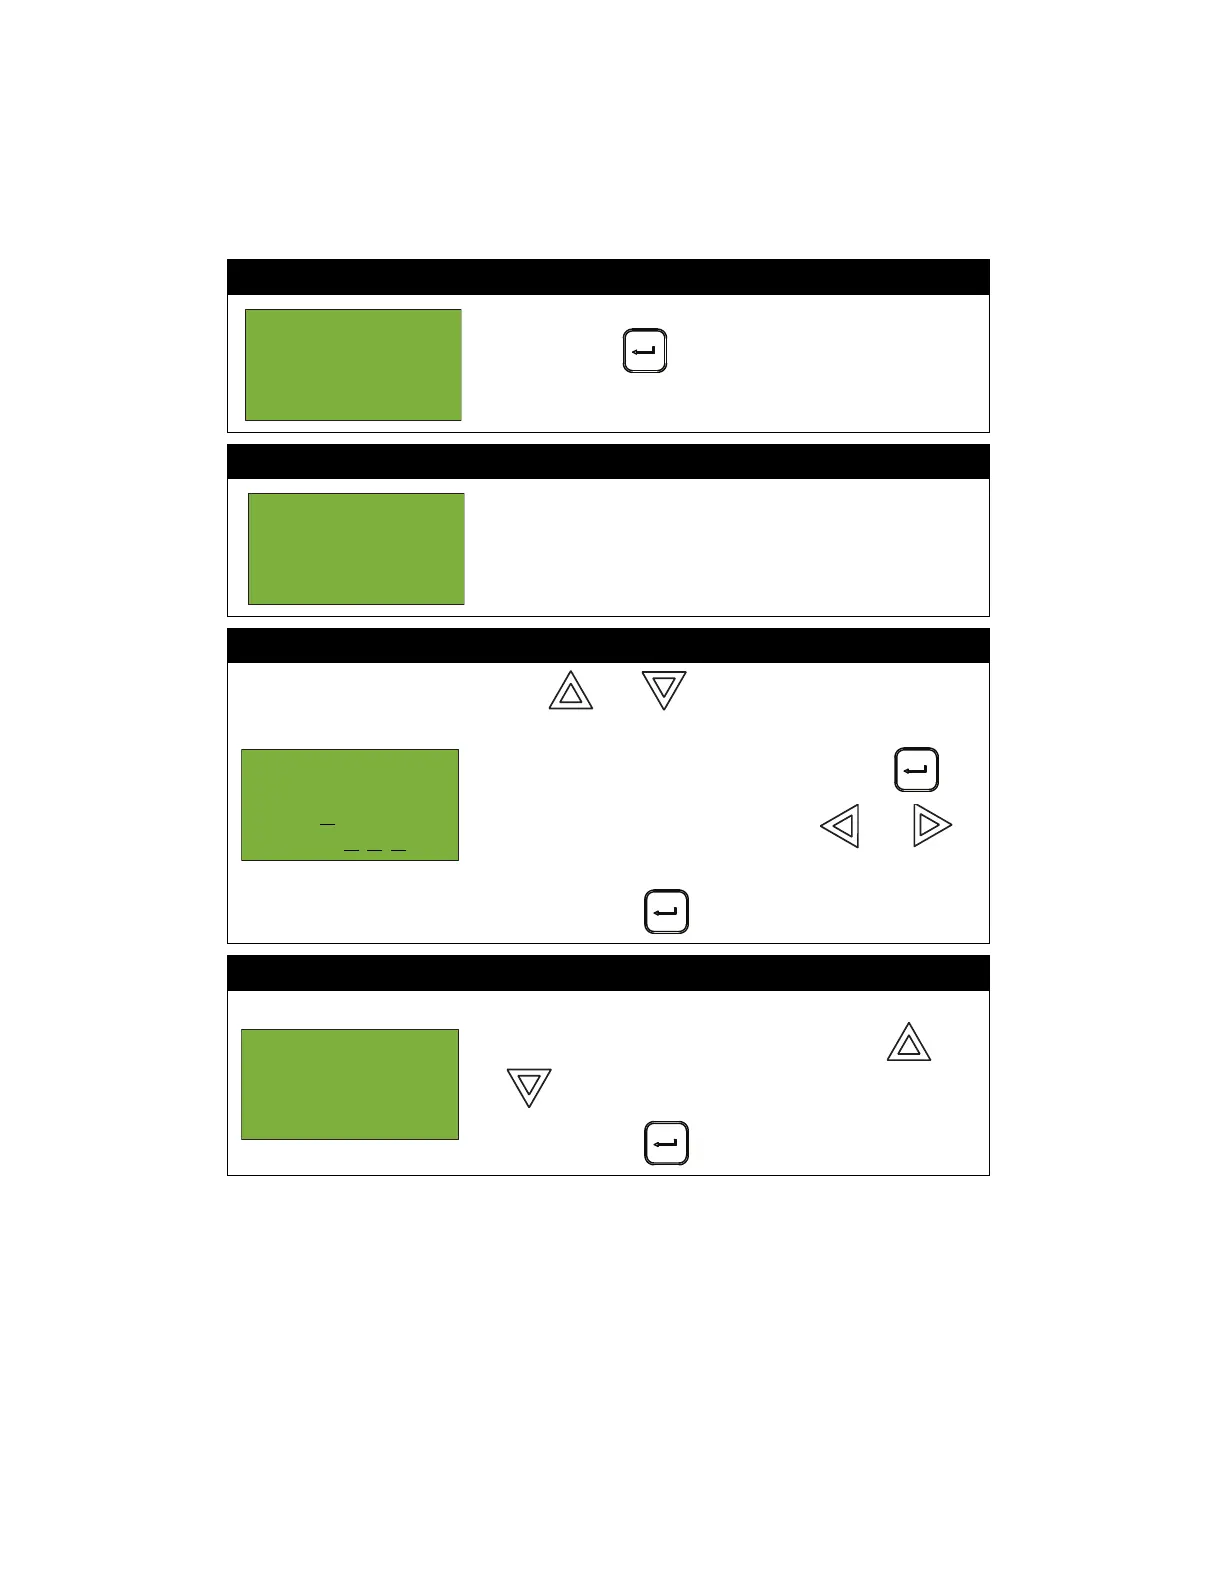
Step 3: Select a device
1. Use and to select the loop and device
number.
2. Enter the loop number, then press ENTER ().
3. Enter the device number, pressing and
as needed to move left and right.
4. Press ENTER ( ) to continue.
Step 4: Bypass the device/circuit
1. The systems now asks you whether or not you would
like to bypass or unbypass the device. Use and
to select “yes” or “no”.
2. Press ENTER ( ) to continue.
- Bypass Menu
-
1 Device /
Circuit
Enter
passcode for
level 1 or
higher:
- Select Device
-
Loop: 0
Device: 0
0 0
Strobe Output
Floor 2
L0 000 not
bypassed.

 Loading...