4 Installation
4.2 DIN rail mounting
27
FX3U-ENET-ADP User's Manual
1
Introduction
2
Specification
3
System
Configuration
4
Installation
5
Wiring
6
Introduction of
Functions
7
Communication
Using
MC Protocol
8
The Operation
of GX Works2
9
Troubleshooting
A
List of Special
Devices
4.2 DIN rail mounting
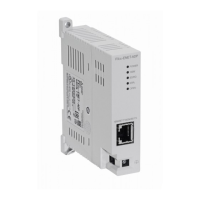
The Ethernet adapter may be mounted on a 35mm (1.38") wide DIN46277 (DIN rail).
Connect the Ethernet adapter to the PLC main unit before attaching the Ethernet adapter to a DIN rail.
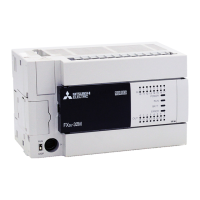
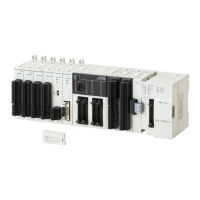
This section explains an example where the Ethernet adapter is connected to a FX
3U PLC. For the DIN rail
mounting method for other PLCs, refer to the respective PLC manual.
→ Refer to FX
3U Hardware Edition
→ Refer to FX
3UC Hardware Edition
1 Push out all DIN rail mounting hooks (A
in the figure on the right).
It is assumed that the Ethernet adapter has been
connected in advance. For the Ethernet adapter
connection method, refer to the following.
→ Refer to Section 4.1
2 Fit the upper edge (B in the figure on the right) of the DIN
rail mounting groove onto the DIN rail.
3 Push the product onto the DIN rail.
4 Lock the DIN rail mounting hooks (A in the following figure) while pressing
the PLC against the DIN rail.
111
AA
A
2
B
3
A
4
4
4
A
A
 Loading...
