4 Installation
4.3 Direct mounting
28
FX3U-ENET-ADP User's Manual
4.3 Direct mounting
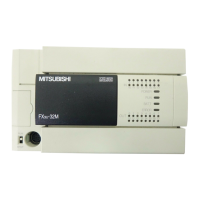
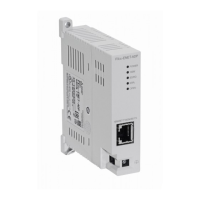
When the Ethernet adapter is connected to a FX3U PLC, the Ethernet adapter may be mounted directly on a
panel surface using screws. The direct mounting method is not available when the Ethernet adapter is
connected to a FX
3UC PLC. Connect the Ethernet adapter to the main unit before attaching it to the panel
surface.
For mounting, refer to the following manual.
→ Refer to FX
3U Hardware Edition
1 Create mounting holes in the
mounting surface according to the
external dimensions diagram.
2 Fit the Ethernet adapter to the
mounting holes and tighten with
M4 screws (A in the figure on the
right).
Also fit the main unit to the mounting holes
and tighten with M4 screws. For the main unit
connection method, refer to the following.
→ Refer to FX3U Hardware Edition
It is assumed that the Ethernet adapter has
been connected in advance.
For the Ethernet adapter connection method,
refer to the following.
→ Refer to Section 4.1
For the screw positions and number of screws in the Ethernet adapter, refer to the dimensional
outline drawing as follows.
→ Refer to Section 1.2
For the screw positions and number of screws in the main unit, refer to the following manual.
→ Refer to FX
3U Hardware Edition
A
A
 Loading...